{{ secondMenu.name }}


SCP can be deployed either via VMA image import (recommended) or installation from ISO images.
Log in to HCI, go to Compute > Sangfor HCI, and click New, as shown in Figure 1.
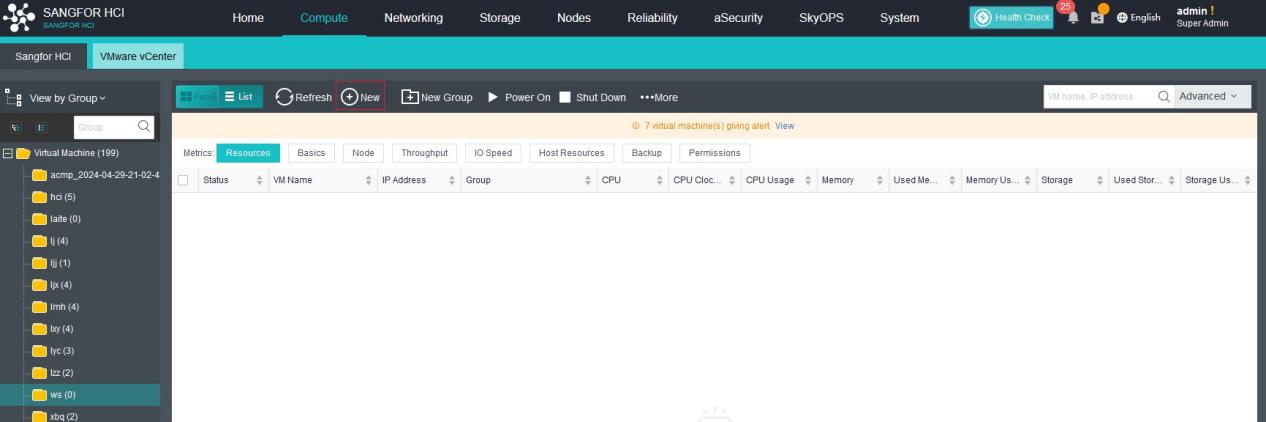
Figure 1 Import a VM
In the Create Virtual Machine pop-up window, click Import VM, as shown in Figure 2.
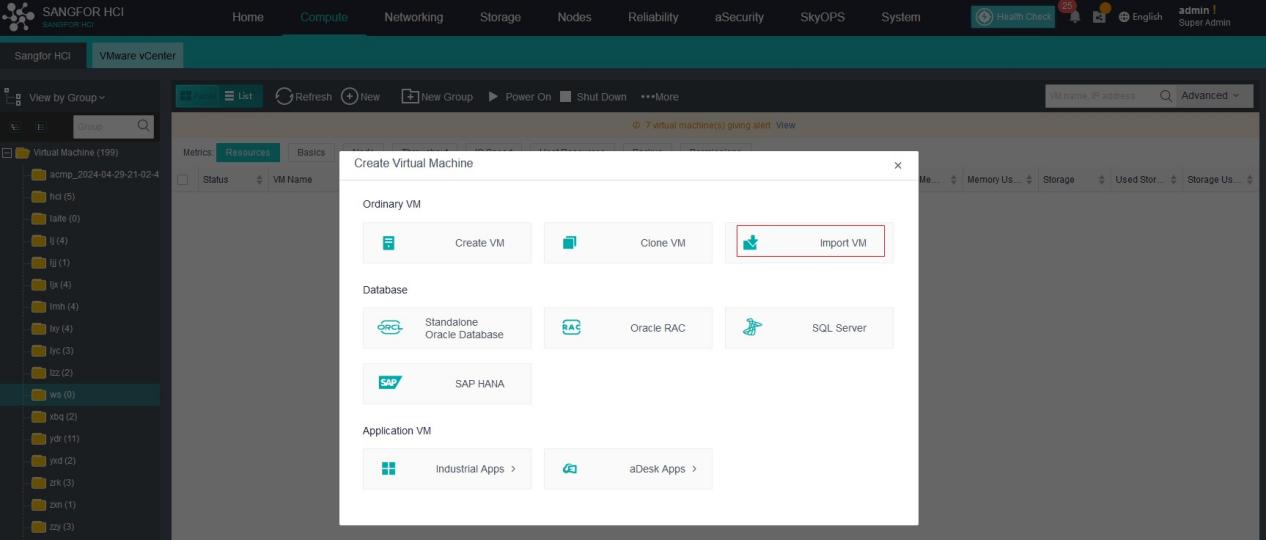
Figure 2 Import a VM
In the Import Virtual Machine File pop-up window, select ova or vma for File Type, select an image, configure other parameters, and click Import, as shown in Figure 3.
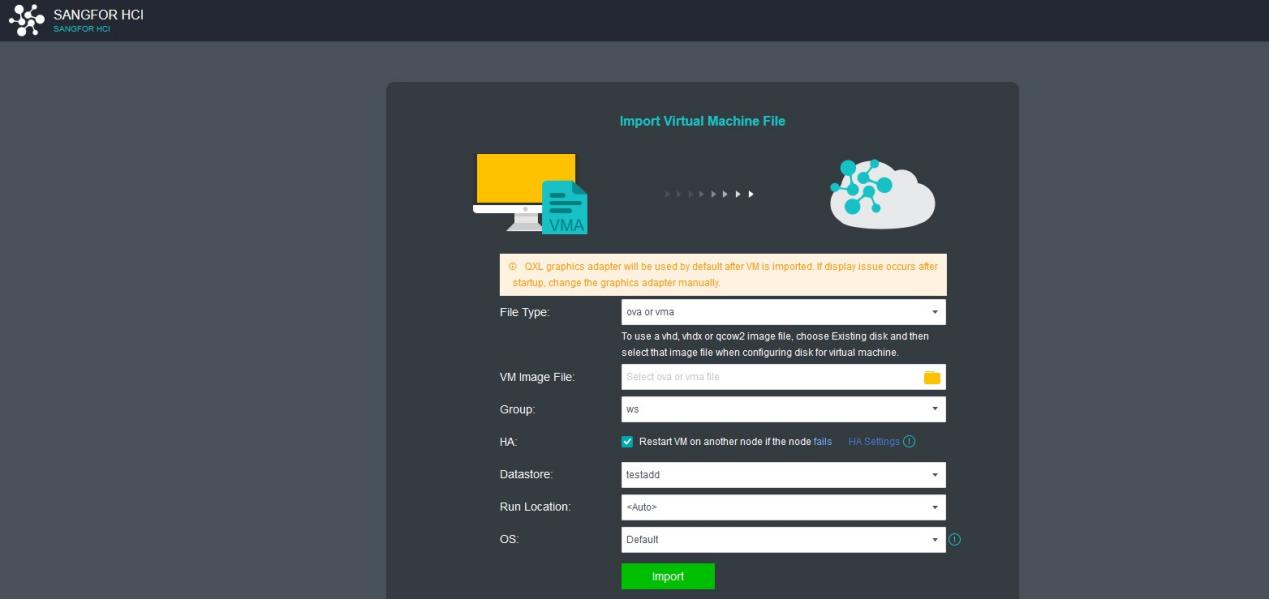
Figure 3 Import a VM
After the import is complete, click Summary to enter the VM details page.
Then, click Power On to go to the console. In the console, click Change To Maintenance Mode and enter the password (the initial password is admin) to configure the network, as shown in Figure 4 and Figure 5.
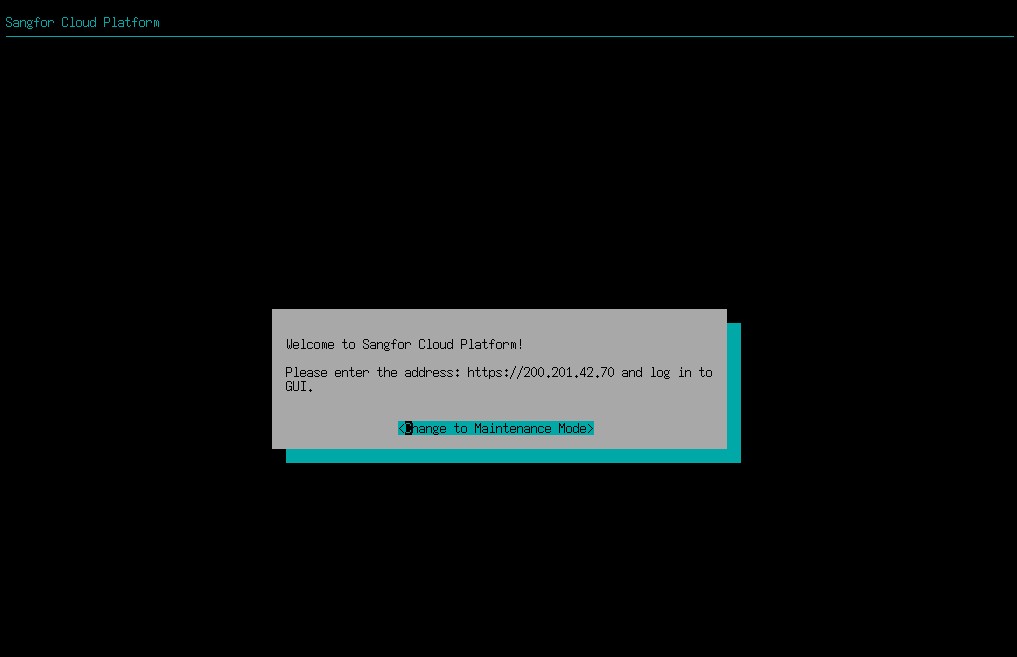
Figure 4 Configure the Network
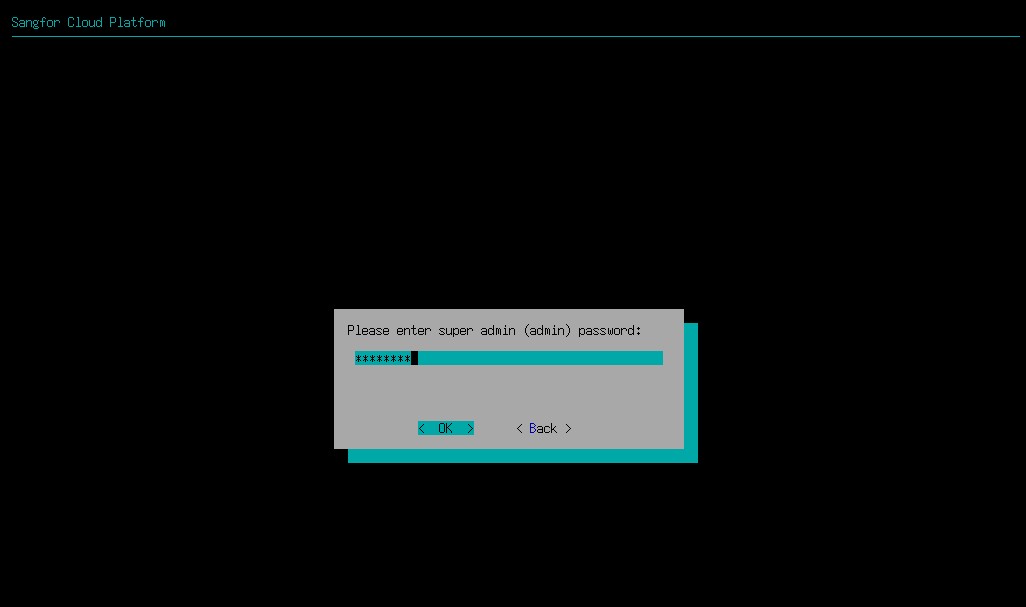
Figure 5 Configure the Network
Click Configure Network, select the interface, configure the IP address, netmask, and gateway, and click OK, as shown in Figure 6, Figure 7, and Figure 8.
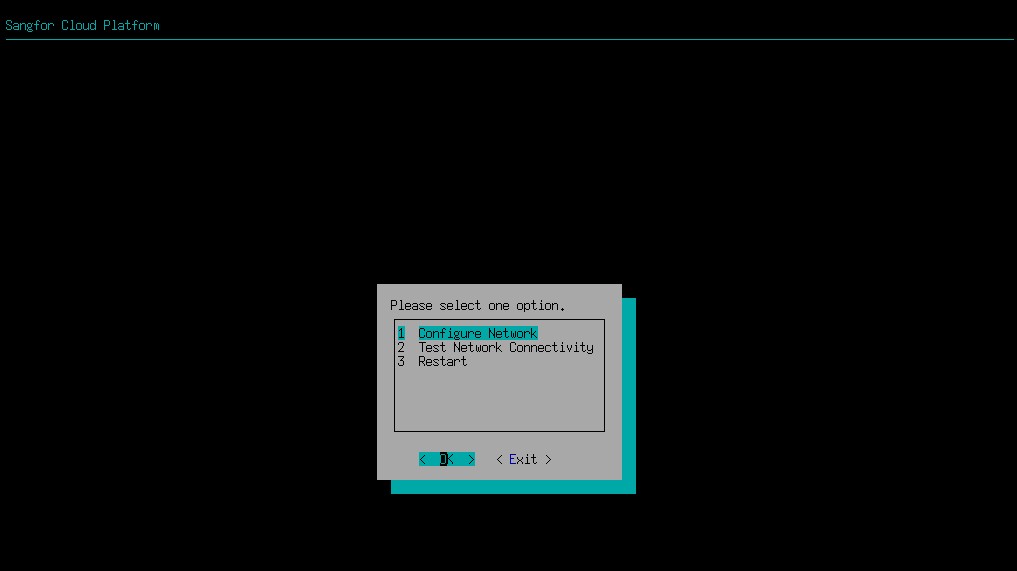
Figure 6 Configure the Network

Figure 7 Configure the Network
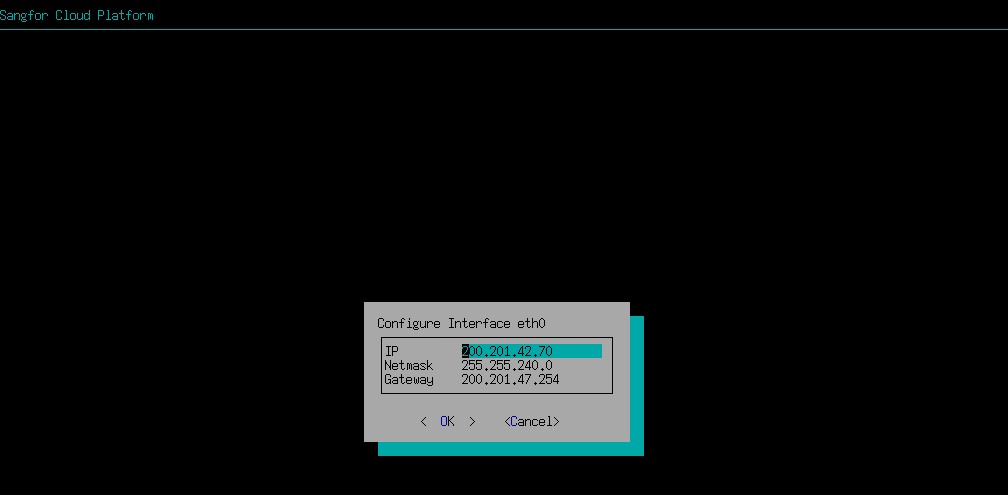
Figure 8 Configure the Network
Then, you can log in to SCP using the above IP address. To log in as the administrator, use https://IP:4430.

 {{ $t('index.defaultHeader.chromeBrowserTip') }}