{{ secondMenu.name }}


Scenario
• Configuration check after HCI installation.
• SP check on HCI.
• Pre-upgrade and post-upgrade health check of HCI.
• Routine health check of HCI.
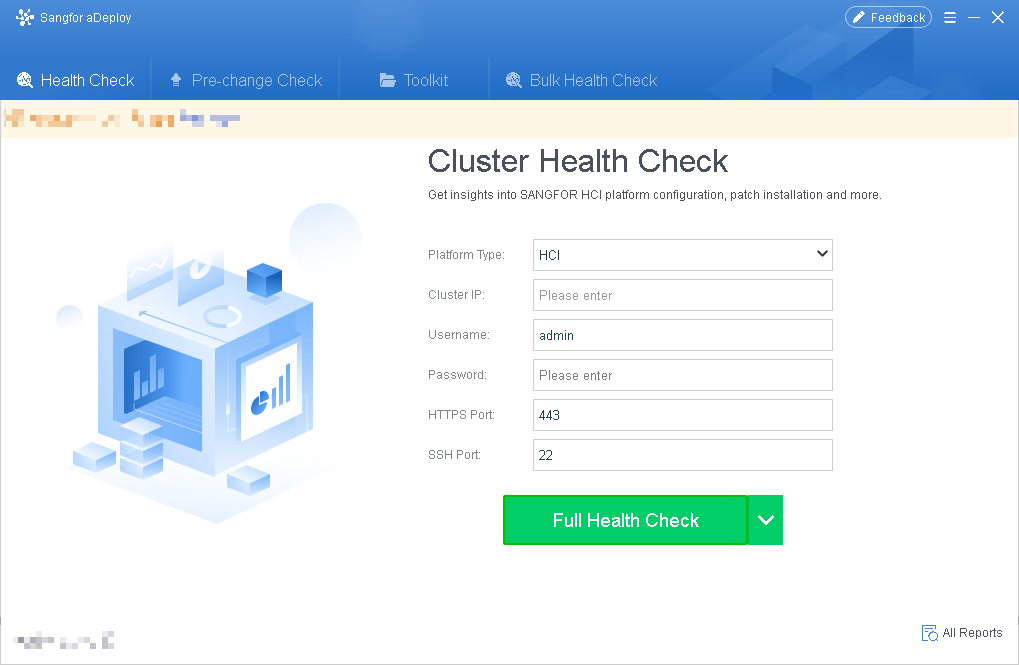
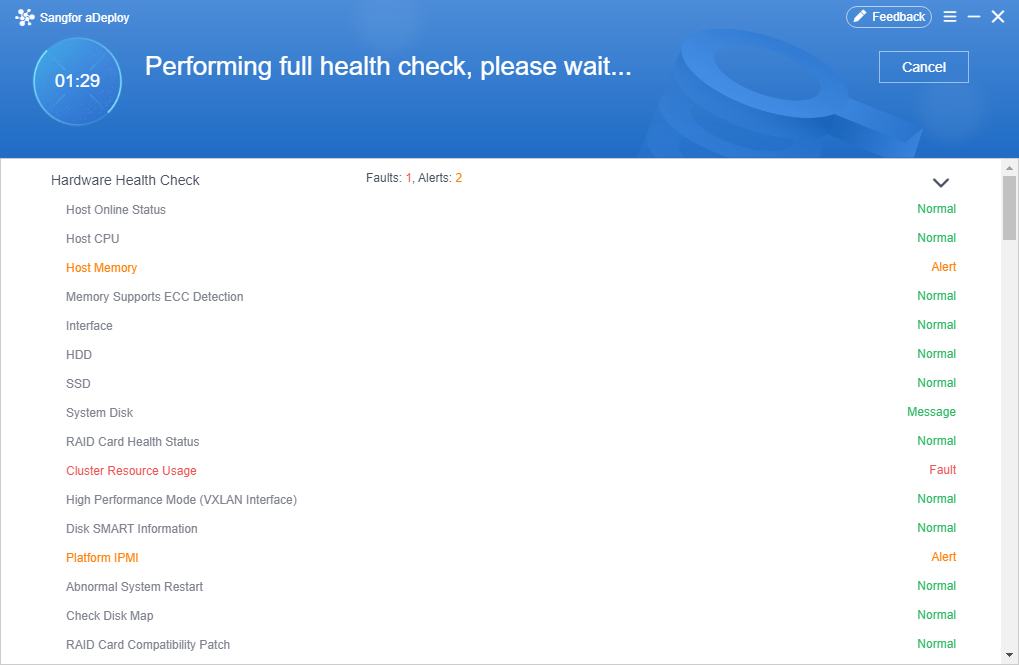
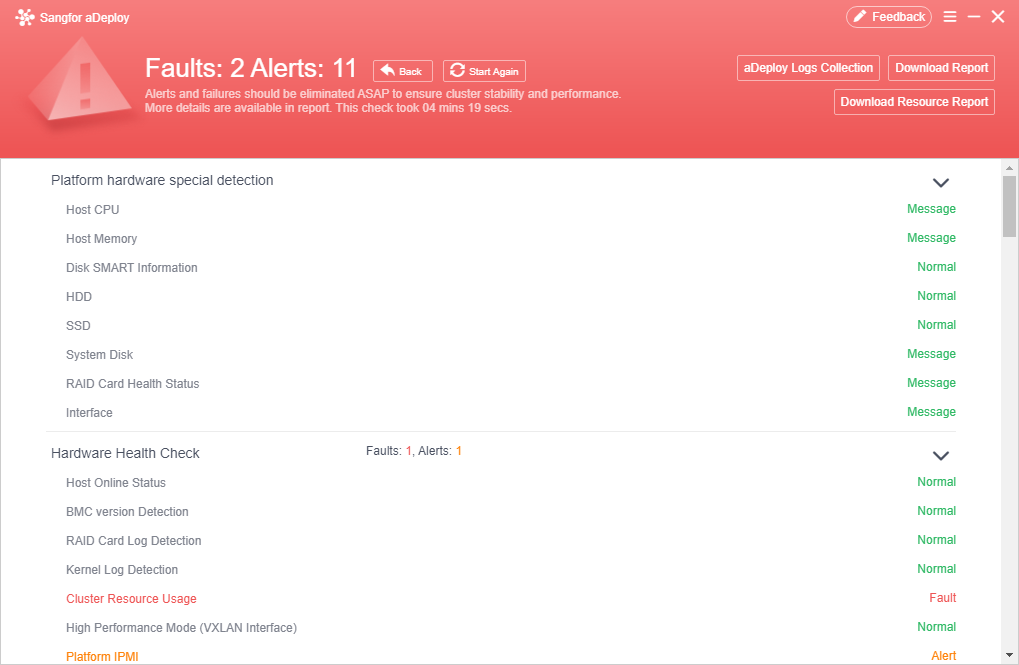
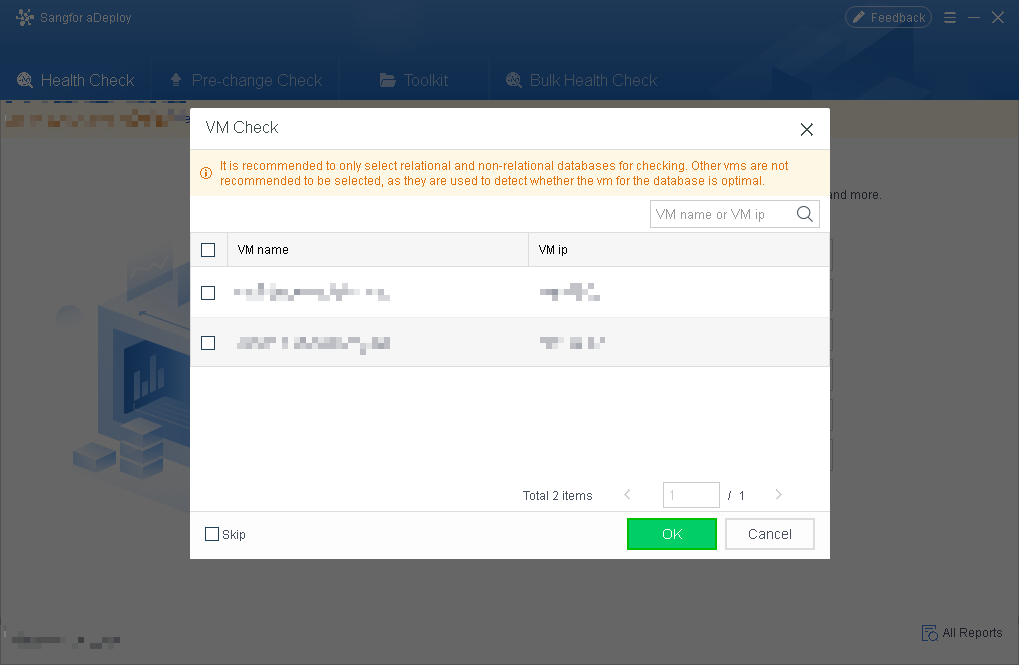
Steps
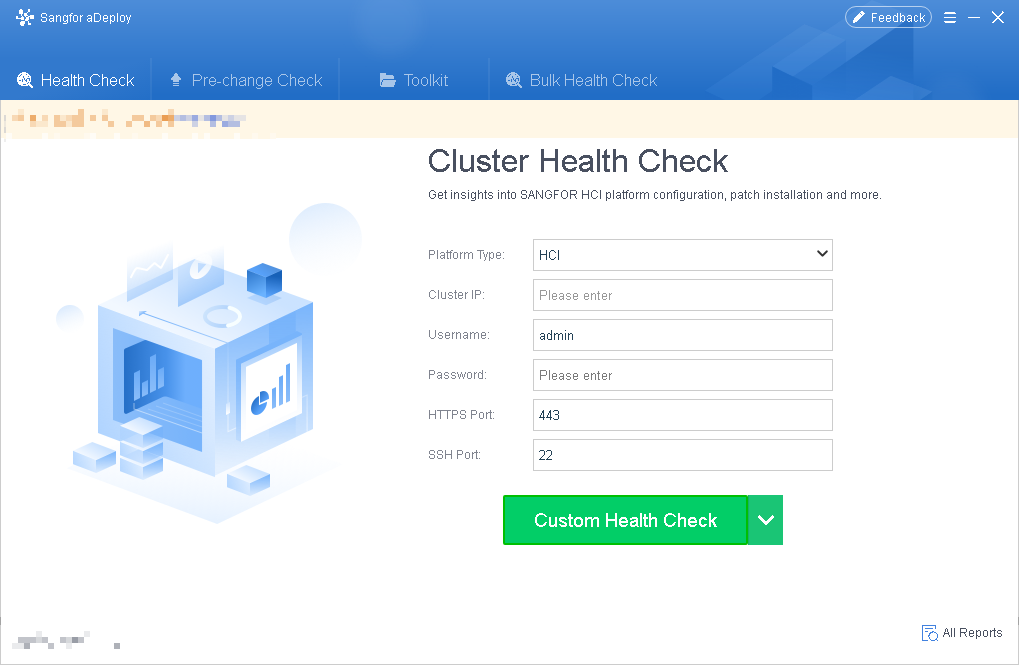

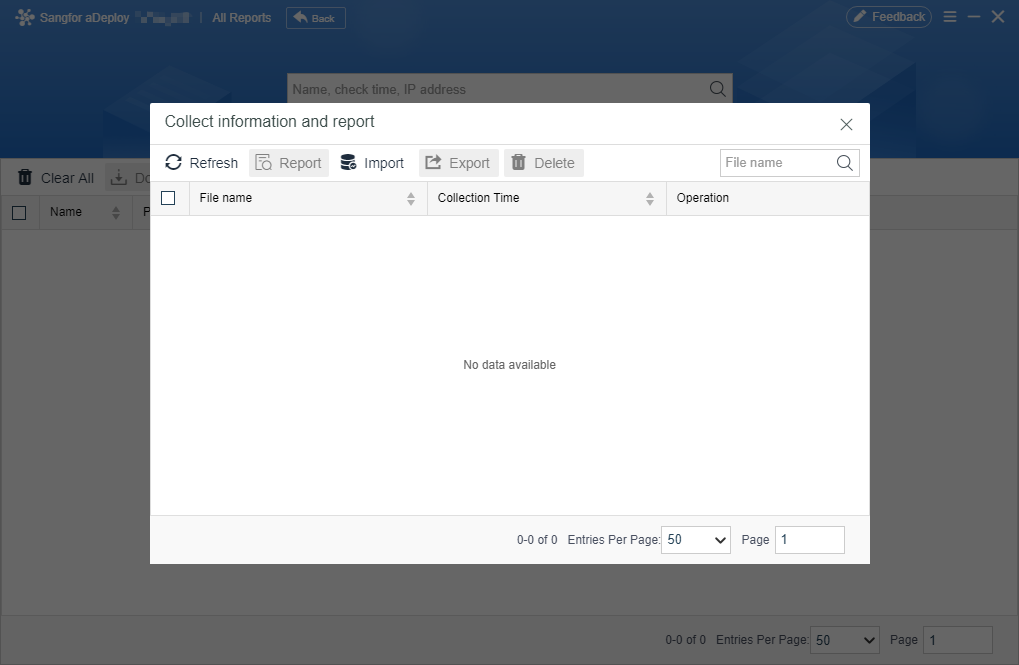

 {{ $t('index.defaultHeader.chromeBrowserTip') }}