{{ secondMenu.name }}


Introduction
After you mount a data disk to an HCI VM (whether it is a new disk for a new VM or an expanded data disk for an existing VM), you need to log in to the VM and complete disk partitioning, formatting, and mounting (Linux) or drive letter assignment (Windows) before the disk can store business data. The initialization process must adapt to the HCI storage architecture (aSAN or external iSCSI) and VirtIO disk type. The following two disk partitioning methods are supported: Master Boot Record (MBR) and GUID Partition Table (GPT).
MBR is suitable for data disks up to 2 TB and provides high compatibility. GPT supports disks larger than 2 TB and allows an unlimited number of partitions, ideal for large-capacity storage in the HCI environment. The tools used for data disk initialization vary across Windows and Linux systems, but the general steps are the same: Recognize the disk, create partitions, format the disk, and enable the disk. The procedure must also follow HCI's storage policies (thin provisioning or pre-allocating) and HA mechanisms.
|
Disk Partitioning Method |
Max Disk Size |
Max Partitions |
Tool |
Scenario |
|
MBR |
2 TB |
• 4 primary partitions • 3 primary partitions and 1 extended partition (an extended partition can contain multiple logical partitions) |
• Windows: Disk Management • Linux: fdisk (conventional) or parted (compatible) |
Data disks up to 2 TB, early versions of OSes (such as Windows Server 2008 R2 and CentOS 6), and high compatibility requirements |
|
GPT |
18 EB (1 EB = 1,048,576 TB) |
Unlimited (subject to the OS and storage policies) |
• Windows: Disk Management (natively supported in Windows 8 and later, and Windows Server 2012 and later) • Linux: parted (recommended) |
Data disks larger than 2 TB, large-capacity storage (such as databases and big data services), new VM deployments, and flexible multi-partition management |
Introduction
A data disk mounted to a VM, either during VM creation or added later, must be initialized before the VM can store business data.
This section uses Windows Server 2008 R2 Enterprise as an example. The initialization steps may vary depending on the OS.
Prerequisites
The data disk has been mounted to the HCI VM (either added during VM creation or VM editing) and has not been initialized.
vmTools (including the VirtIO driver) has been installed. Without the VirtIO driver, Windows may fail to recognize VirtIO data disks.
If the data disk contains important data, a snapshot or backup must be created on HCI before initialization to avoid data loss.
General Guidance
• NTFS (recommended): Recommended for Windows VMs on HCI. NTFS supports a capacity of up to 16 EB and provides features such as file access control, compression, encryption, and logging. It is suitable for enterprise-level services (such as databases and file storage).
• exFAT: Suitable for file sharing between Windows and Linux or macOS VMs. exFAT supports a capacity of up to 128 PB but does not provide file access control or logging features. It is not recommended for critical services.
• FAT32: Suitable for data disks no larger than 32 GB. FAT32 is compatible with different systems but limits the maximum file size to 4 GB. It is no longer recommended.
• Separate the system disk (C:) from data disks: Storing business data on a dedicated data disk reduces the impact of system failures and allows HCI to back up the data disk separately.
• Use multiple partitions when necessary: A large 1 TB data disk can be divided into multiple partitions (such as 500 GB D: for database files and 500 GB E: for log files). This facilitates data classification.
• Reserve free space: Reserving 10%-20% free space on the data disk helps meet future business needs and reduces fragmentation.
Precautions
• Thin provisioning: Thinly provisioned data disks occupy storage space only when business data is written to the disks. Unused space does not consume HCI storage resources.
• Pre-allocating: Pre-allocated data disks occupy the entire configured capacity immediately after formatting. The remaining capacity of the storage pool must be confirmed in advance.
Steps
Step 1.On the VM desktop, click Start, right-click Computer, and select Manage. The Computer Management window appears.
Step 2.In the left navigation pane, select Storage > Disk Management.
Step 3.In the right pane, check the disk list. If the target disk is in Offline status, right-click the disk area and select Online. The status changes from Offline to Not initialized.
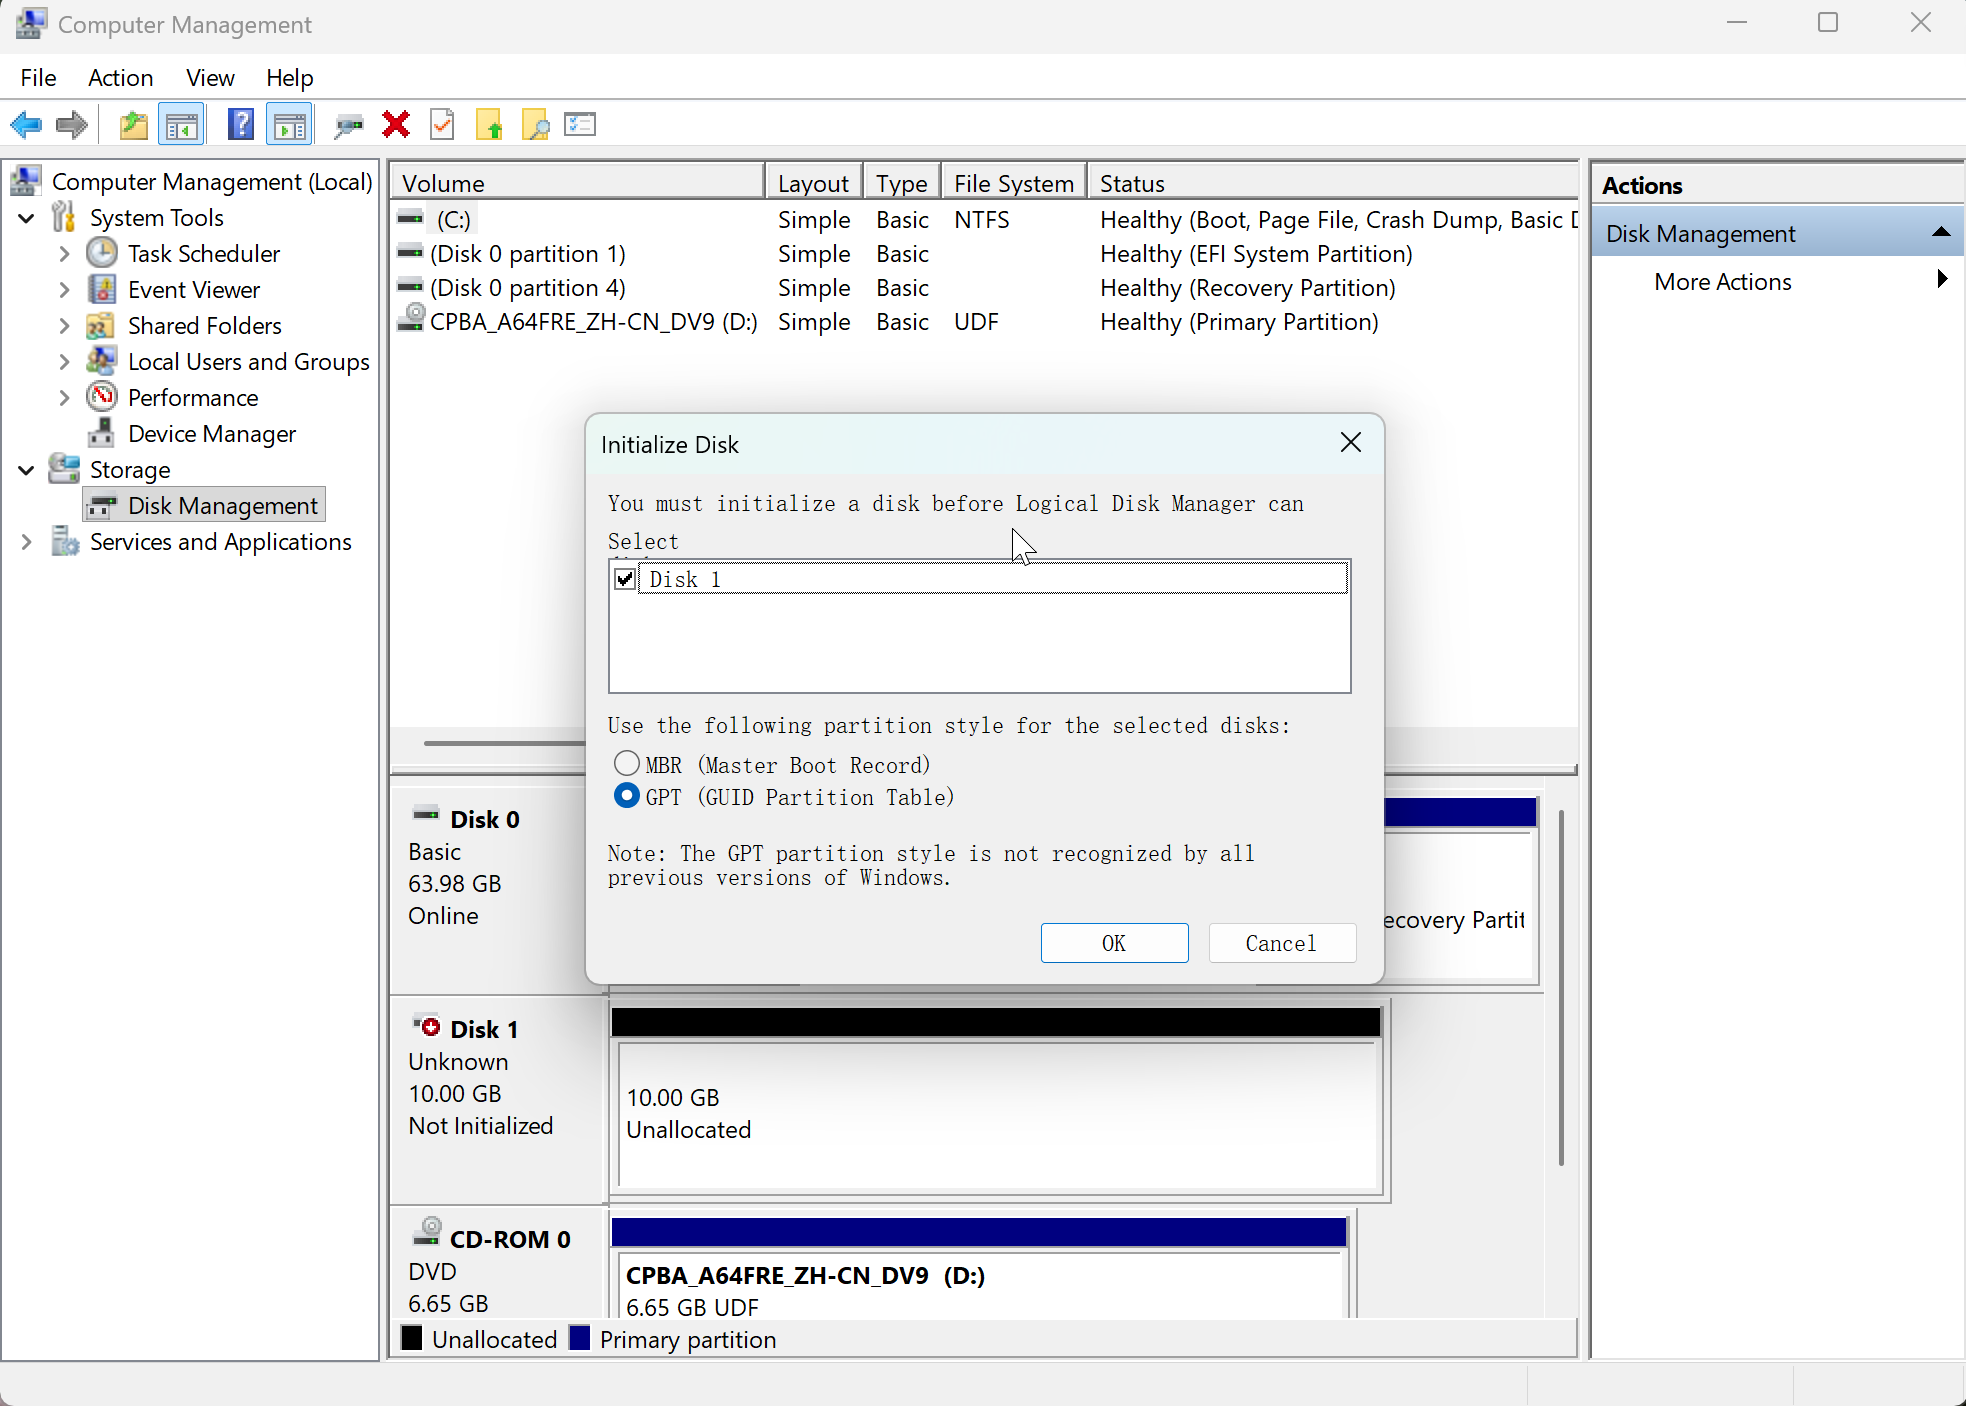
Step 4.Right-click the disk area again and select Initialize Disk. In the dialog box, select MBR (Master Boot Record) and click OK.
![]()
If the disk size exceeds 10 GB, select GPT (GUID Partition Table) instead.
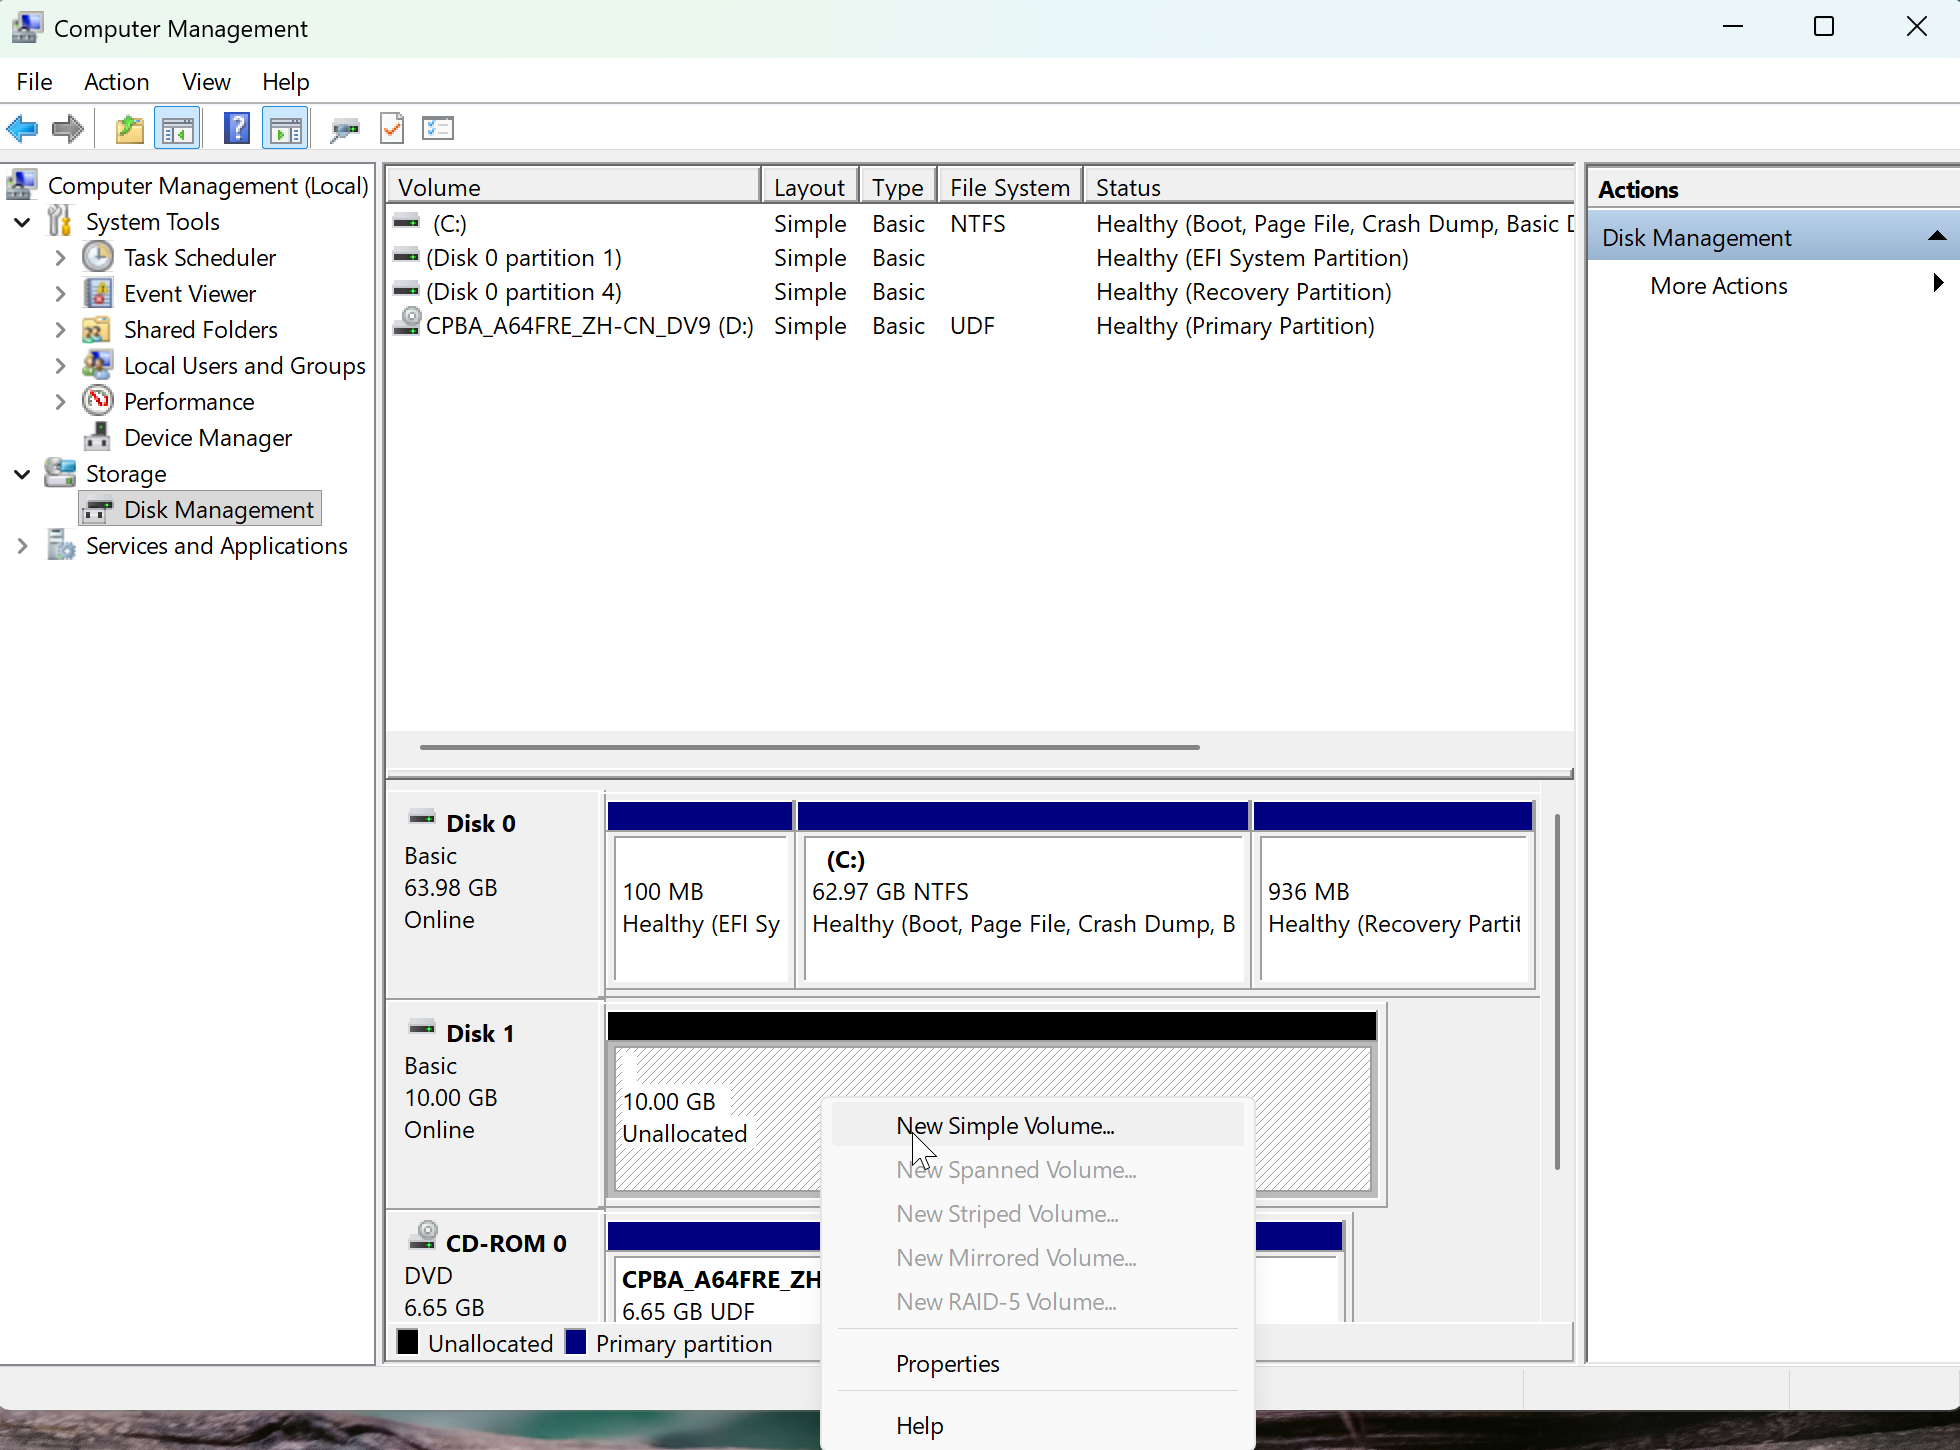
Step 5. Right-click the Unallocated space on the disk and select New Simple Volume.
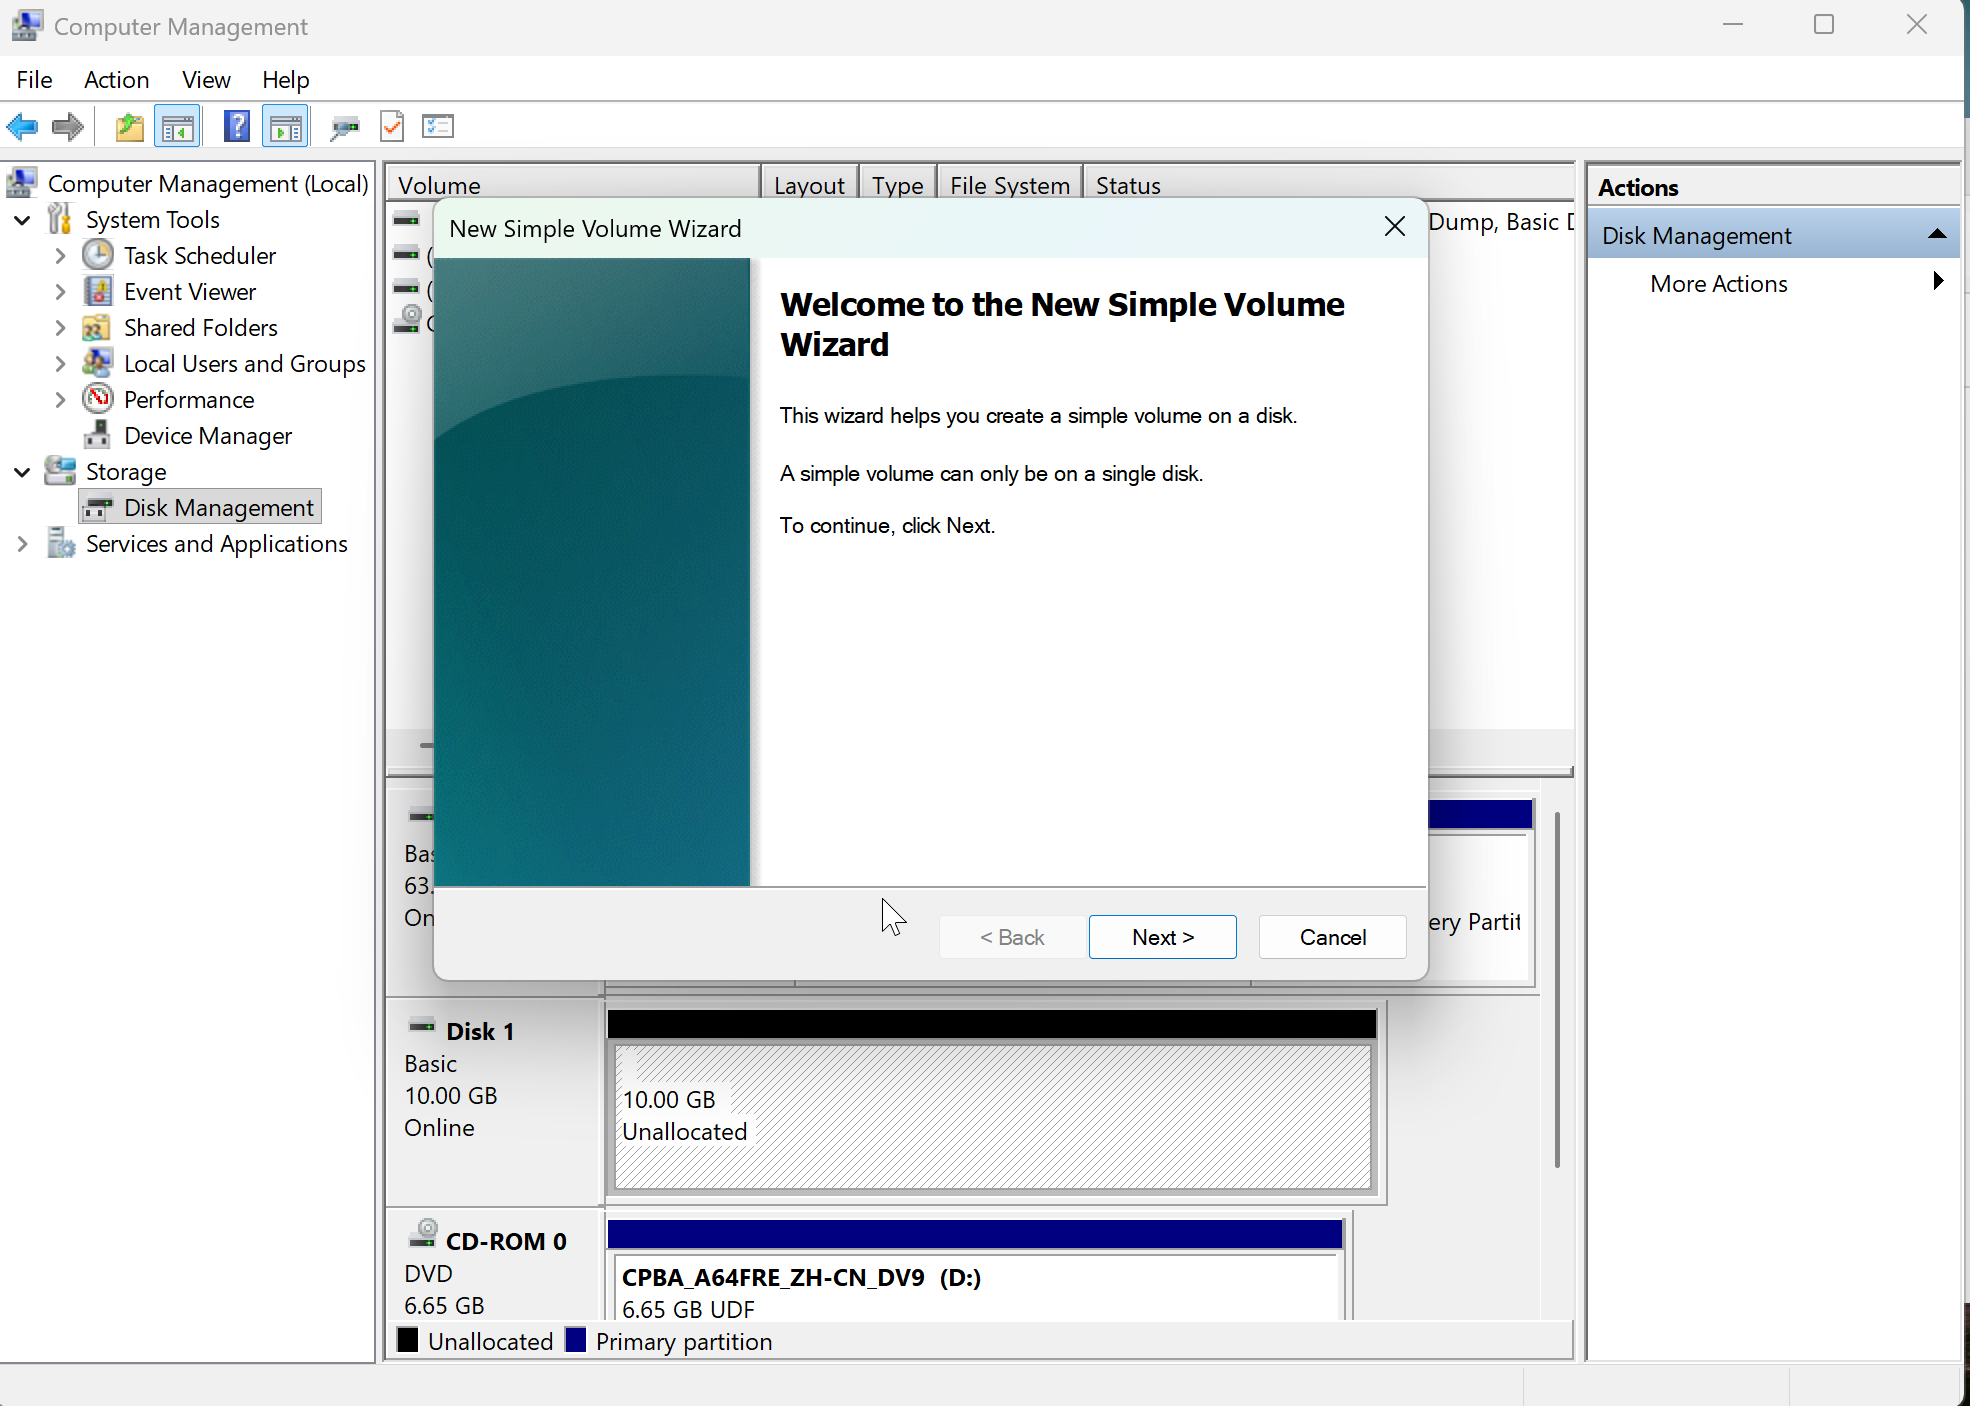
Step 6.In the New Simple Volume Wizard, follow the instructions on the screen and click Next.
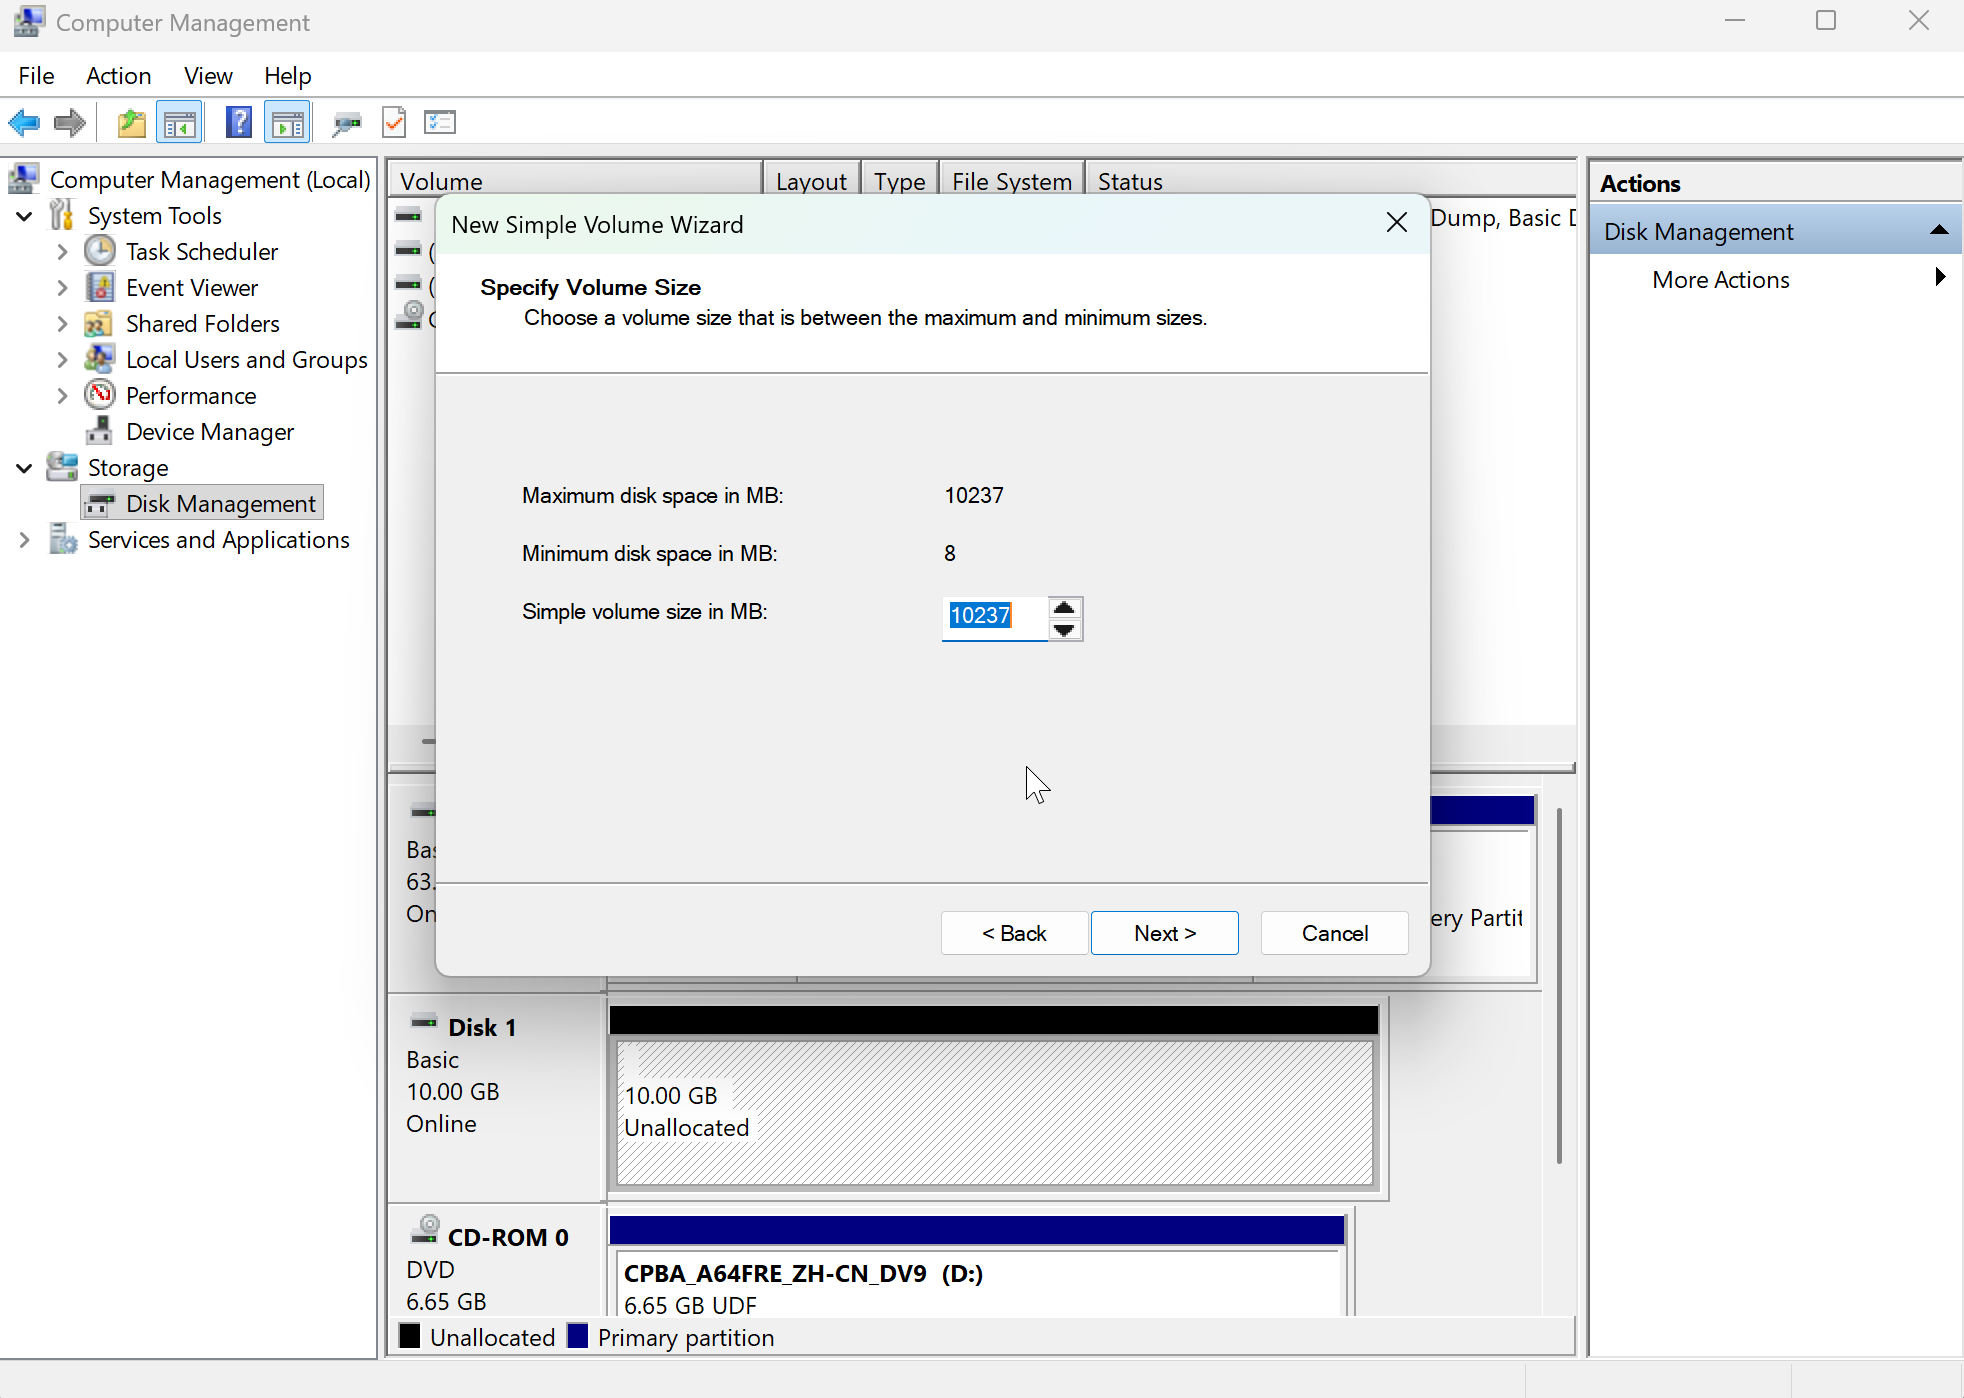
Step 7.Specify a volume size as needed. The default value is the maximum size. Click Next.
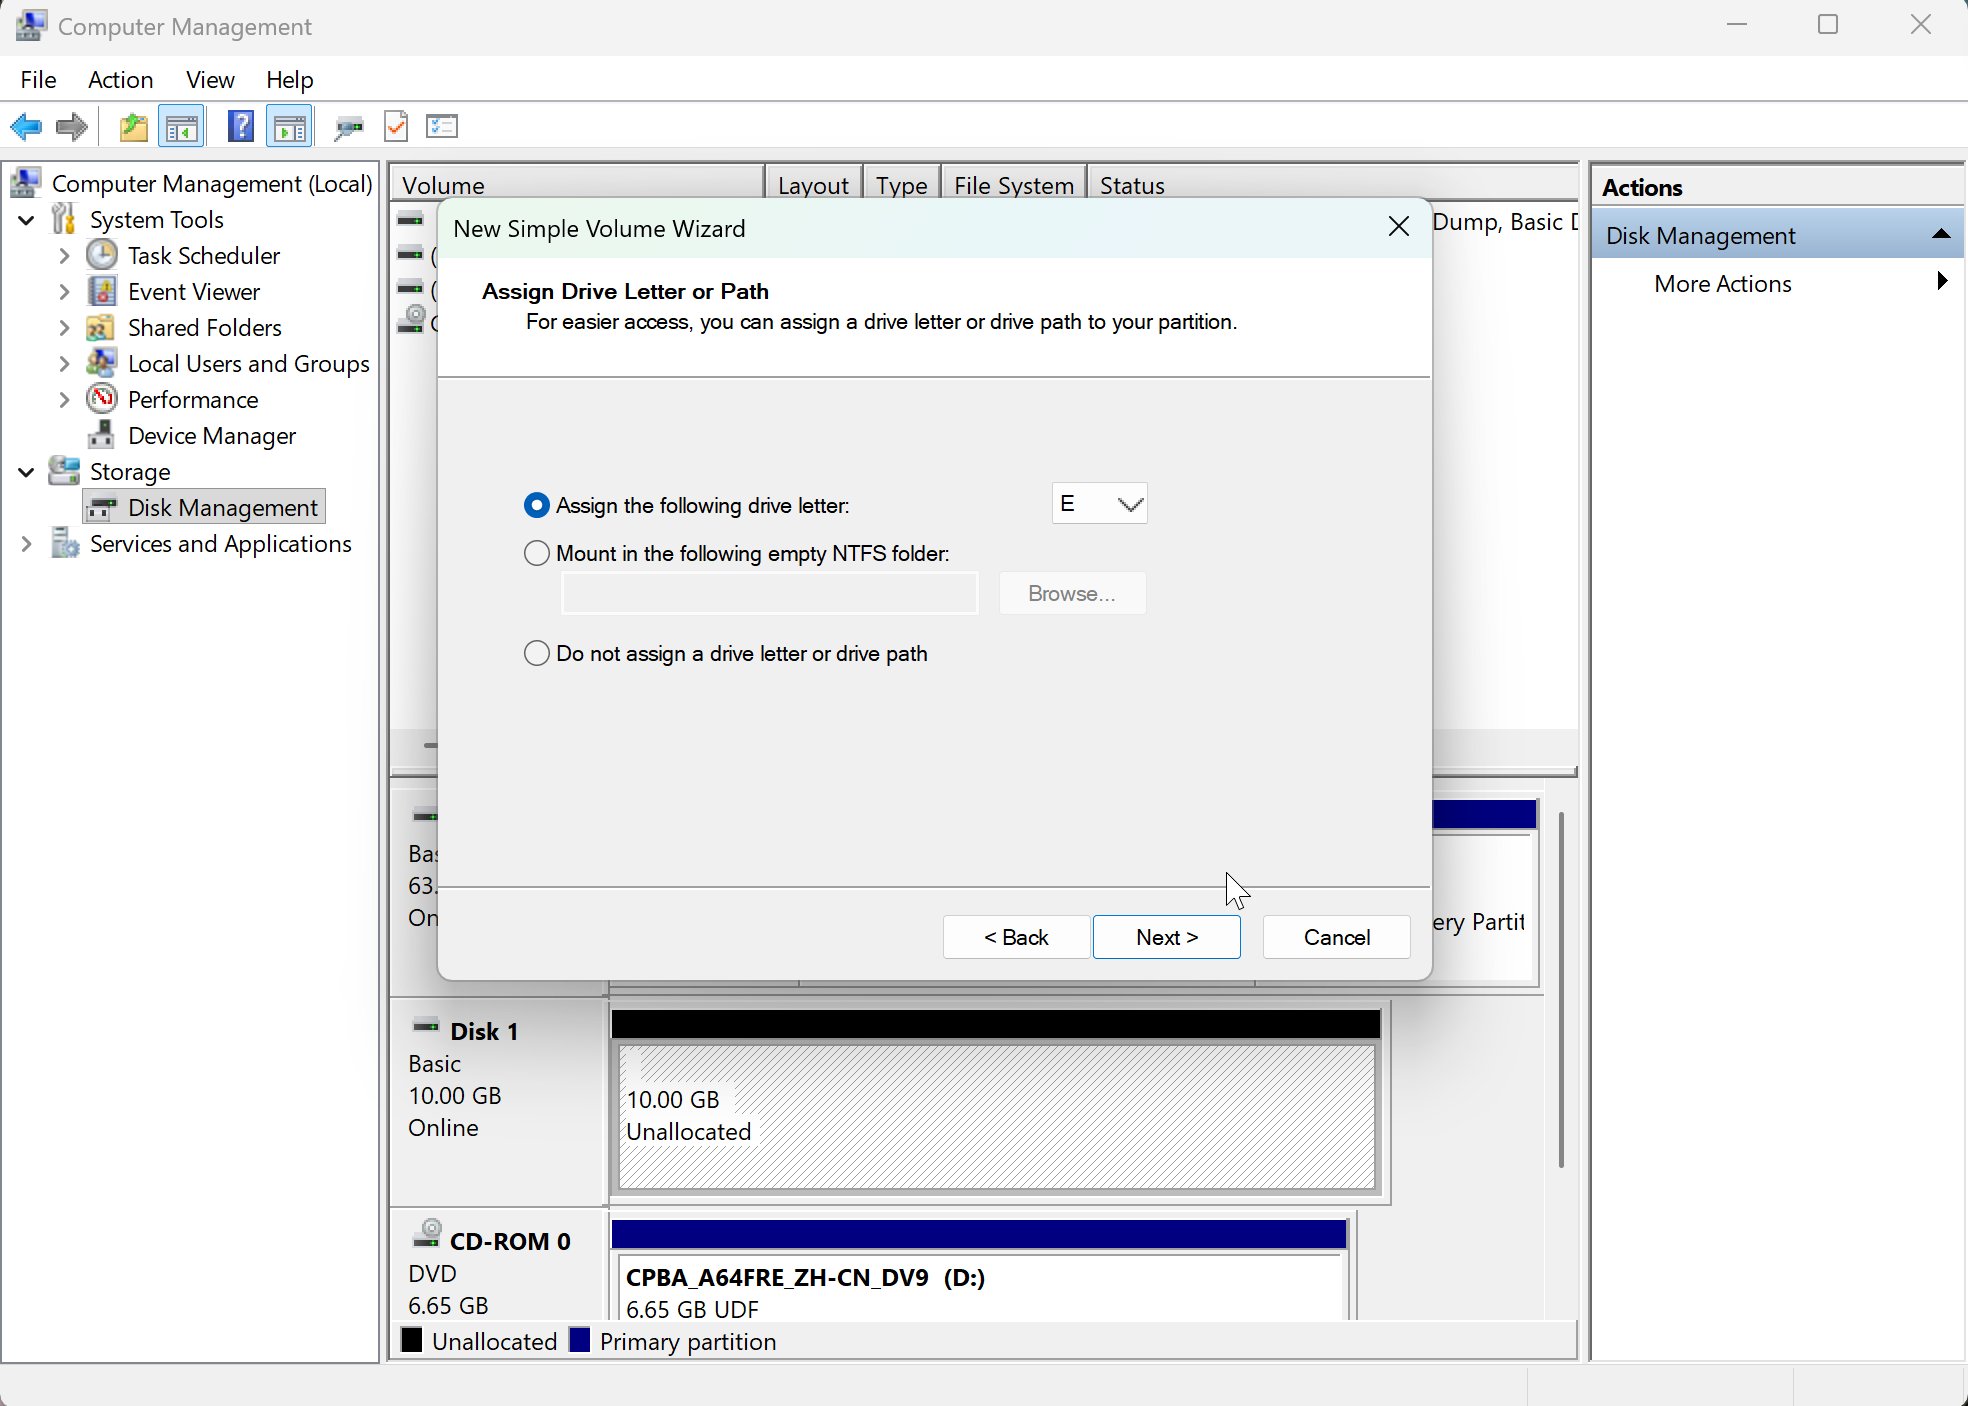
Step 8.Assign a drive letter and click Next.
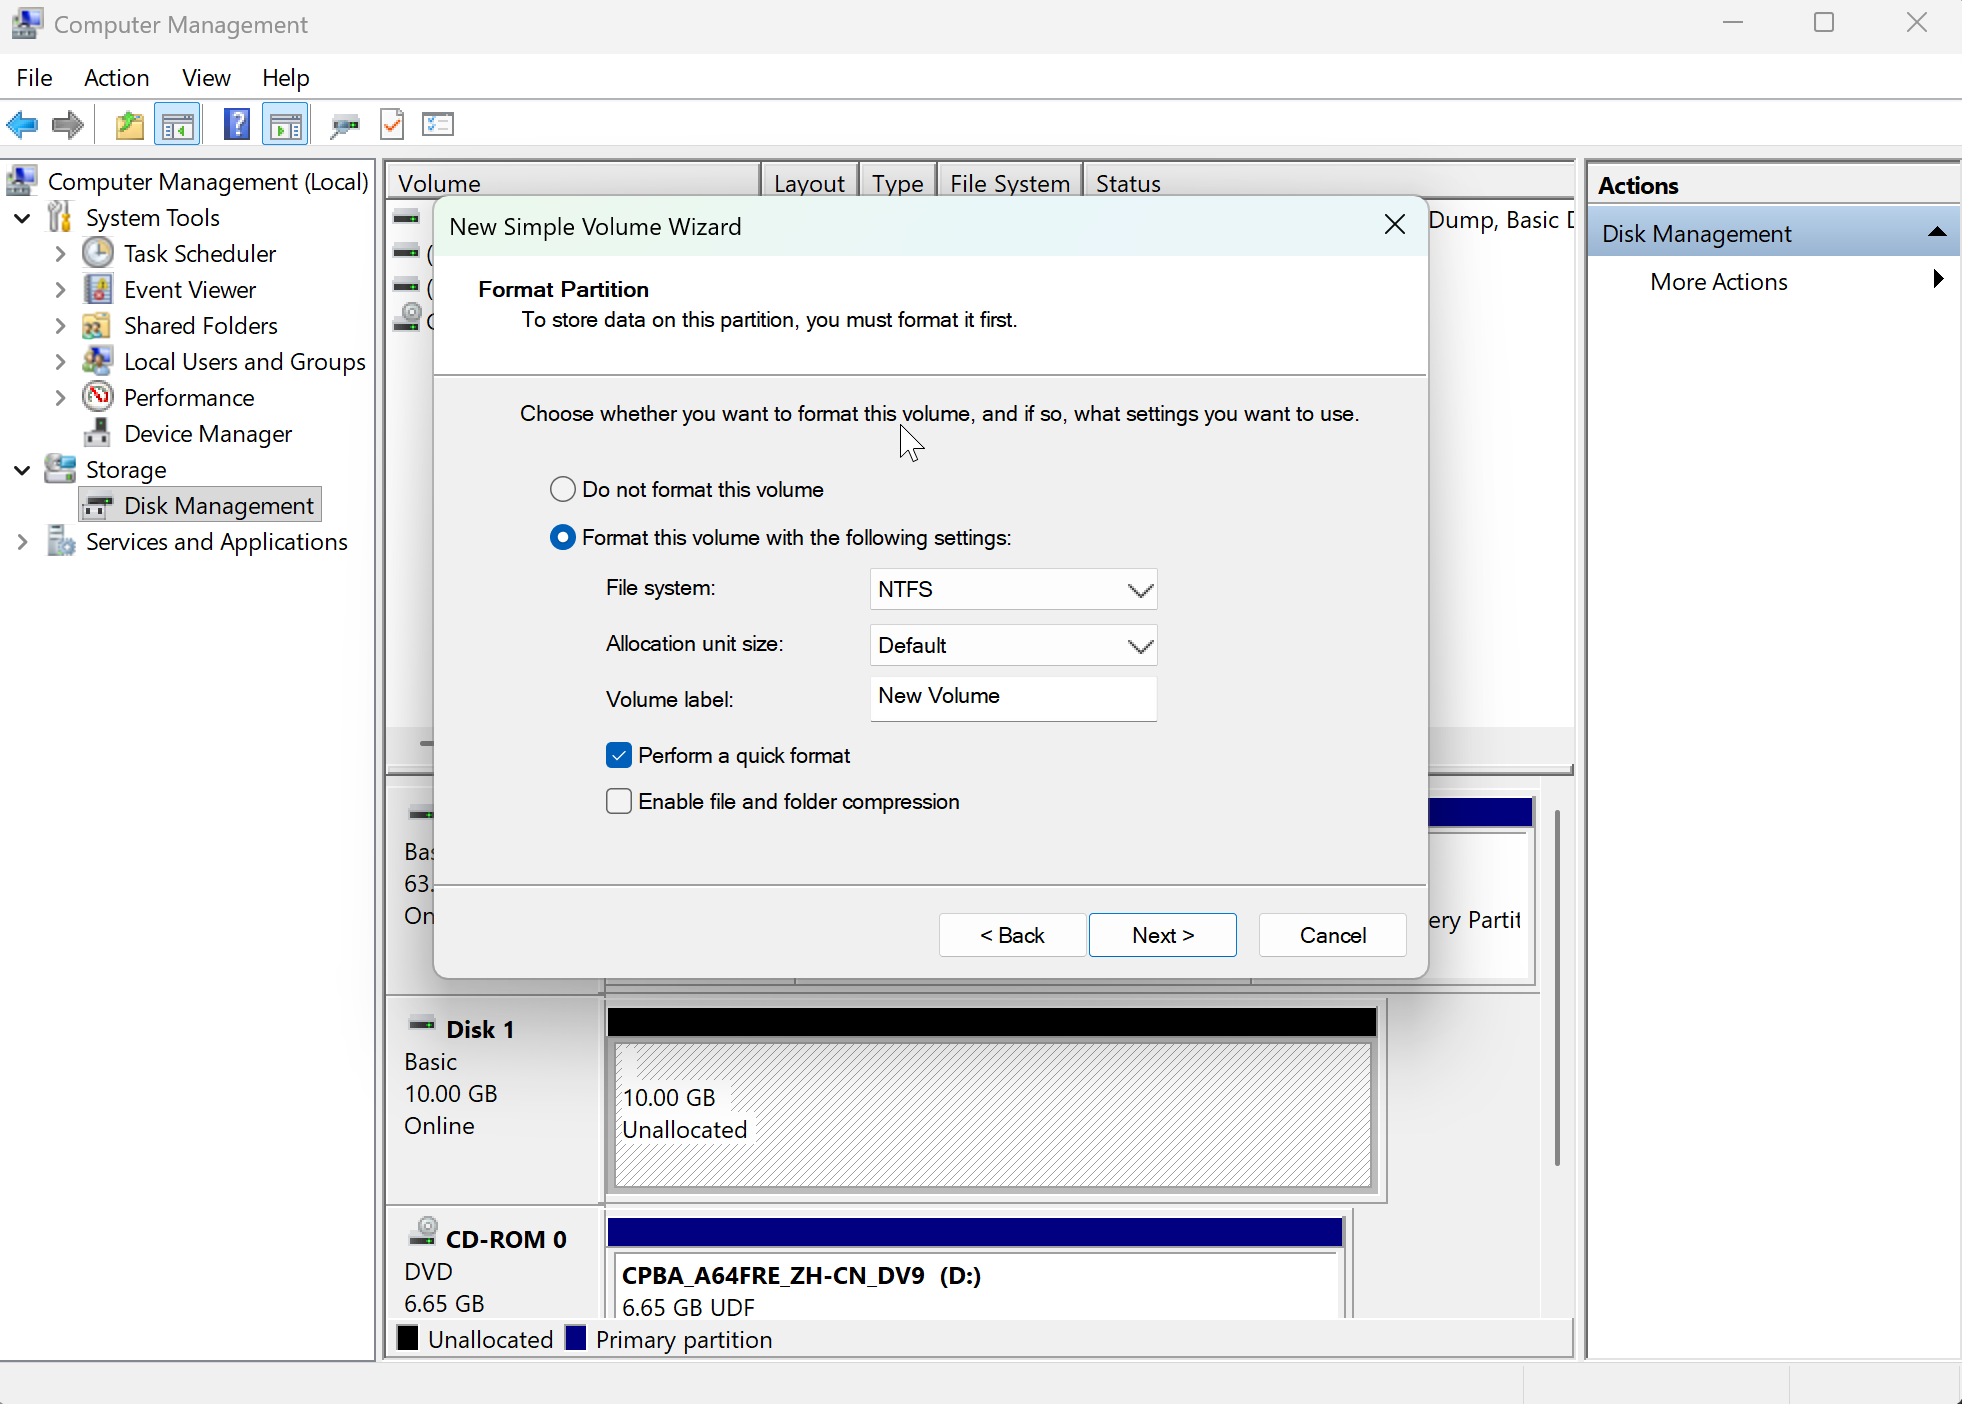
Step 9.Configure the format settings for the new volume and click Next to create the partition.
Step 10.Click Finish.

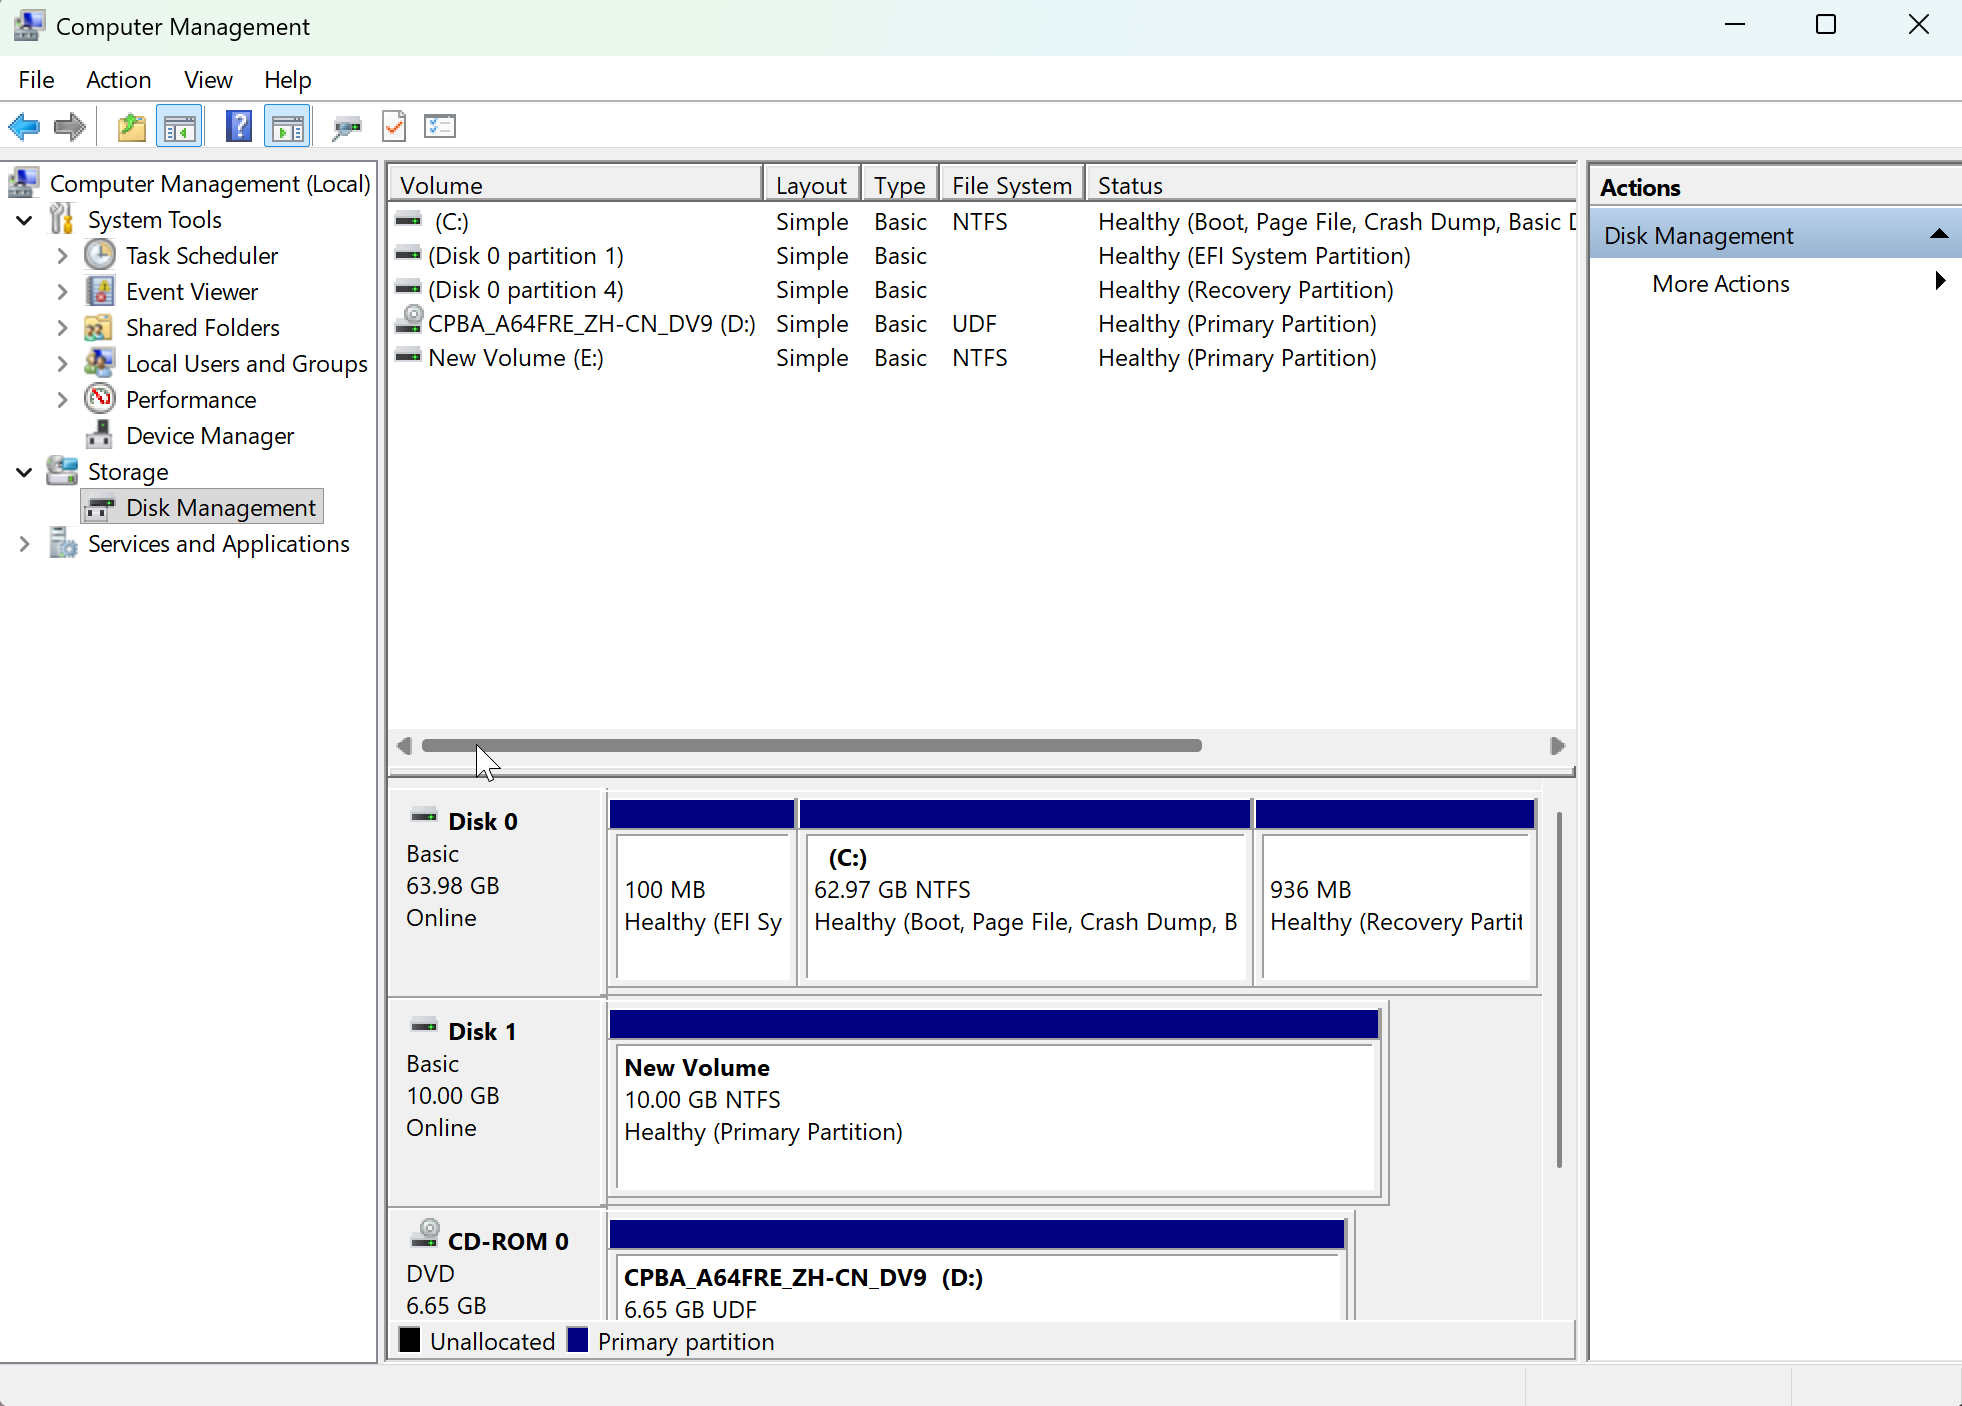
Wait until the initialization is complete. When the volume status changes to Healthy, the disk has been initialized successfully.
---- Finish
Initialization of Expanded Existing Data Disk
Step 1.Edit the VM on HCI to expand the capacity of the target data disk (for example, from 100 GB to 500 GB).
Step 2.Log in to the VM. Open Disk Management as described in Steps 1-2 above. Right-click the original data disk partition (for example, D:) and select Extend Volume.
Step 3.In the Extend Volume Wizard, click Next, select the newly added Unallocated space, and click Next.
Step 4.Click Finish and wait for the expansion to complete. The original data remains intact, and no formatting is required. The new capacity can be viewed in This PC.
Introduction
A data disk mounted to a VM, either during VM creation or added later, must be initialized before the VM can store business data.
You can use fdisk or parted to create partitions on Linux. However, fdisk cannot create partitions on disks larger than 2 TB. For disks larger than 2 TB, initialize them with parted. For details, see section xx.[15]
This section describes how to use fdisk to initialize a data disk on a VM running 64-bit CentOS 7.0. Steps may vary depending on the OS version.
Prerequisites
General Guidance
|
File System |
Scenario |
Advantage |
Disadvantage |
|
ext4 |
General services and small or medium data disks and databases (such as MySQL and MariaDB) |
High compatibility, stability, and maturity, and support for log recovery |
Dynamic capacity expansion: Not supported (offline expansion required), Max file size: 16 TB |
|
XFS |
Large data disks (over 1 TB) and high-IO services (such as big data and log storage services) |
Support for dynamic capacity expansion, excellent read/write performance, and capacity up to 18 EB |
Lower compatibility than ext4 and slow recovery |
|
Btrfs |
Scenarios requiring snapshots or multi-device pooling |
Support for snapshots, dynamic capacity expansion, and data verification |
Low stability and incompatibility with some Linux systems |
Steps
Step 1.Run the following command to check the newly added data disk: fdisk -l
Output description: The system disk (usually /dev/xvda) and the new data disk (such as /dev/xvdb) will be displayed. You can identify the target data disk that has not been partitioned.
Step 2.Run the following command for disk partitioning with fdisk: fdisk /dev/xvdb (replace dev/xvdb with the actual data disk name). Output description: Interactive mode will be enabled, and available commands will be displayed. Enter m for help.
Step 3.Type n and press Enter to create a new partition.
Output description: You will be prompted to select the partition type (p: primary partition, e: extended partition).
Step 4.Type p and press Enter to create a primary partition
Output description: You will be prompted to enter a partition number (Value range: 1-4, Default: 1).
Step 5.Enter a partition number (such as 1) and press Enter, or directly press Enter to use the default value.
Output description: You will be prompted to specify the start sector (Default: 2048).
Step 6.Press Enter to use the default value.
Output description: You will be prompted to specify the end sector. (The end sector occupies the remaining available space of the disk by default. You may also specify a custom size with +size.)
Step 7.Press Enter to use the default value.
Output description: The partition type and size will be displayed after the partition is created.
Step 8.Type p and press Enter to view the partition information.
Output description: Information such as the name (e.g., /dev/xvdb1) and capacity of the new partition will be displayed.
Step 9.Type w and press Enter to save the partition table.
Output description: The partition table of the disk will be updated.
Step 10.Run the following command to sync the partition table: partprobe
Output description: No additional output. Sync completes once the command finishes.
Step 11.Run the following command to format the partition as ext4: mkfs -t ext4 /dev/xvdb1 (replace /dev/xvdb1 with the actual partition name)
Output description: The formatting progress will be displayed, and the file system will eventually be created.
Step 12.Run the following command to create a mount point: mkdir /mnt/sdc (directory name can be customized)
Output description: The mount point will be created, with no output.
Step 13.Run the following command to mount the partition: mount /dev/xvdb1 /mnt/sdc
Output description: The partition will be mounted, with no output. Run the df -TH command to verify the result. Output description: The mount point and usage of the partition will be displayed.
Auto Disk Mounting Upon VM Startup (UUID)
Step 1.Run the following command to query the UUID of the partition: blkid /dev/xvdb1 (replace /dev/xvdb1 with the actual partition name)
Output description: The UUID (such as xxxx-xxxx-xxxx) of the partition will be displayed.
Step 2.Run the following command to open the fstab file: vi /etc/fstab
Output description: The VI editor will be opened, and the existing configuration of the file will be displayed.
Step 3.Press i to enter edit mode and add the following line at the end of the file: UUID = Queried UUID /mnt/sdc ext4 defaults 0 2
Output description: A new line will be added to the configuration to show the UUID, mount point, and file system type.
Step 4.Press Esc, enter :wq, and press Enter to save changes and exit edit mode.
Output description: The editor will be closed, and the configuration will be saved.
Step 5.Run the following command to verify the configuration: mount -a
Output description: If no error is reported, the configuration takes effect. If issues exist, an error message will be returned (such as incorrect UUID or mount point not found).
Introduction
For precautions and prerequisites about initializing a data disk with parted, see xx.[16]
Steps
Step 1.Run the following command to view the new data disk: lsblk
Output description: The system disk (such as /dev/xvda) and the new data disk (such as /dev/xvdb) will be displayed. You can identify the target disk.
Step 2.Run the following command for disk partitioning with parted: parted /dev/xvdb (replace /dev/xvdb with the actual data disk name)
Output description: Interactive mode will be enabled, and the following prompt will be displayed: Type 'help' to view a list of commands.
Step 3.Type p and press Enter to view the current partition table.
Output description: The following content will be displayed: Partition Table: unknown, indicating that the disk has not been initialized.
Step 4.Run the following command to create a GPT partition table: mklabel gpt
Output description: You will be prompted to confirm that data on the disk will be cleared. Enter Yes. This operation is secure because the disk contains no data.
Step 5.Run the following command to set the unit to cylinders: unit
Output description: The configuration will take effect, with no additional output.
Step 6.Run the following command to create the partition: mkpart opt 2048s 100% (opt is the partition name, 2048s is the start sector, and 100% indicates that the end sector occupies all remaining disk space.)
Output description: If a performance optimization prompt appears, enter Cancel to continue with the default settings. A message will be displayed when the partition is created.
Step 7.Type p and press Enter to view the partition information.
Output description: The name (such as /dev/xvdb1), size, and type (GPT) of the new partition will be displayed.
Step 8.Type q and press Enter to exit parted.
Output description: You will exit interactive mode and return to the shell.
Step 9.Run the following command to format the partition as ext4: mkfs -t ext4 /dev/xvdb1 (replace /dev/xvdb1 with the actual partition name)
Output description: The formatting progress will be displayed, and the file system will eventually be created.
Step 10.Run the following command to create a mount point: mkdir /mnt/sdc (directory name can be customized)
Output description: The mount point will be created, with no output.
Step 11.Run the following command to mount the partition: mount /dev/xvdb1 /mnt/sdc
Output description: The partition will be mounted, with no output.
Step 12.Run the following command to verify the result: df -TH
Output description: The mount point and usage of the partition will be displayed.
2.2 Auto Disk Mounting Upon VM Startup (UUID)
Follow the steps described in Auto Disk Mounting Upon VM Startup (UUID) in the previous section.

 {{ $t('index.defaultHeader.chromeBrowserTip') }}