{{ secondMenu.name }}


Navigate to Network > SSL VPN > Login Options to configure the login port and web agent settings, as shown in the figure below:
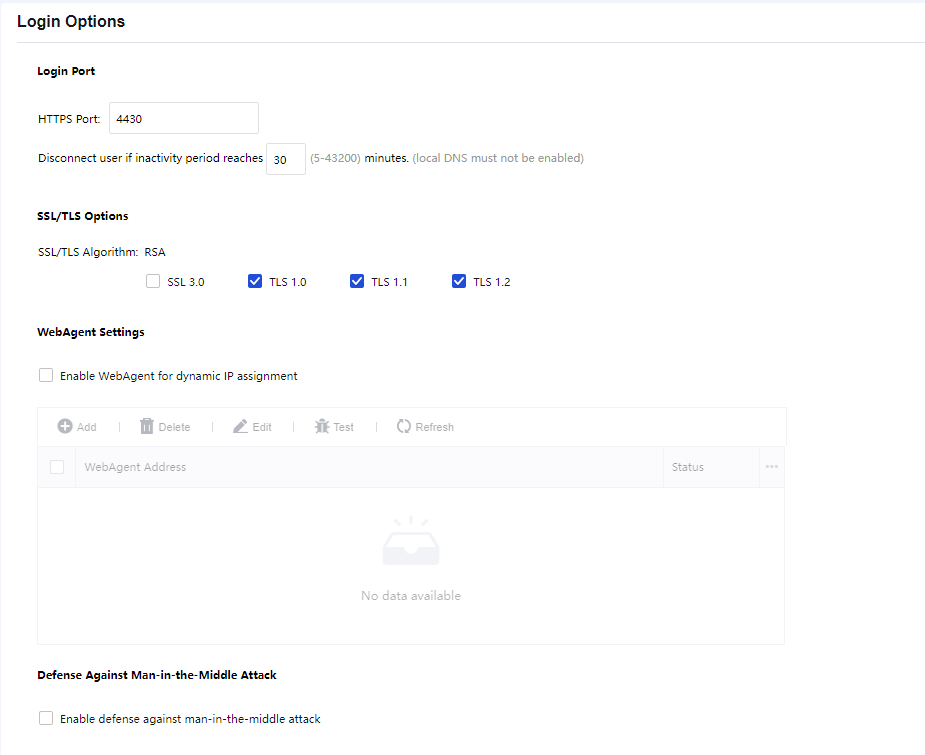
HTTPS Port: Specify the HTTPS port on which the SSL VPN service is being listened.
SSL/TLS Options: Support to enable SSL or TLS settings.
WebAgent Settings:
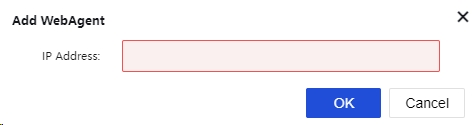
Select Enable WebAgent for dynamic IP assignment to enable this feature. The Sangfor device will get an IP using Web Agent dynamic addressing if it does not use a static Internet IP address. To add a Web agent entry:
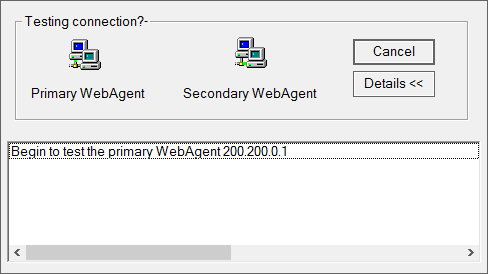
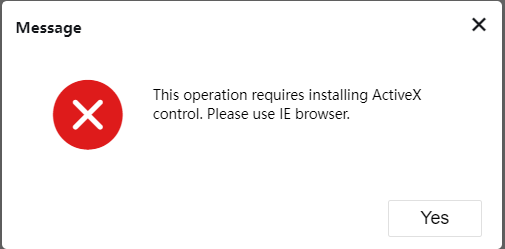
Before the test begins, certain ActiveX control may need to be installed (as shown below).
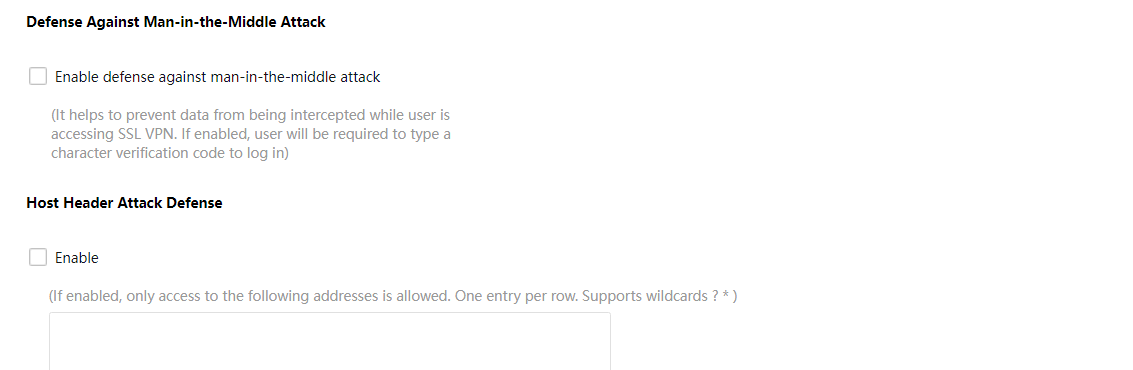
Security protection detection:
It is used to defend against man-in-the-middle attacks and host header attacks. See the figure below:

 {{ $t('index.defaultHeader.chromeBrowserTip') }}