{{ secondMenu.name }}


To configure a virtual network device, select it and click on Settings button to enter settings page, as shown below: 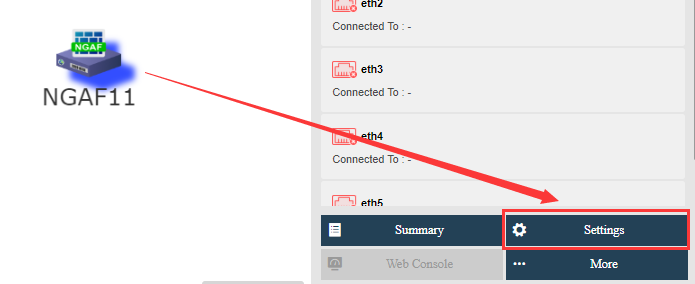
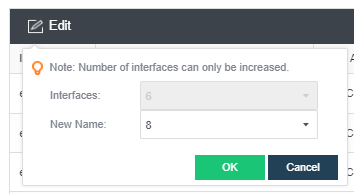
On the Interface tab, it displays the following information: Interface, IP Address, Netmask, MAC Address, Connected To and Status. To change number of interfaces, click Edit. 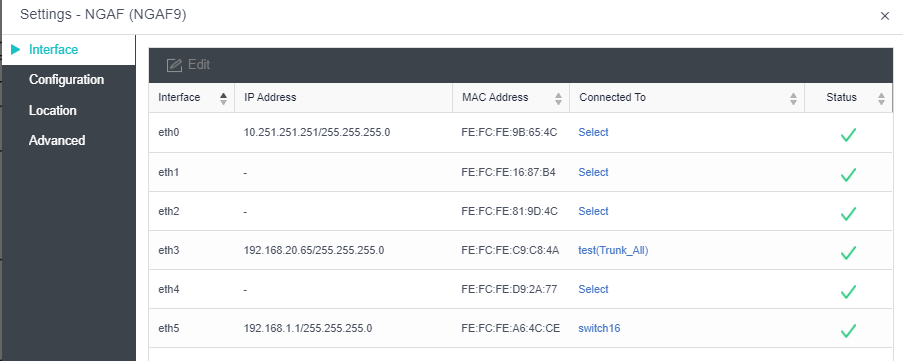
![]()
![]() To enable an interface, click on the icon. To disable an interface, click on the
To enable an interface, click on the icon. To disable an interface, click on the
icon.
Hardware configuration is displayed on the Configuration tab, including CPU, memory and disk. Re-licensing is required in order to change the hardware configuration of the Virtual Network Device. 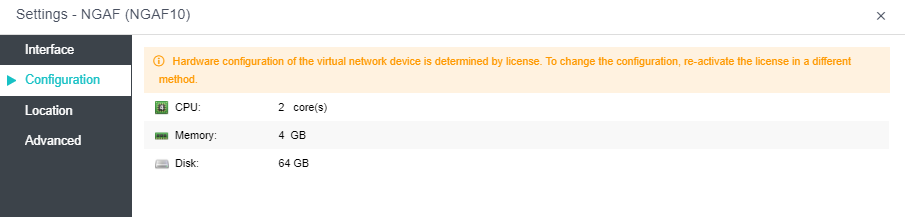
![]()
Hardware configuration can only be set higher.
On the Location tab, it displays the datastore where the virtual network device is stored and the current node running the virtual network device. 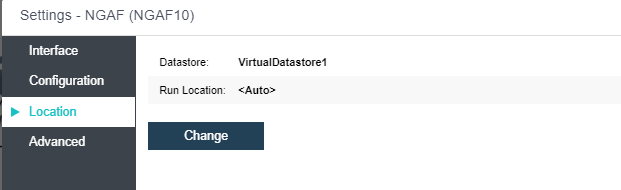
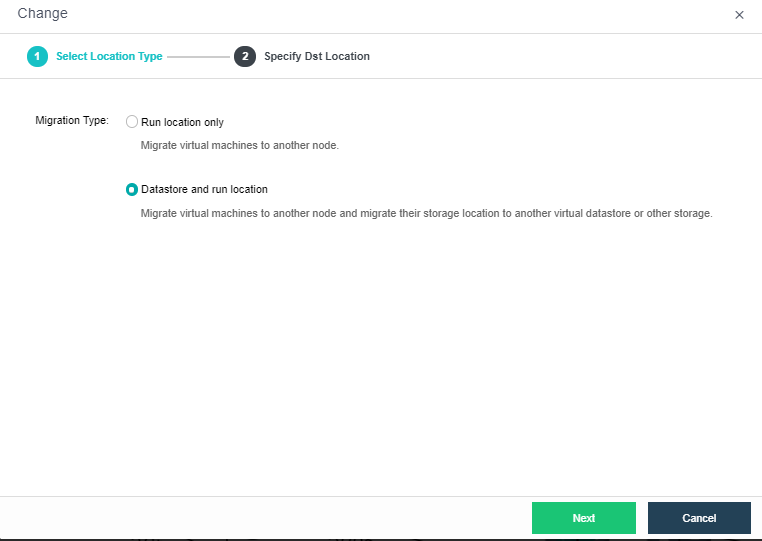
To change the current location, click on the Change button to enter the following page and specify destination location
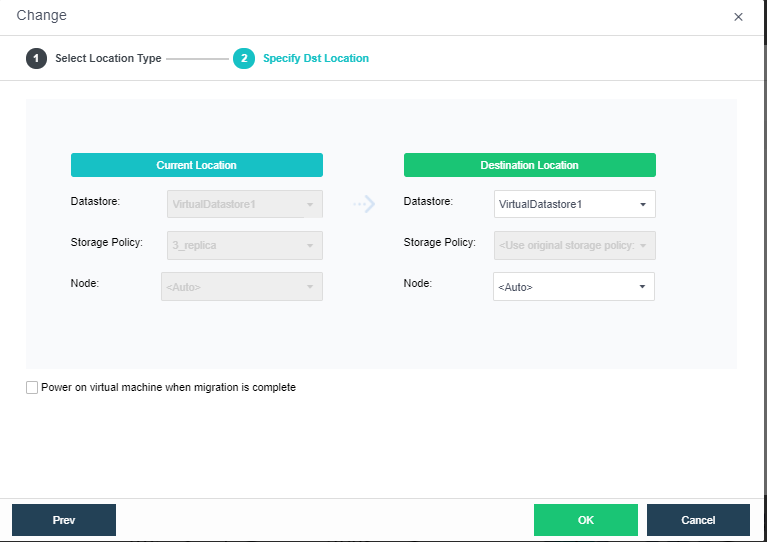
As shown above, the current location is displayed on the left side and the destination location can be specified on the right side.
![]()
If the destination datastore is not shared, HA will not be supported.
To have the virtual network device power on upon node startup, select Power on at node startup. High priority can ensure that the virtual network device has enough resources even when overall resources are inadequate. Reboot if error occurs enables virtual device to restart automatically when it is not responding due to stuck. HA enables virtual network device to be migrated to another node when the working node fails. 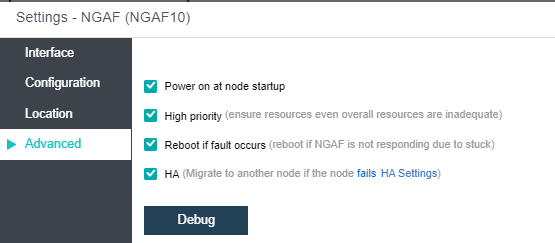
To configure debugging options, click Debug to enter the following page. On that page, you may select Disk write caching, which enables files on disks to be loaded to memory so as to improve disk IO performance. 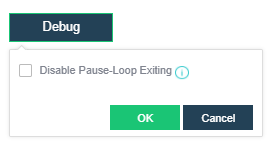

 {{ $t('index.defaultHeader.chromeBrowserTip') }}