{{ secondMenu.name }}


Virtual machines can be viewed by Panel or List. By default, virtual machines are displayed by Panel. To view VMs by List, click on List, as shown below: 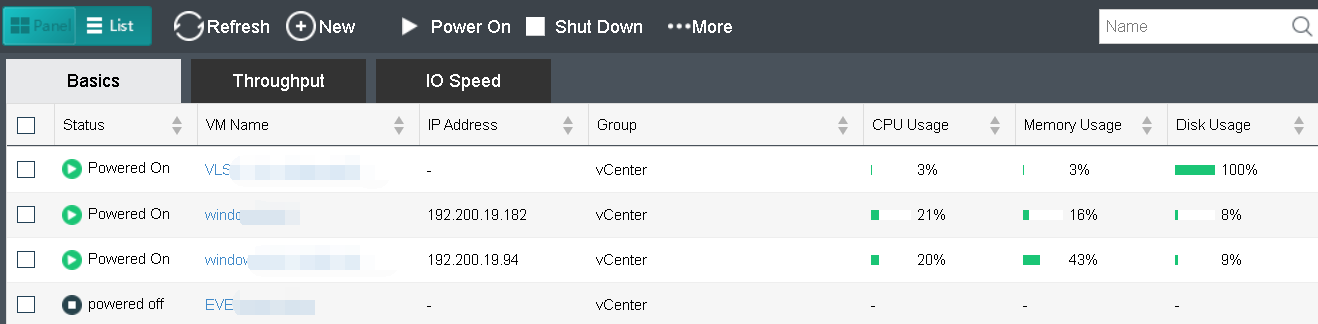
VM details are displayed, as shown below:
Basics: Displays basic information of virtual machines 
Throughput: Displays outbound and inbound speed. 
IO Speed: Displays IO speed. 
Creating New Virtual Machine : Click New to deploy a new virtual machine from an existing VM template, as shown below: 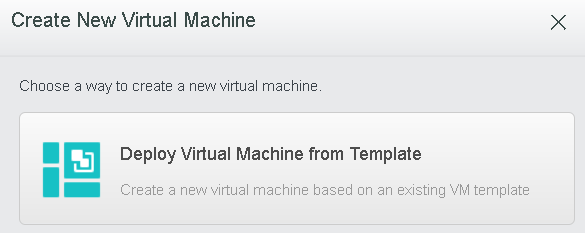
Select a VM template and then configure relevant fields, as shown below: 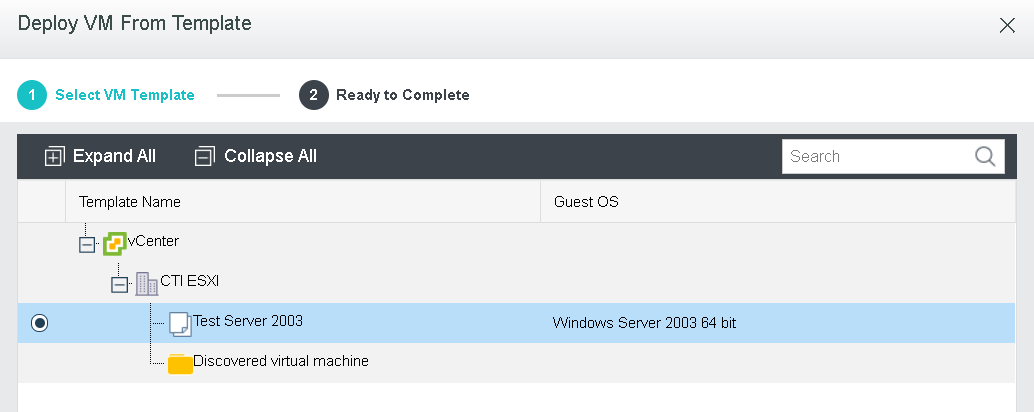
Click Next, after the template is selected. 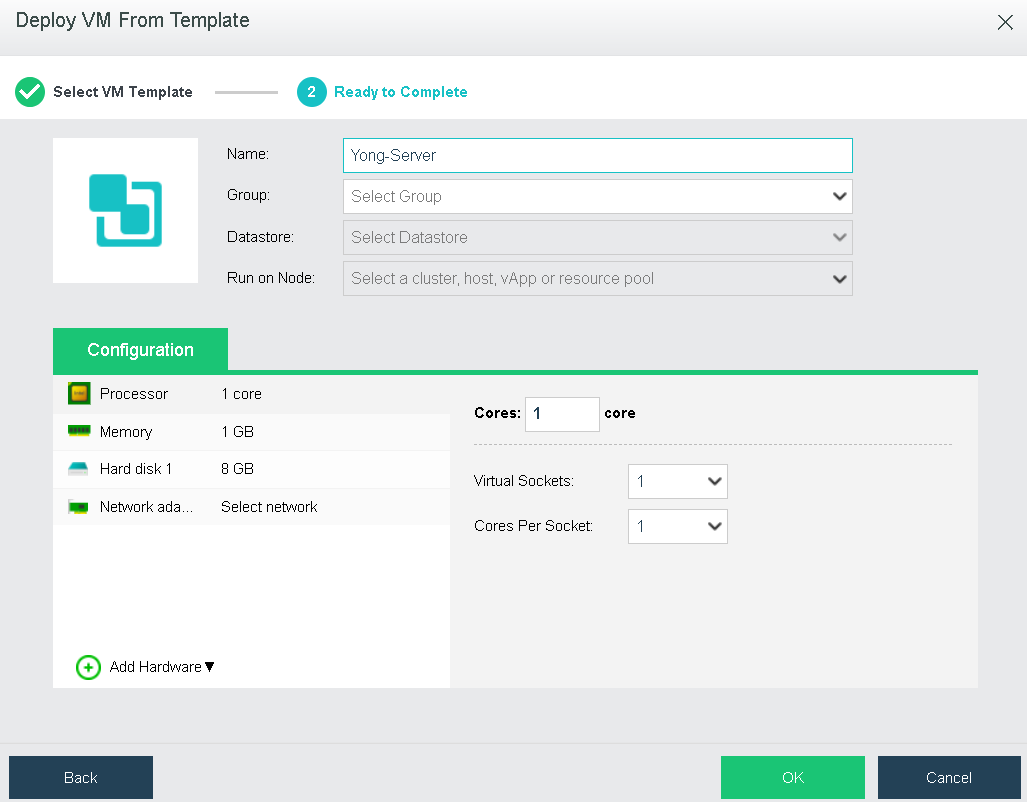
Name: Specifies a distinguishable name for the virtual machine.
Group: Specifies a group to which this virtual machine belongs.
Run on Node: Specifies a node on which the virtual machine runs.
Datastore: Specifies a datastore where configuration files of deployed virtual machine is stored.
Configuration: It allows you to configure hardware resources, such as Processor, Memory, Disk, CD/DVD and NIC, etc 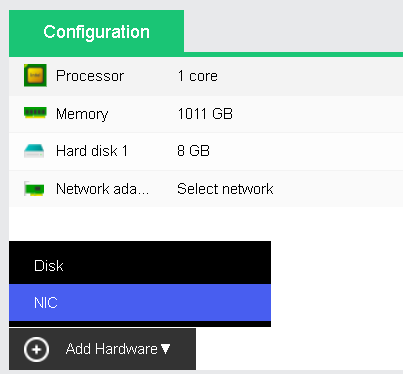
Processor: Specifies the number of virtual sockets and cores per socket for the virtual machine respectively. Once the numbe of cores is configured, Virtual Sockets and Cores Per Socket will be automatically filled with optimum values so as to achieve best VM performance. 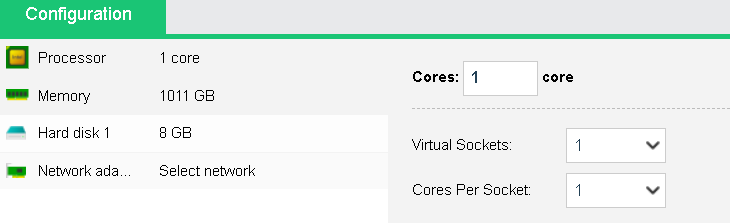
Memory: Specifies the memory for the virtual machine. The minimum is 512 MB, and the maximum is 1TB. 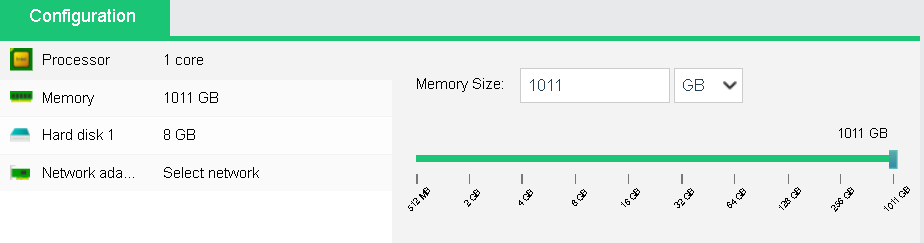
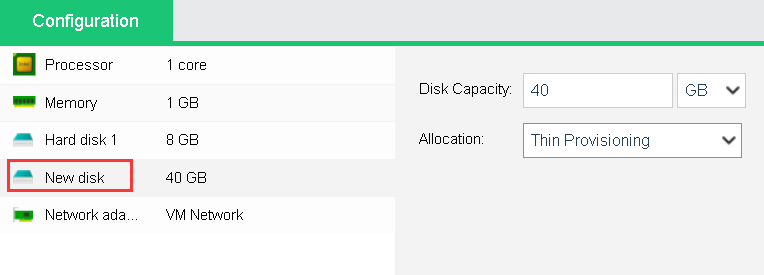
Disk: Specifies the disk for the virtual machine.
Disk Capacity: Specifies the capacity(GB) of the virtual disk. 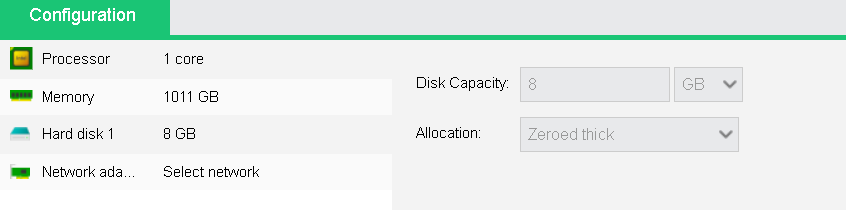
Allocation: Options are Thin Provisioning, Eager zeroed thick and Zeroed thick.
Network adapter: Specifies what the virtual machine is connected to. 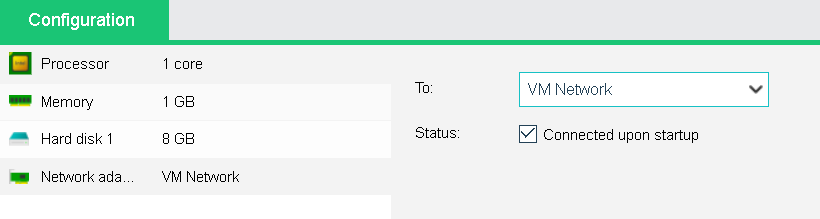
Connected To: Specifies an edge to be connected to the virtual machine.
Status: If it is selected, the VM will auto connect to the edge upon startup.
Add Hardware: To add more hardwares, click Add Hardware. Then, you can add new Disk and NIC. 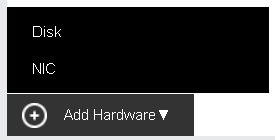
For example, click Add Hardware and select Disk. Then, a new disk will be added (as shown in following figure). To delete a disk, click X on the icon.
Batch Operation
Administrator can perform the following operations against multiple virtual machines: Power On, Suspend, Shut Down, Reboot, Power Off, Reset, Migrate to SANGFOR HCI, and Delete.
![]()
To power on virtual machines(s), you may select one or more than one virtual machines and then and click on Power On.
To suspend virtual machines(s), you may select one or more than one virtual machines and then and click on Suspend.
To shut down virtual machine(s), you may select one or more virtual machines and then click on Shut Down.
To start virtual machine(s), you may select one or more virtual machines and then click on Reset.
To power off virtual machine(s), you may select one or more virtual machines and then click on Power Off.
To restart virtual machine(s), you may select one or more virtual machines and then click on Reboot.
To migrate the virtual machine(s) to SANGFOR HCI, you may select one or more virtual machines and then click on Migrate to SANGFOR HCI.
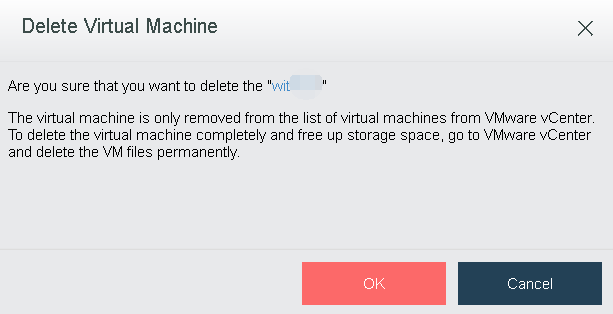
To delete virtual machines, you may select the virtual machines and click Delete, then the virtual machine will be removed from the VMware vCenter yet the storage space occupied by the VM will not be freed up. You may go to VMware vCenter platform to clean up files of the virtual machine.
If a virtual machine is selected, the color of the icon at the upper left corner of the corresponding card will turn to green from gray. 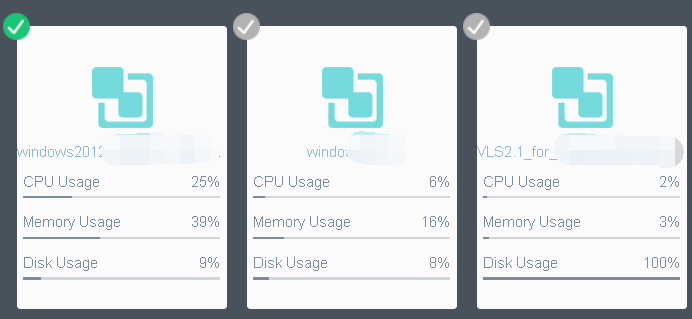
To exit from editing the virtual machines, click on the Exit button on the upper right corner. ![]()

 {{ $t('index.defaultHeader.chromeBrowserTip') }}