4.6.3.1Security Events
Function Description
- aSecurity supports the fixing of security events with a full-stack guide covering network isolation, snapshot fallback, and virus fixing.
- This feature ensures that the RPO and RTO are the smallest. Before fixing, files are stored in a separate sandbox. In addition, a snapshot is automatically taken, so that files can be quickly recovered in the case of accidental deletion or system crash to ensure proper running of businesses.
- It can block cyber attacks and blacklist source IP addresses to prevent network system crashes, data leakage, and information security threats caused by cyber attacks.
Prerequisites
N/A
Precautions
N/A
Steps
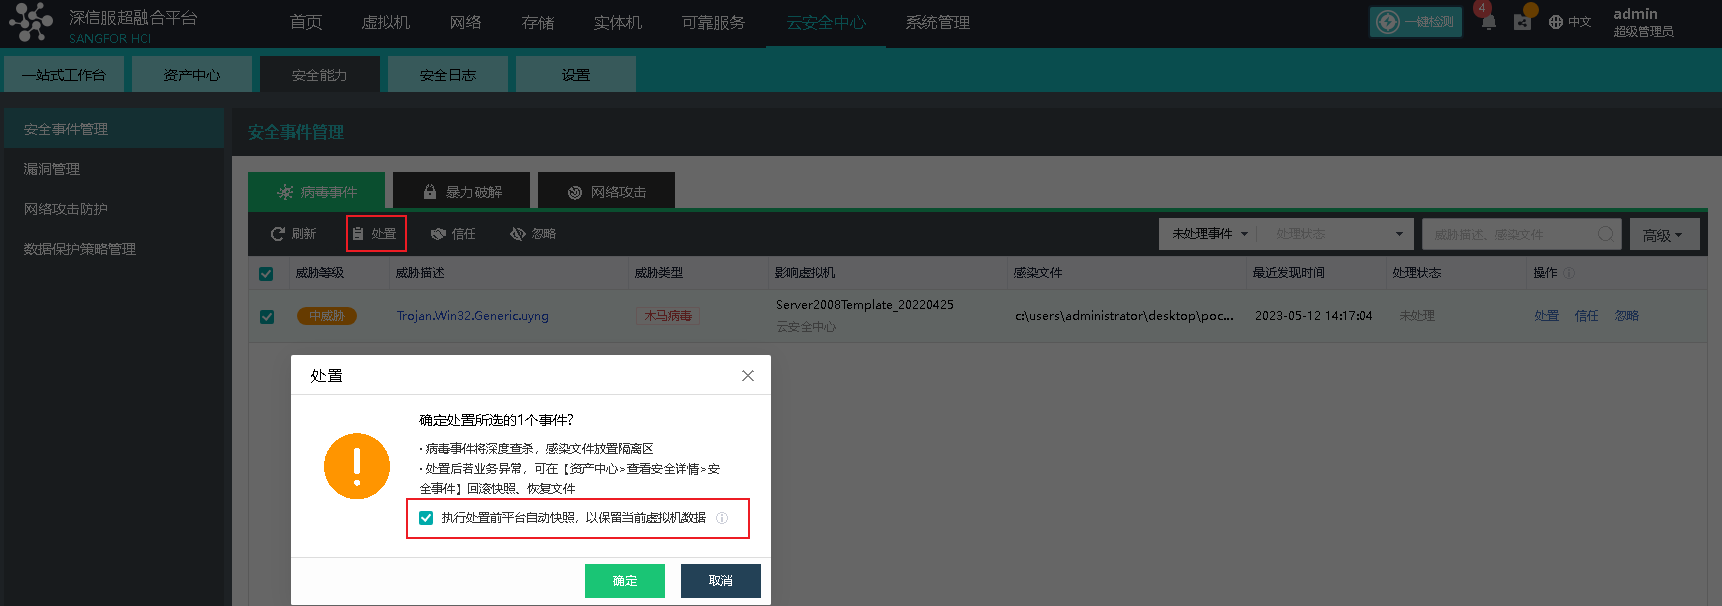
- Go to Security Capabilities > Security Events > Viruses. Then, you can select an action on the target virus, which can be Fix, Trust, or Ignore.
- Click Fix. In the pop-up dialog box, we recommend that you select Create a snapshot before fixing to preserve the current VM data.
• The virus is fixed after the snapshot is taken successfully. The snapshot suppression time is 1 hour, indicating that the earliest snapshot is retained if manual fixing is performed several times on a VM within an hour.
• A consistent group snapshot is taken for the VM if it is in a consistency group.
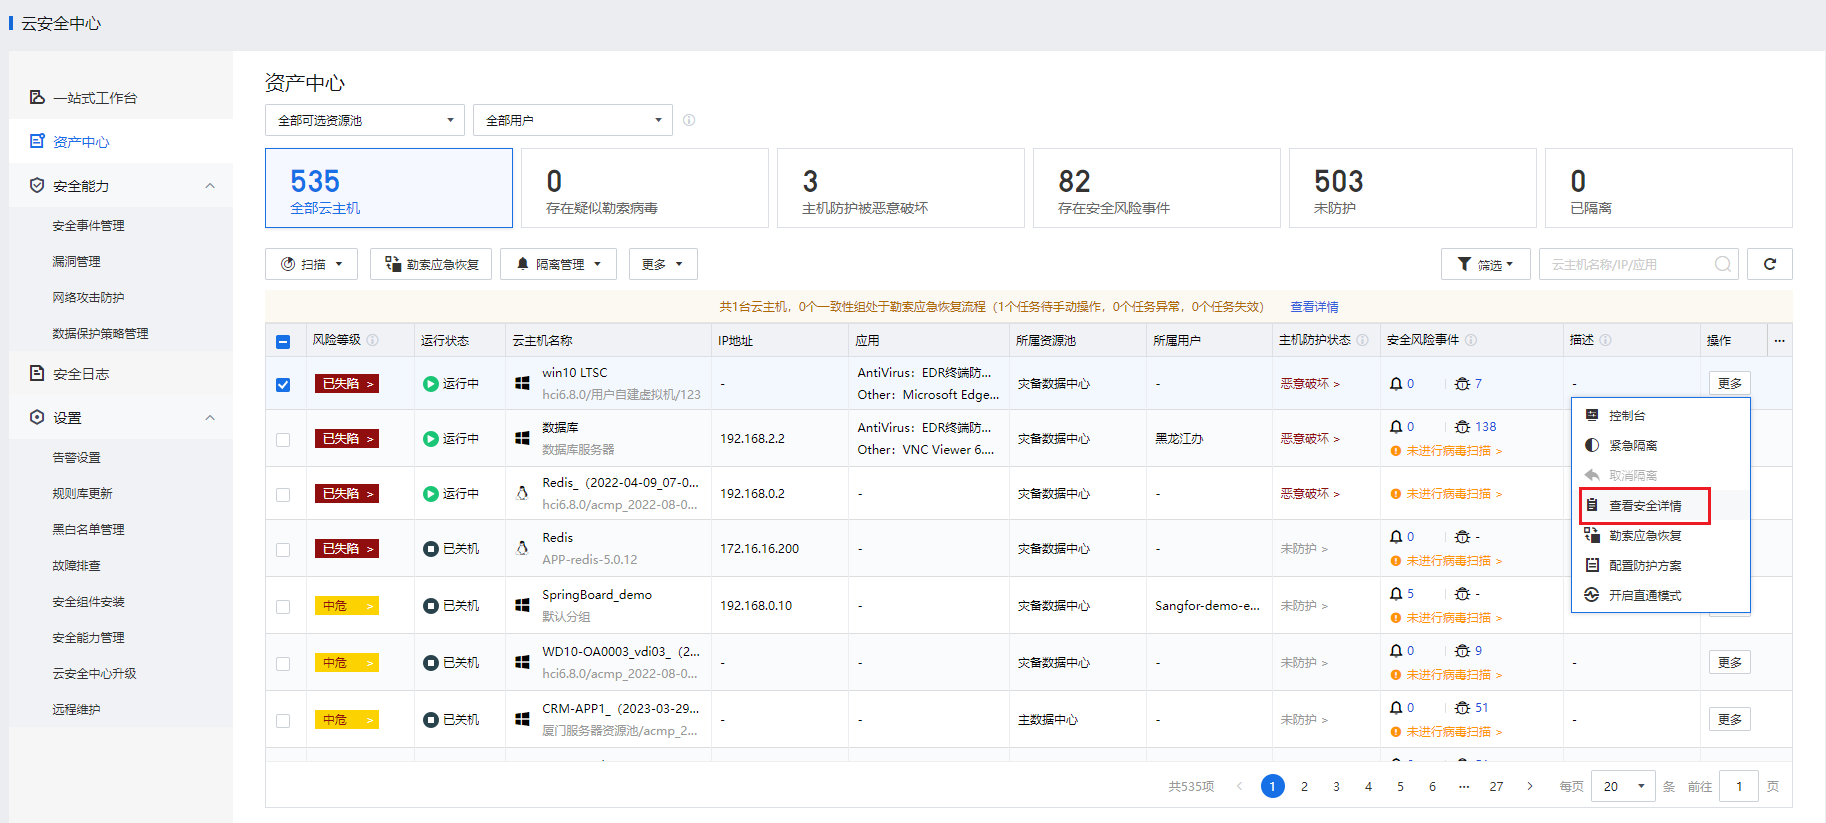
- Click OK. After the fixing is completed, the number of virus events in the security events of the VM becomes 0.

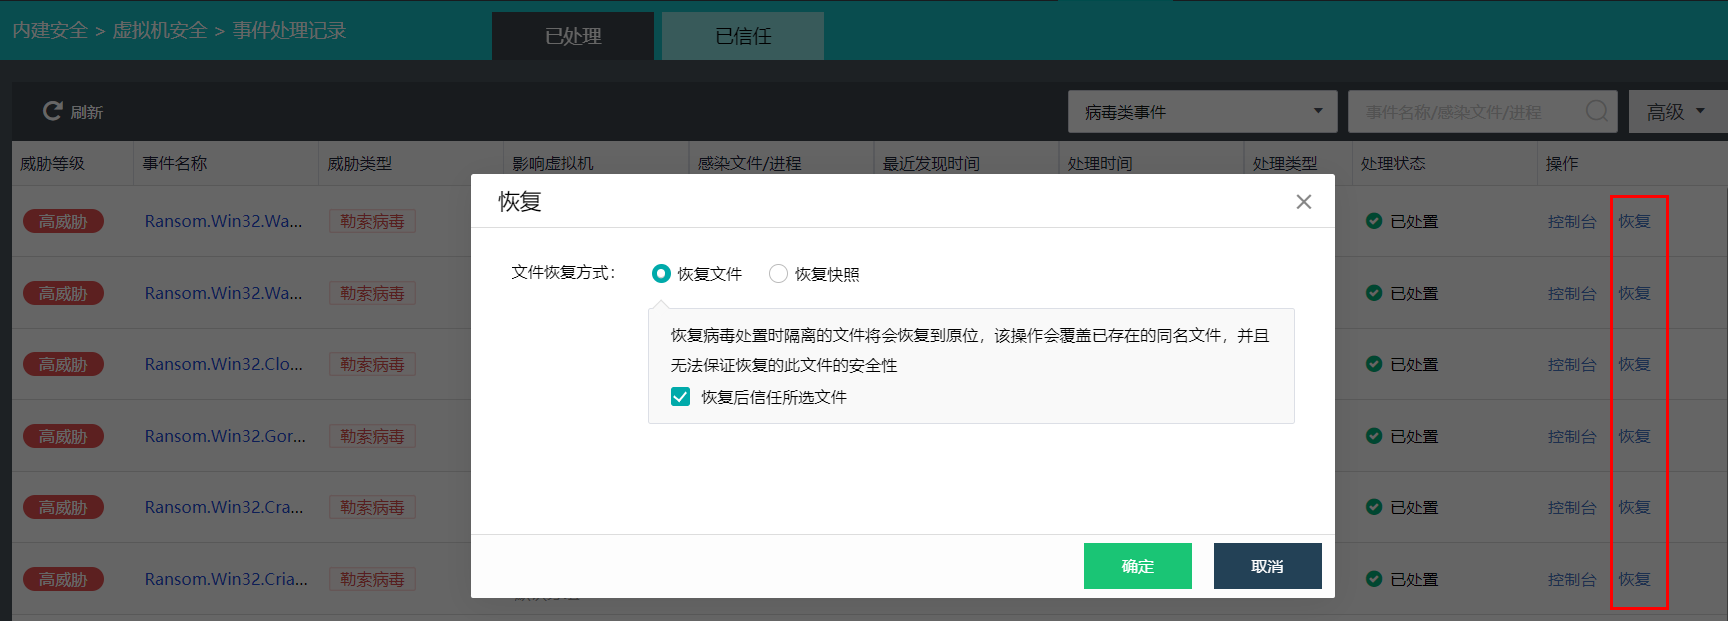
- Select View Security Details from the More drop-down list to enter the security event list and view the fixed virus events. If your business becomes abnormal after virus fixing, click Recover.
• Recover File: Recover the selected file to its original location, which overwrites the existing file with the same name and cannot guarantee the security of the file. By default, a recovered file will be marked as trusted. Please operate with caution.
• Recover from Snapshot: Recover the file from a VM snapshot. Note: This operation will recover the VM to the time point of the selected snapshot. Ensure that a snapshot or backup has been made for the VM; otherwise, unprotected data will be lost. Perform recovery during off-peak hours, as it will shut down the VM and interrupt your business.
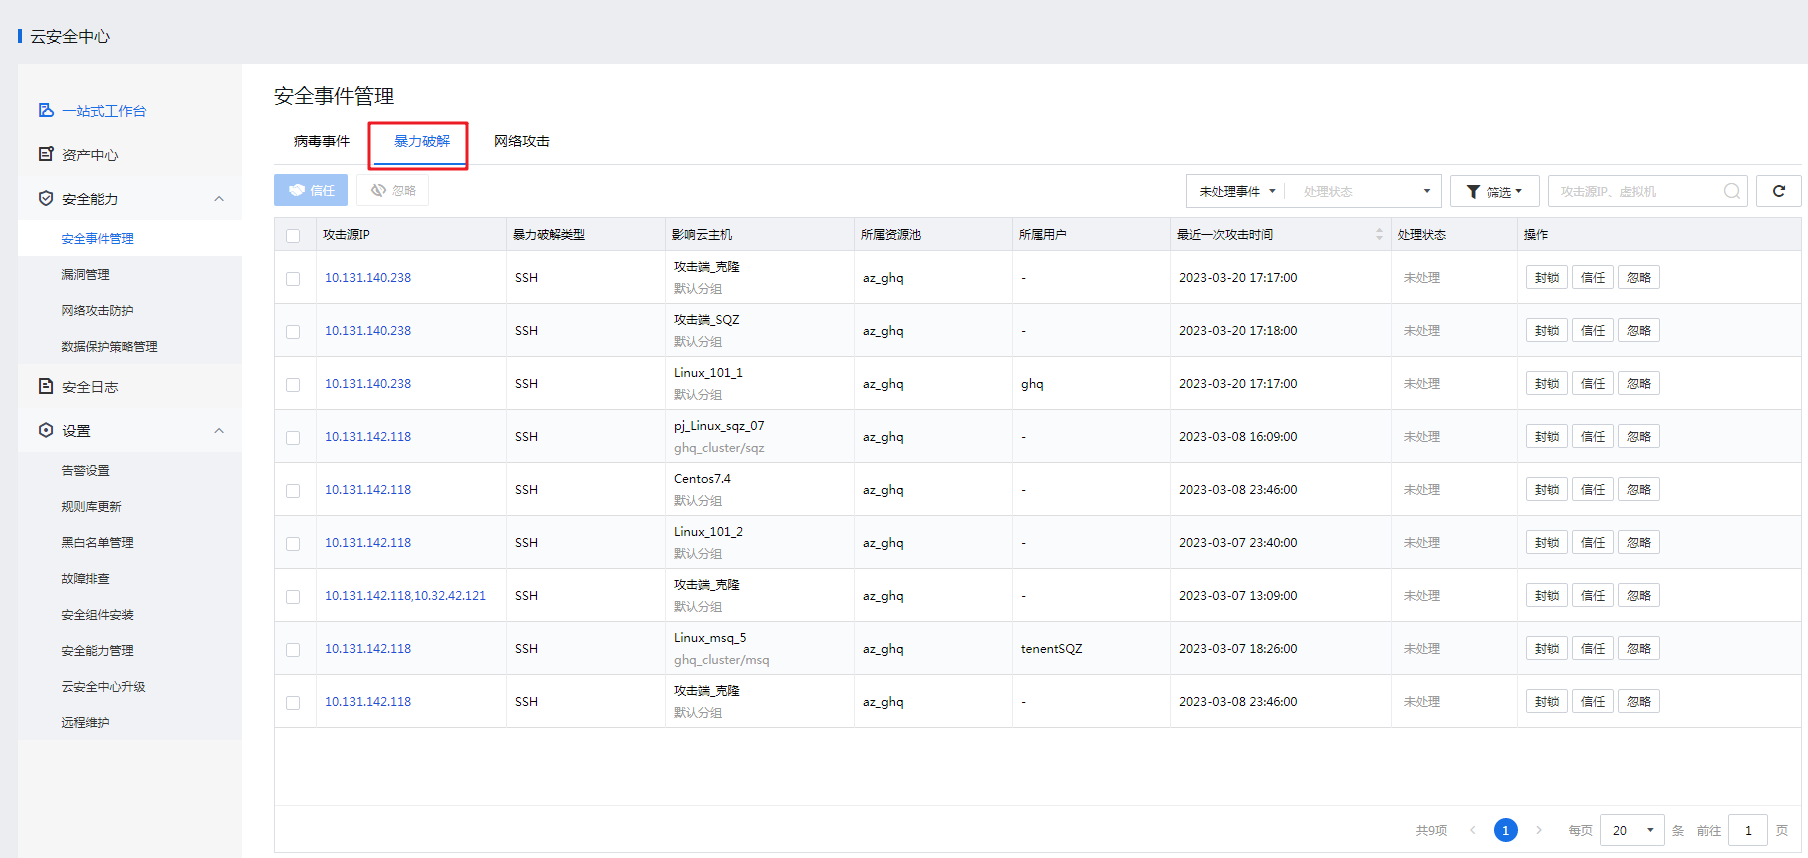
- Go to Security Capabilities > Security Events > Brute-Force Attacks and click Block, Trust, or Ignore.
• If you click Block, the attack source IP address will be added to the permanent blacklist. Traffic flowing to or from blacklisted IP addresses will always be discarded. If your business becomes abnormal after fixing, go to Security Settings > Blacklist and Whitelist > Permanent Blacklist to allow the blocked IP address by referring to section 4.6.5.3 "Blacklist and Whitelist."
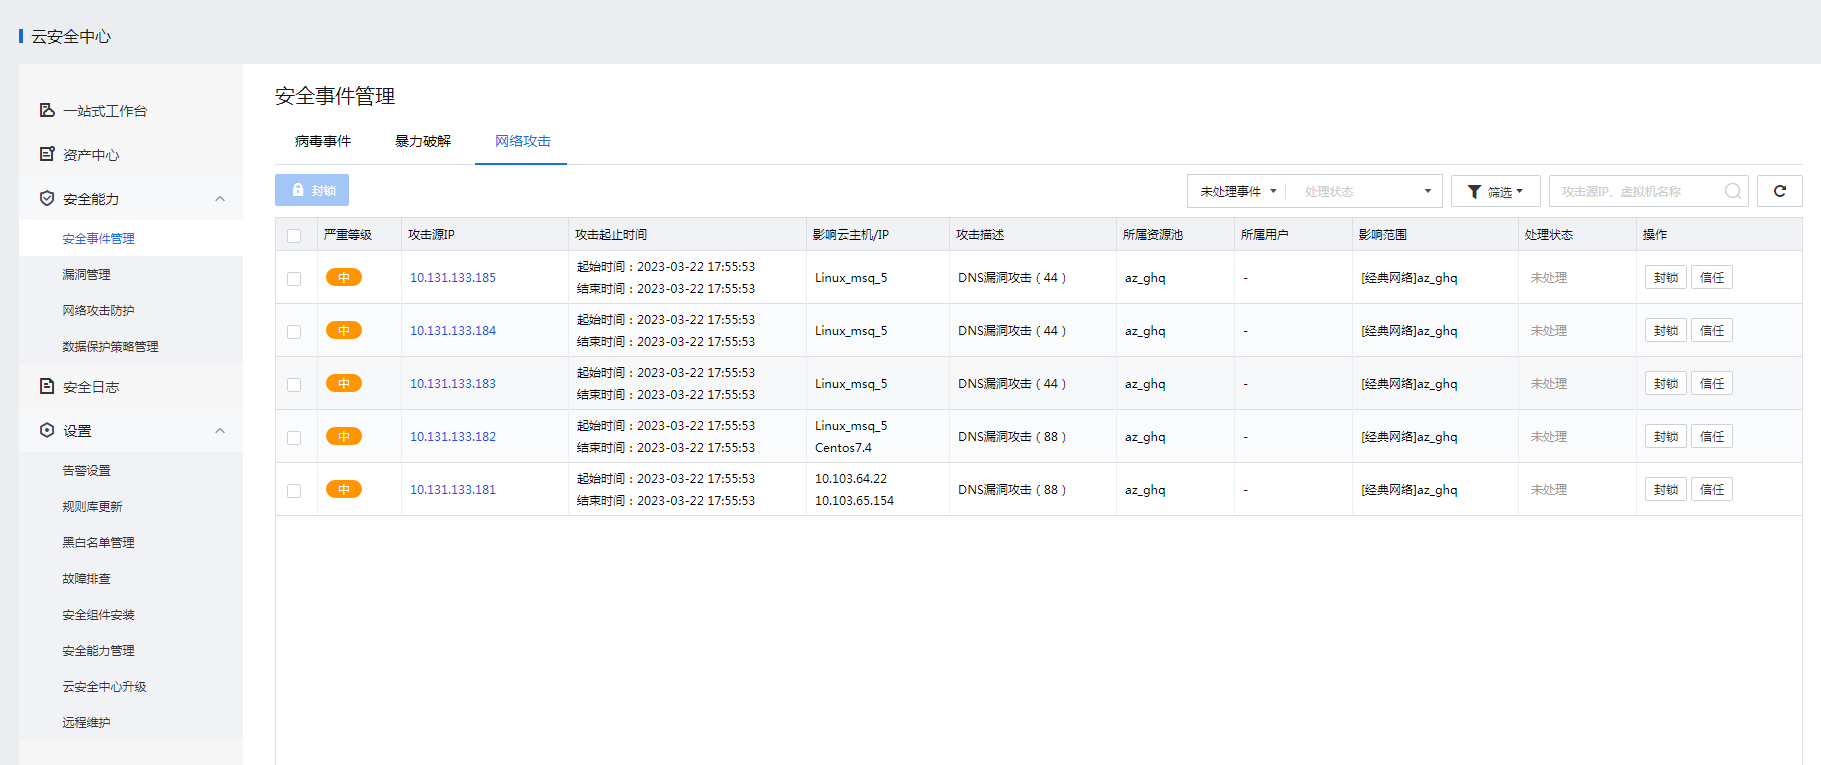
- Go to Security Capabilities > Security Events > Cyber Attacks and click Block or Trust.
• If you click Block, the attack source IP address will be added to the permanent blacklist. Traffic flowing to or from blacklisted IP addresses will always be discarded. If your business becomes abnormal after fixing, go to Security Settings > Blacklist and Whitelist > Permanent Blacklist to allow the blocked IP address by referring to section 4.6.5.3 "Blacklist and Whitelist."
4.6.3.2Vulnerabilities
Function Description
aSecurity provides a vulnerability monitoring view for all business VMs to help you comprehensively understand vulnerability risks in your business system. It also offers one-click bulk fixing of Windows vulnerabilities, ensuring better business security.
Prerequisites
N/A
Precautions
Currently, only Windows vulnerabilities can be fixed, and Linux and application vulnerabilities cannot be fixed.
Steps
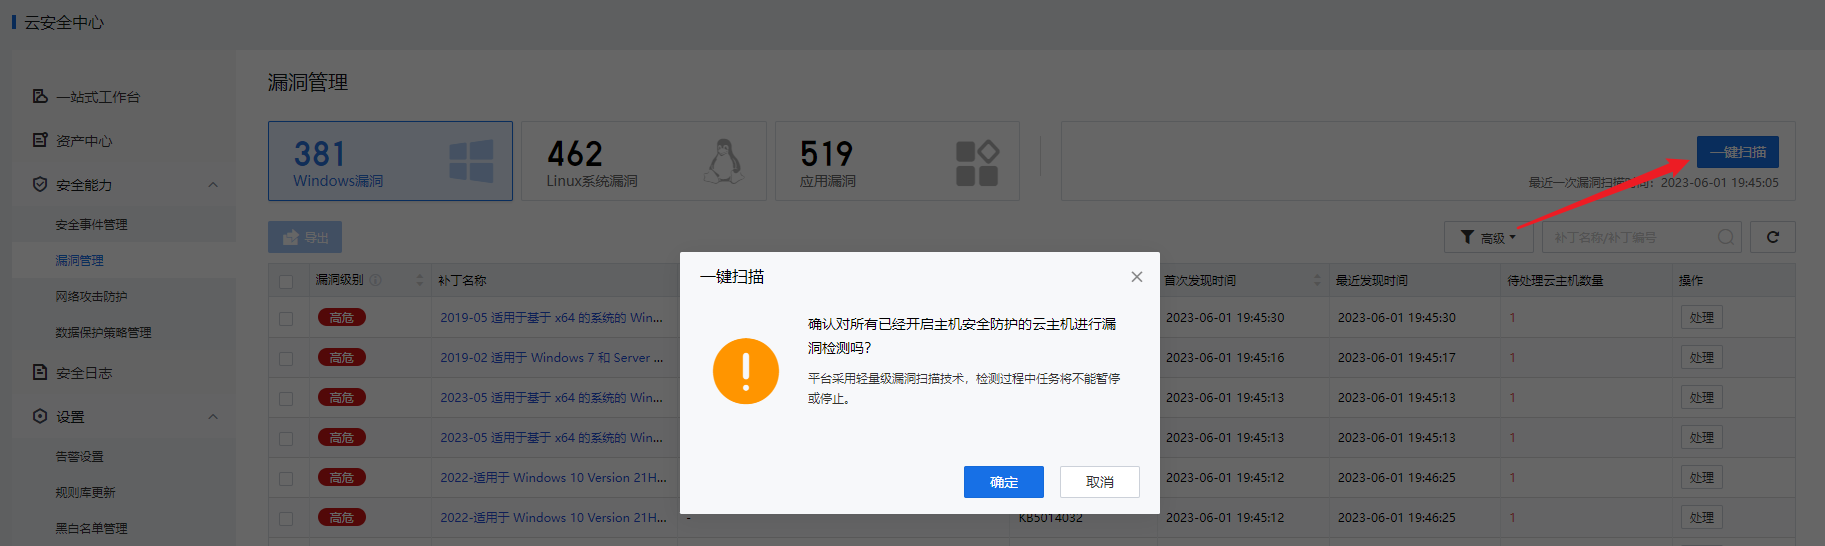
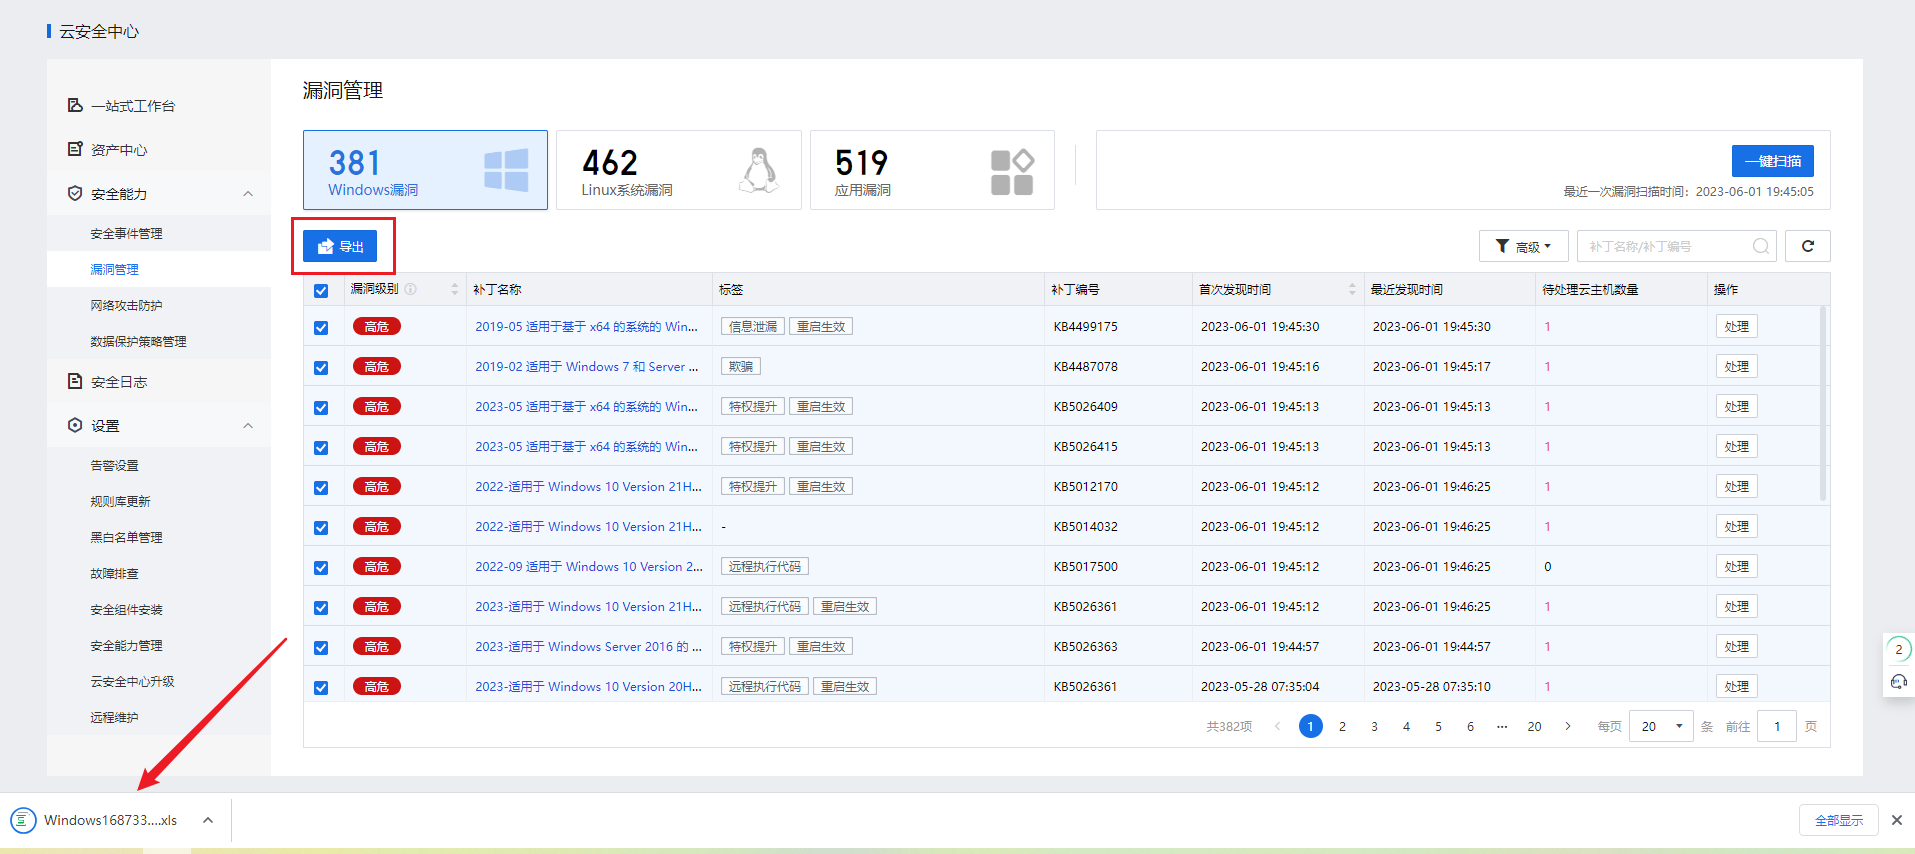
- Go to aSecurity > Security Capabilities > Vulnerabilities. The platform automatically detects and reports Windows, Linux, and application vulnerabilities, and you can also manually scan for vulnerabilities.
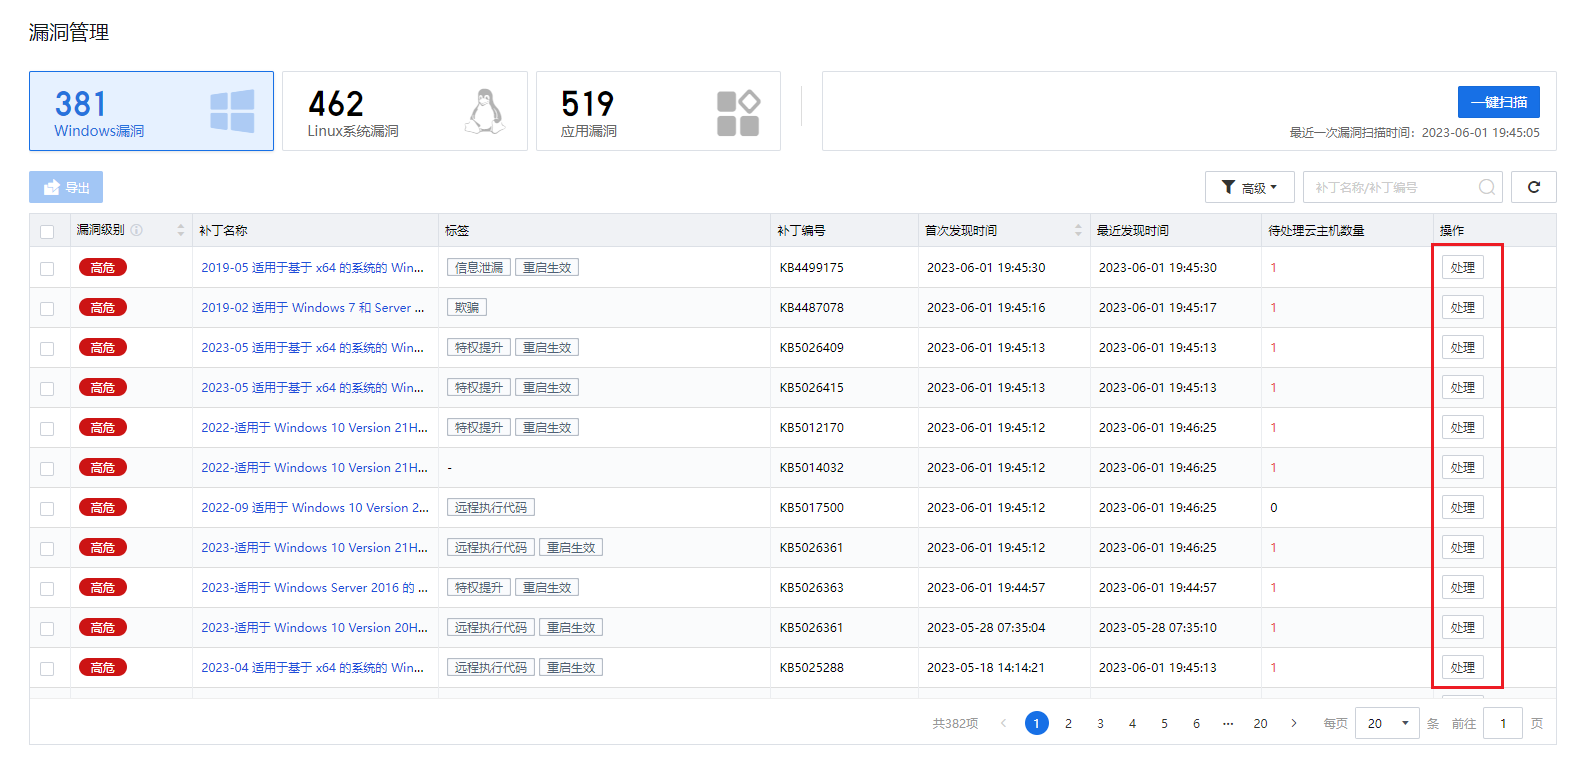
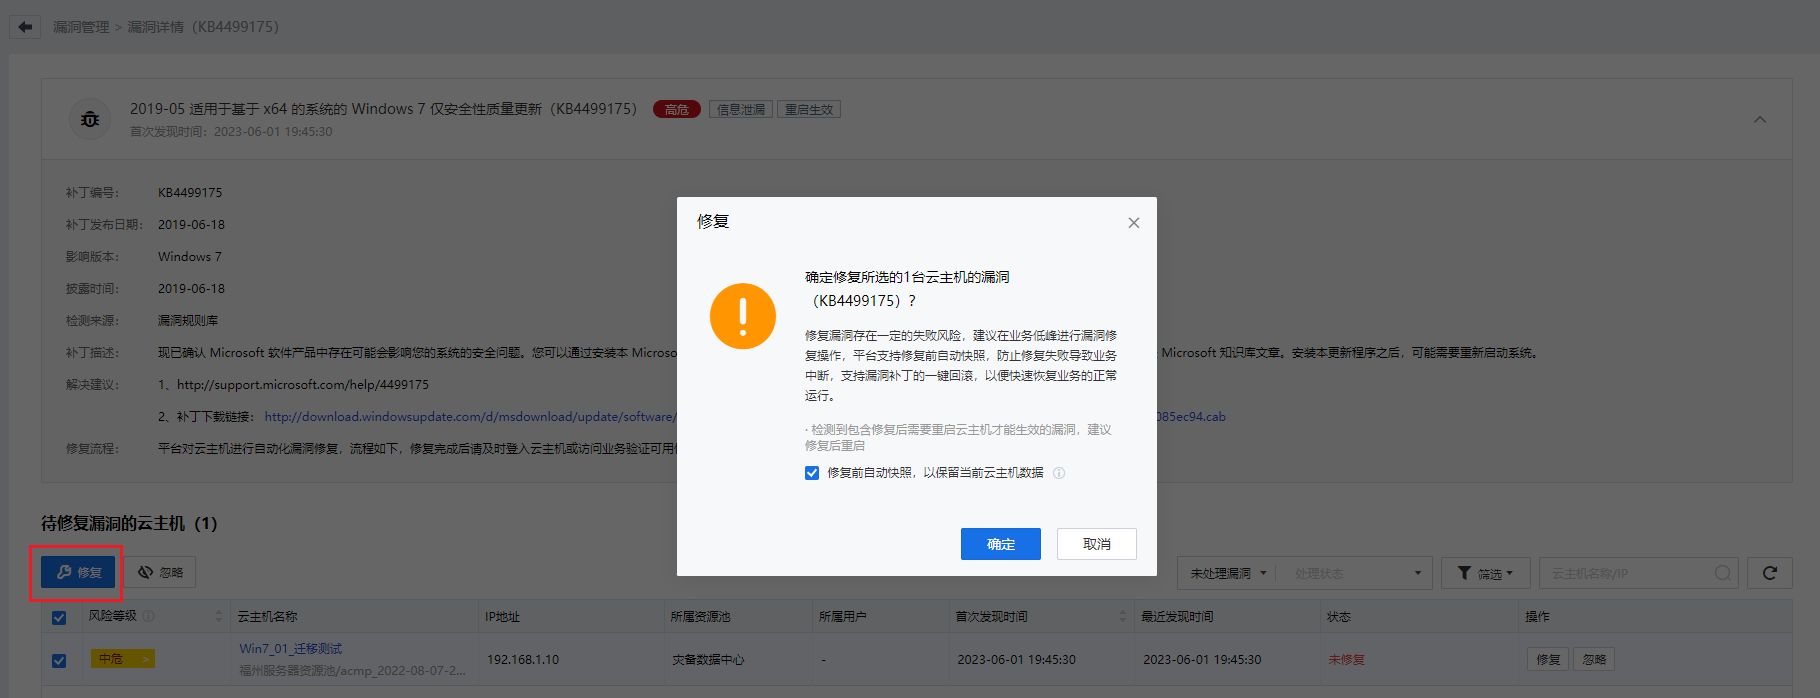
- On the Vulnerabilities page, view the vulnerability information, including Severity, Patch Name, Tags, Patch ID, First and Last Detected, and Pending/Affected VMs. Click Fix in the Operation column to view the details of the vulnerability and the list of VMs it affects.
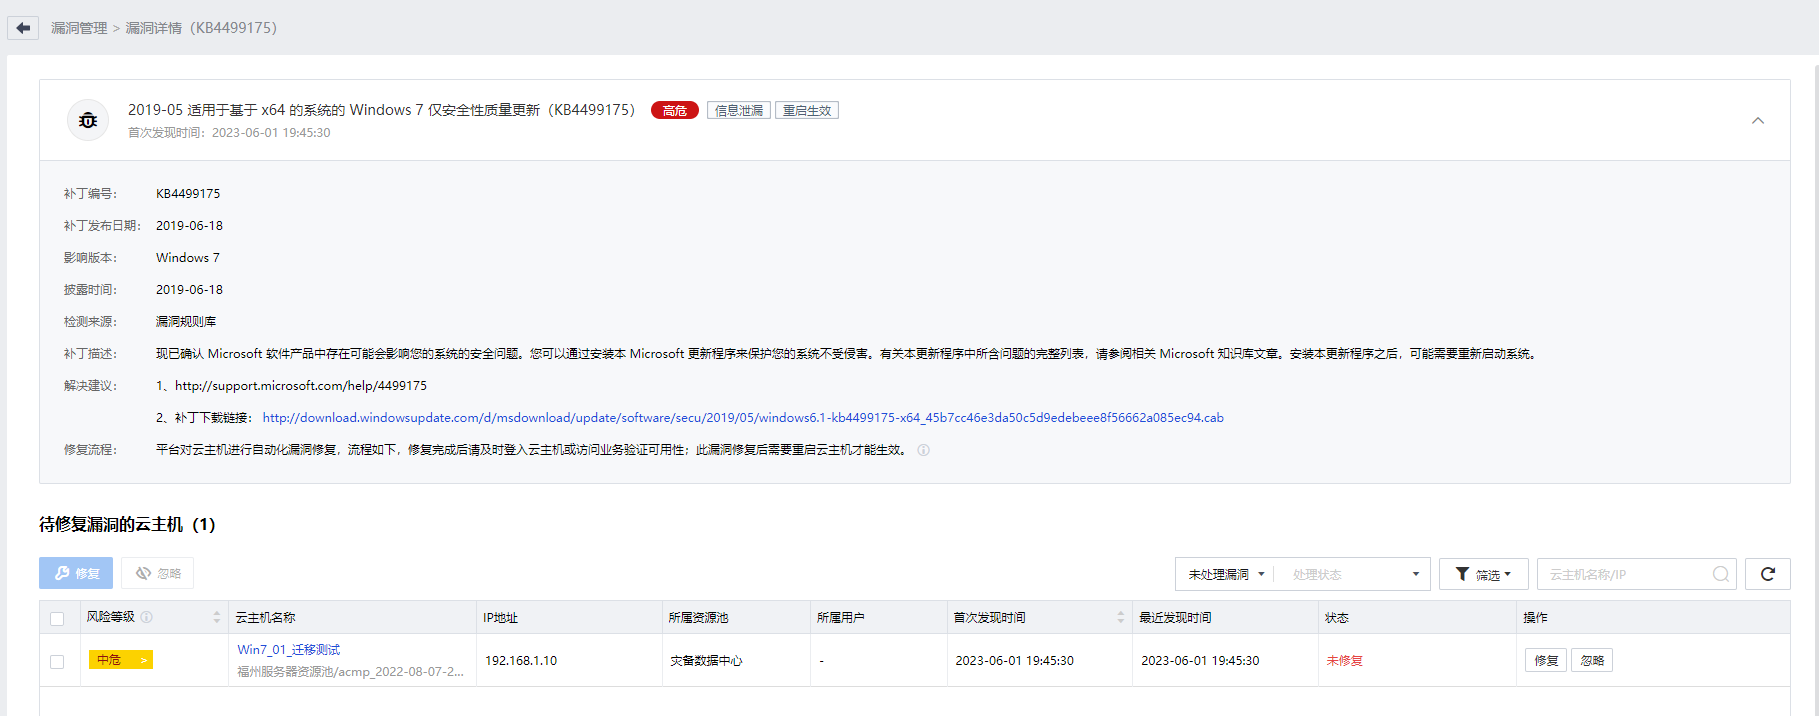
- To fix a Windows vulnerability for one or more VMs, select the target VMs and click Fix. We recommend that you select Create a snapshot before patching to preserve the current VM data, so that your business can be quickly recovered if fixing fails.
- Select one or more vulnerabilities and export the detection results as needed, including Severity, Vuln/Patch Name, Tags, Patch/CVE ID, VM Name, IP Address, Status, and Remarks.
4.6.3.3Cyber Attack Protection
Function Description
aSecurity provides cyber attack protection policies for the virtual network topology and Layer 7 network protection for business systems within the cloud.
Prerequisites
N/A
Precautions
- The backend aggregates cyber attack events by impact scope and attack source based on cyber attack log data once every 10 minutes.
- You can configure up to 512 IPS policies and up to 512 web vulnerability protection policies.
- You can configure cyber attack protection policies by resource pool or tenant VPC network but not tenant classic network.
- A VM group can contain up to 100 IP addresses. If more IP addresses exist, a new group needs to be created.
- To ensure automatic defense against cyber attacks on the tenant VPC network, you need to ensure that cyber attack protection is enabled in the resource pool of the VPC.
Steps
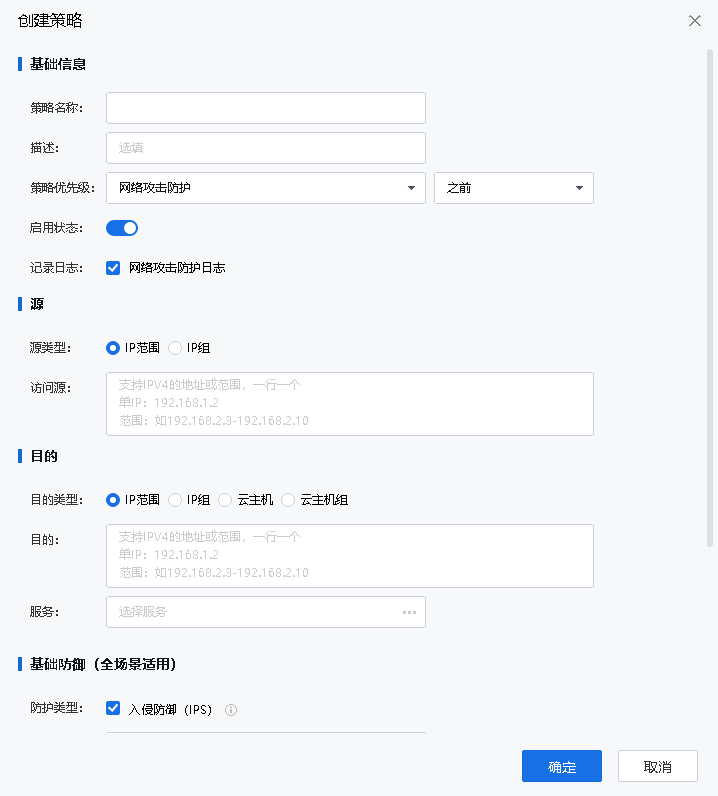
- Go to aSecurity > Security Capabilities > Cyber Attack Protection, click Create, configure the basic, source, and destination information, and select applicable scenarios for the policy.
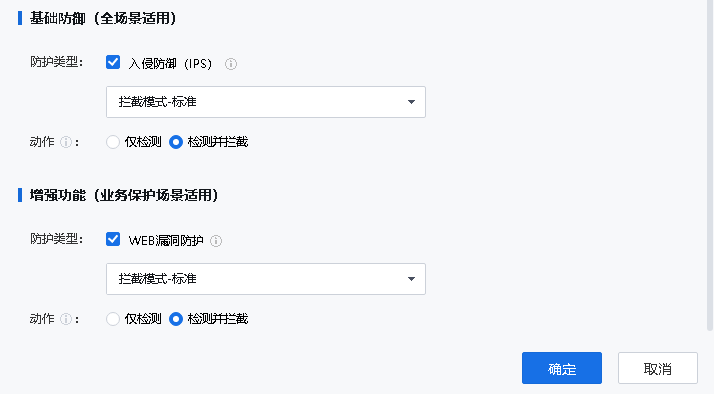
• IPS: Detect and defend against attacks exploiting operating system, application, and protocol vulnerabilities.
• Web Vuln Protection: Protect web servers from various attacks targeting web applications, such as SQL injections, XSS attacks, and command injections.

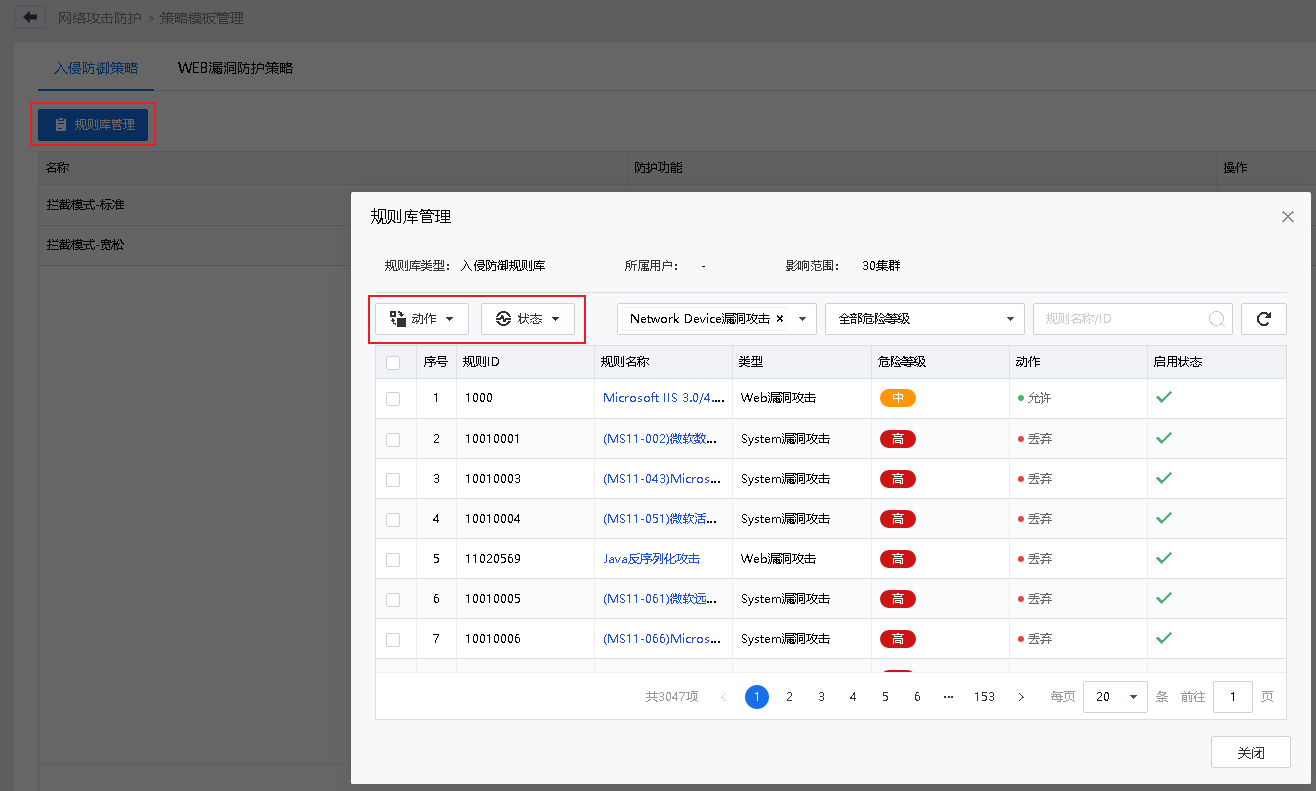
- Go to Cyber Attack Protection Policies > Templates to view or manage intrusion prevention policies and web vulnerability policies.
• Click Details in the Operation column of the policy to view its details.
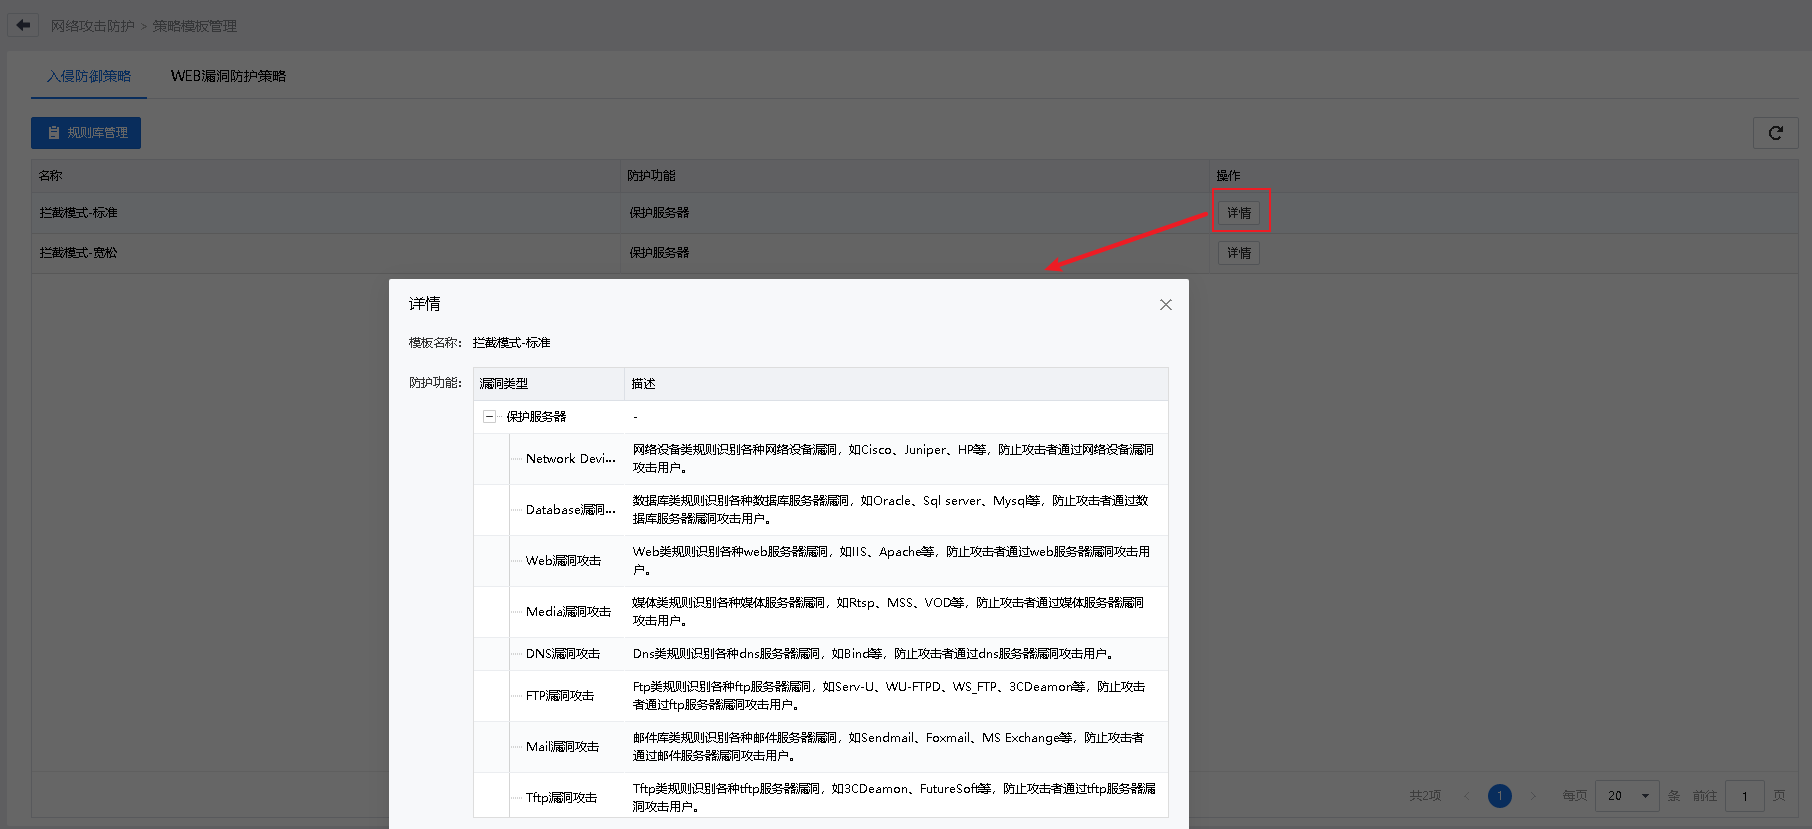
• Go to Signature Database and set Action (Allow or Drop) and Status (Enable or Disable).
4.6.3.4Data Protection Policy
Function Description
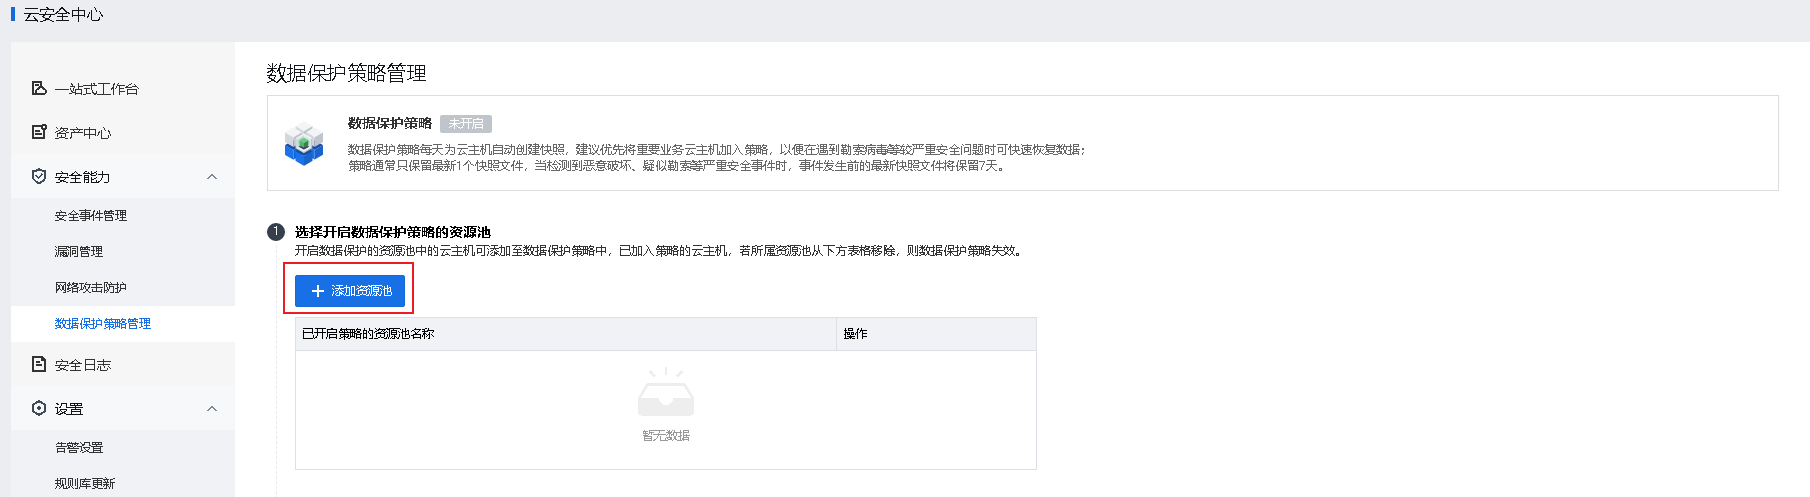
aSecurity allows you to enable the data protection policy, where all VMs are snapshot every day for data protection. Snapshots are triggered immediately when security software is uninstalled or suspected of encountering ransomware risks. Scheduled snapshots are persisted so that they will not be overwritten by virus-infected data.
Prerequisites
The VMs have been added to the resource pool of the data protection policy, and the snapshot policy has been set to smart mode on HCI. In manual mode, you cannot enable the data protection policy. For more information about how to set the mode, see section 5.2.13 "Manage Snapshot Policies" of HCI User Manual.
Precautions
- VM snapshots are created automatically every day according to the data protection policy. We recommend that you add critical VMs to the policy to quickly recover data in the case of severe issues such as ransomware.
- In general, only the latest snapshot is retained. In the case of severe security events such as compromised VMs or suspected ransomware, the latest snapshot before the event occurrence is retained for 7 days.
- The data protection policy has the following limits on the number of snapshots taken every day:
• Hybrid datastore: vm_num = [0.6 × (host_num - 3) × 4 + 12] × (capacity per SSD × 0.5 × number of SSDs/480 GB). Note: If storage capacities are heterogeneous, the smallest capacity is used for calculation.
• All-flash datastore: 2,048
- If a selected VM or consistency group is added to a snapshot policy, the VM or consistency group will be removed from the original policy and added to the current data protection policy.
- After being added to the data protection policy, the VM or consistency group will be snapshot once every day.
Steps
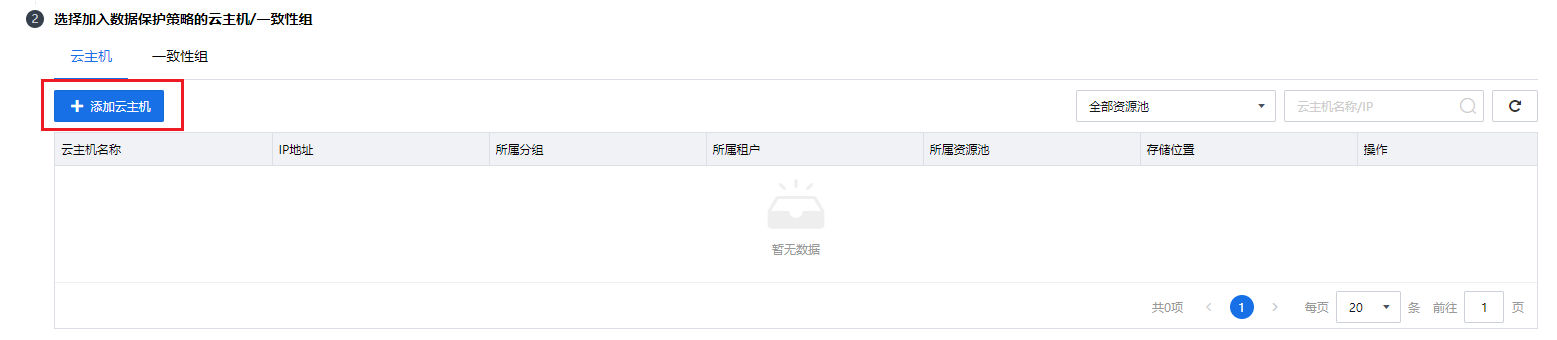
- Go to aSecurity > Security Capabilities > Data Protection Policy and click Add Resource Pool.
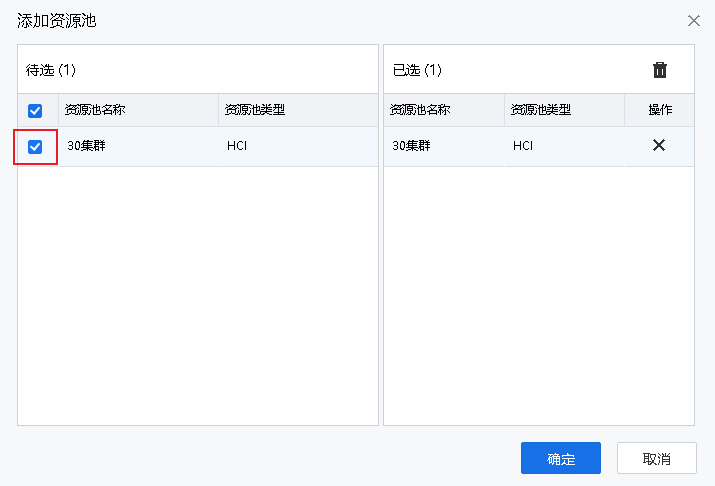
- Click Add on the VM tab or Consistency Group tab to add a VM or consistency group to the data protection policy.


 {{ $t('index.defaultHeader.chromeBrowserTip') }}