{{ secondMenu.name }}


Function Description:
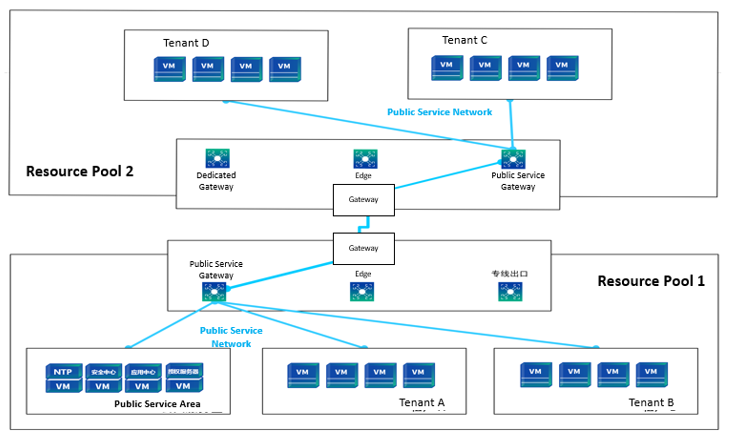
Sangfor SCP joins the shared service network for public service scenarios on the cloud and builds the shared service network as a dedicated channel between the public service area and resource pool tenants. NTP servers, licensing servers, NAS, security centers, and application centers can be deployed in shared service areas to meet tenants' access to public services.
Precautions:
Prerequisite
Steps:
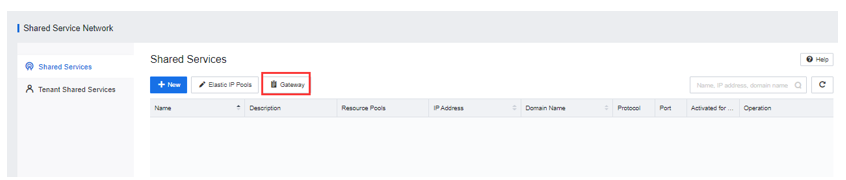
Step 1.Enter the Networking > Shared Service Network interface and click Gateway to plan the shared service network gateway for the resource pool.
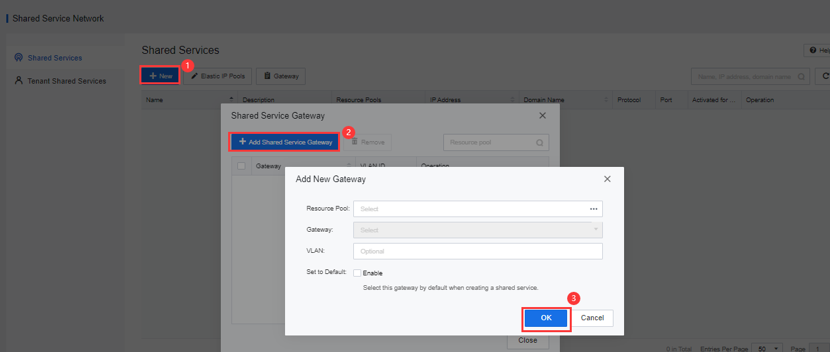
Step 2.Confirm that the shared service gateway planning has been completed, select the resource pool and public service gateway, and check Enable to set the default public service gateway.
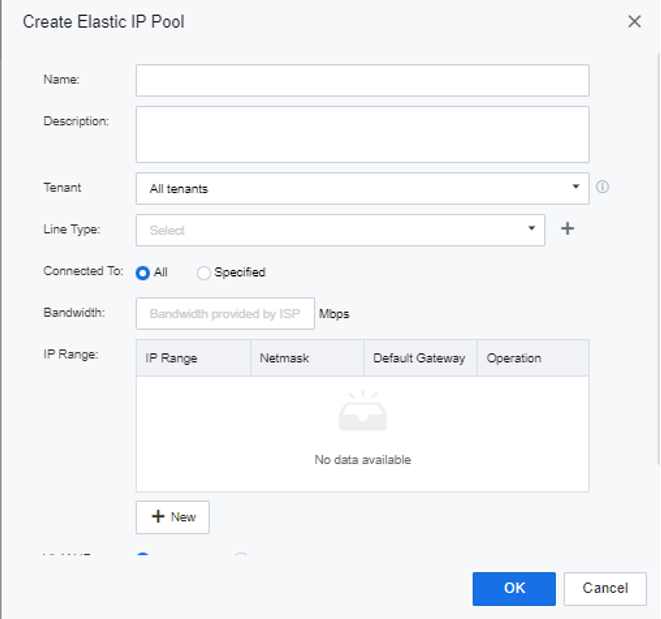
Step 3.Once set up the shared services gateway, enter the elastic IP management interface, and click Elastic IP Pools for the shared service network. The public service, security center, and other IPs that need to communicate with the VPC through the public service network are excluded from the elastic IP pool.
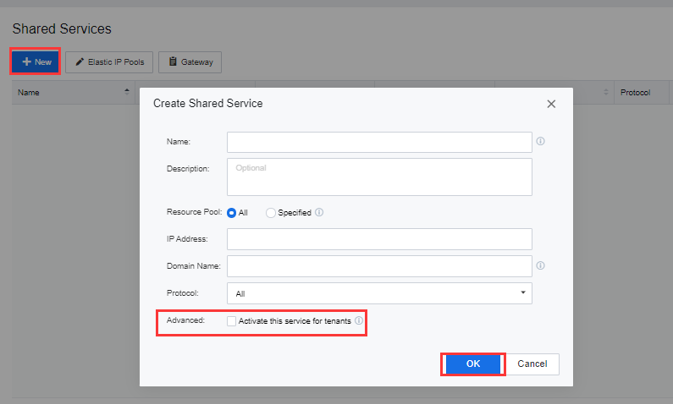
Step 4.Click New to add a shared service, which can connect this shared service network to all resource pools or specified resource pools. Shared services rely on IP addresses and domain names to work, and IP and domain names need to be configured for the public service network. The supported protocol can be selected from TCP and UDP ports. After selecting Activate this service for tenants, all new tenants can use this shared service by default.
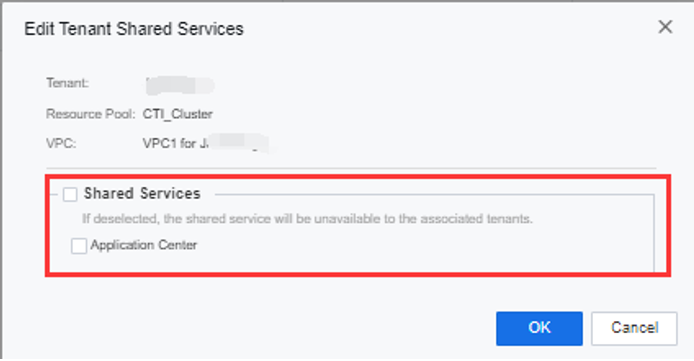
Step 5.If you don't wish to select Activate this service for tenants, enter the Tenant Shared Service interface to find the target tenant. Click Edit to configure the required public services for the target tenant, provided that the tenant has used the VPC.

Step 6.After service is activated for a tenant, you can use the virtual machine in the tenant's VPC to access it through IP or domain name.

 {{ $t('index.defaultHeader.chromeBrowserTip') }}