{{ secondMenu.name }}


Function Description:
SCP platform administrators can view classic networks and tenant networks in the network topology and achieve efficient and clear network management through what you draw is what you get.
Prerequisite
None.
Precautions:
None.
Steps:
Step 1.Login to the SCP platform and select Networking > Topology to enter the network topology interface.
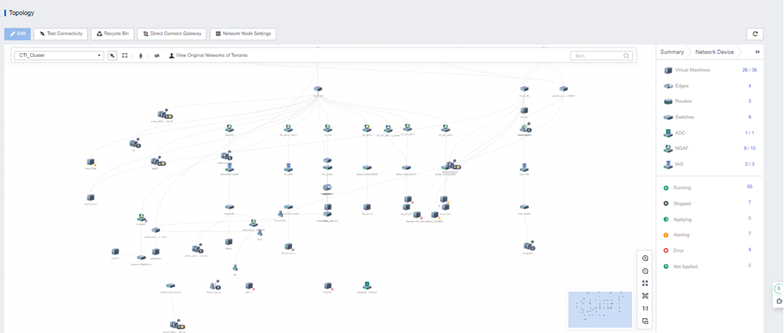
Step 2.Select the appropriate Resource Pool. You can view, edit the classic network topology and manage the network topology.
Step 3.Select a tenant under the resource pool to view and edit the tenant's VPC to manage the VPC.
![]()
1. For SCP6.7.30 and above, a security baseline policy will be configured by default to deny access to public network traffic.
2. You need to manually create an access control policy if it is an upgraded version.
3. When there is a public network inbound traffic blocking policy under the subnet, if there is a need for external network traffic access, you need to create a regular ACL to release traffic. In addition, the blocking policy of high-risk ports can only be edited and released by administrators, not tenants.

Step 4.Network node settings: used to deploy and run network resources. In the communication domain scenario, physical egress and virtual routers in the communication domain are only allowed to be bound to network nodes, and only network nodes are allowed to provide physical egress for the VPC.
• On the Topology page, click the Network Node Settings button, select the corresponding resource pool host, click Enable, and mark it as a network node.

![]()
By default, all nodes are marked as network nodes. Nodes not marked as network nodes are not allowed to run virtual routers.
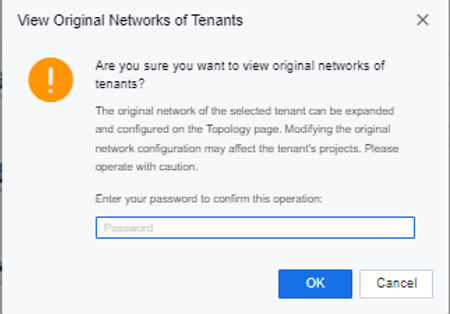
Step 5.View the original network of the tenant: The tenant network can be disassembled to support viewing and quick configuration of the tenant network.
• On the Topology page, click the View Original Network of Tenants button, enter the admin password, select the tenant to be viewed, and click OK to view and edit the original network of the tenant.
Function Description:
This task guides administrators to check virtual machine connectivity and troubleshooting network communication failures. Both IPv4 and IPv6 protocols are supported.
Precautions:
Connectivity detection does not support mutual access between IPv6 and IPv4.
Prerequisite
Steps:
Step 1.On the Topology page, click Test Connectivity to enter the Connectivity Detection page.

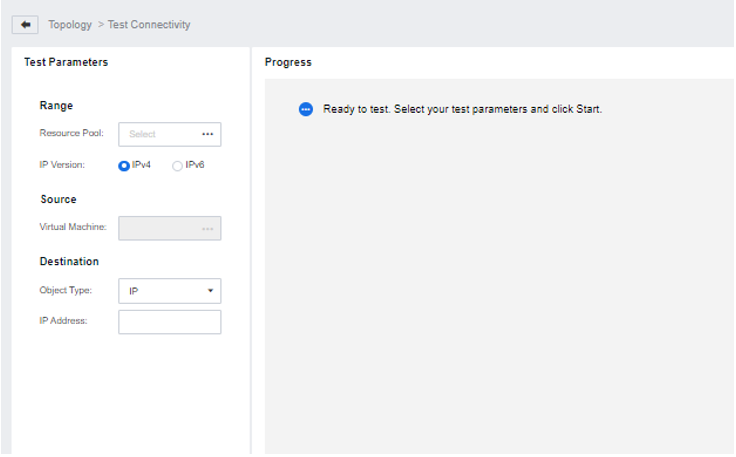
Step 2.Select the resource pool and IP Version and select IPv4 or IPv6 protocol.
Step 3.Select the source virtual machine and the corresponding network port. When the destination object type selects the virtual machine, you need to select the destination virtual machine and the corresponding interface. When the destination object type selects IP, enter the destination IP.
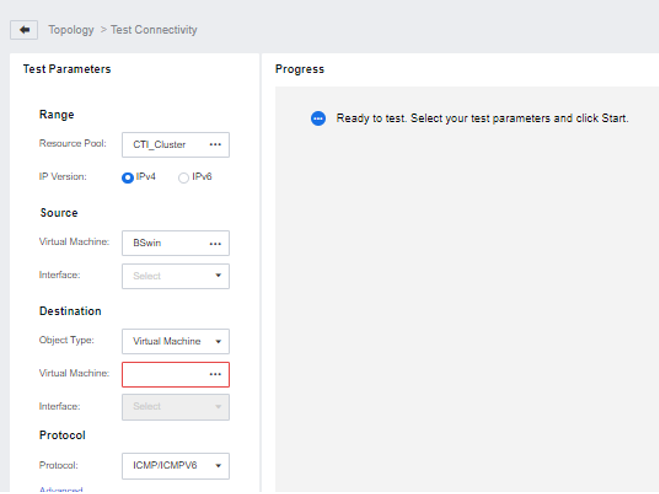
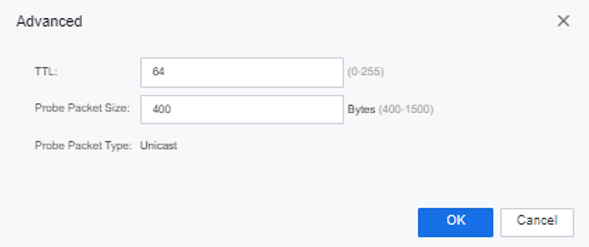
Step 4.Select the protocol and click Advanced Settings to set the TTL and probe packet size.
Step 5.Click Start to test the network.
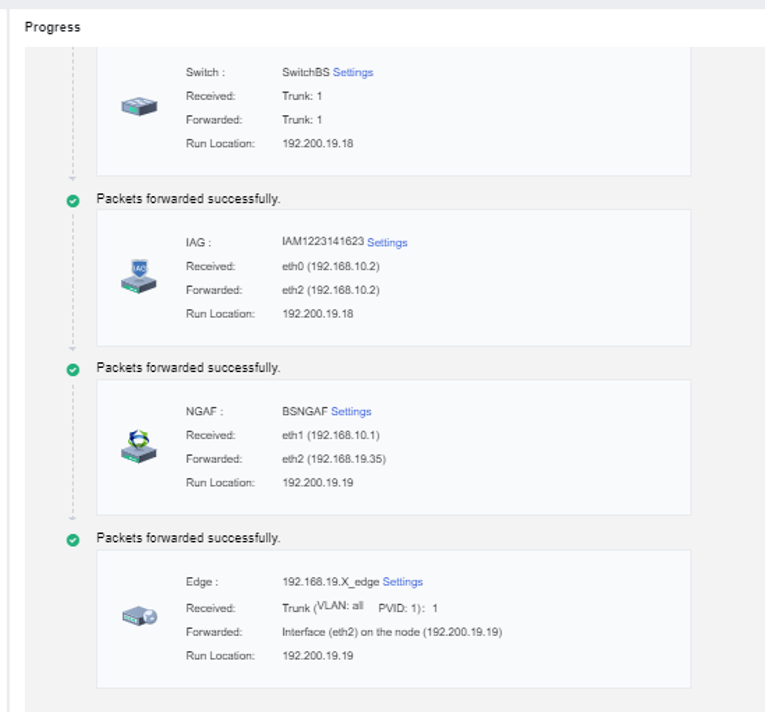
Step 6.Example of successful network test.

 {{ $t('index.defaultHeader.chromeBrowserTip') }}