{{ secondMenu.name }}


Function Description:
By combining virtualization technology, Sangfor VDI migrates all desktops, applications, and data originally running and stored locally on traditional PCs to the data center for unified hosting and management. The data center deploys HCI in aServer, and the storage resources are virtualized into desktop virtual machines according to the needs of different users. They are transmitted to the user's access device in the form of images through the desktop delivery protocol operating system interface, forming a desktop environment that is the same as the PC.
Prerequisite
Topology Planning: 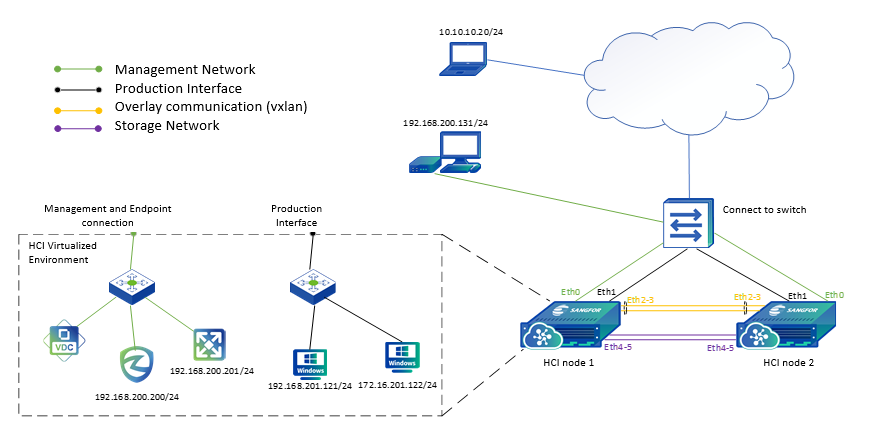
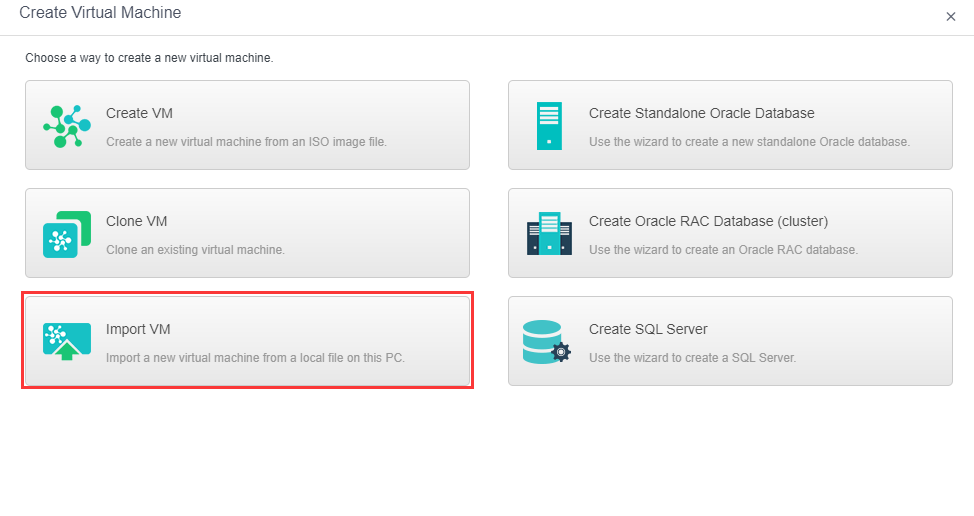
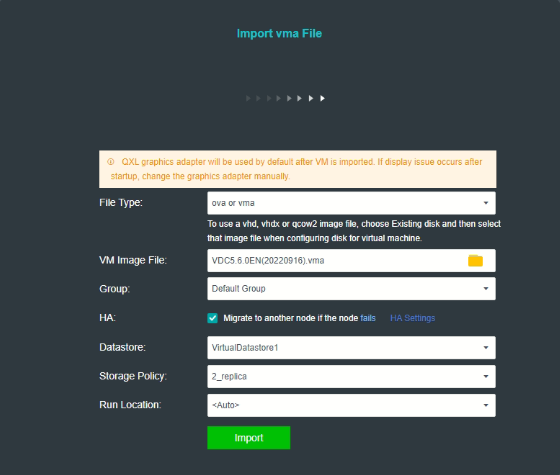
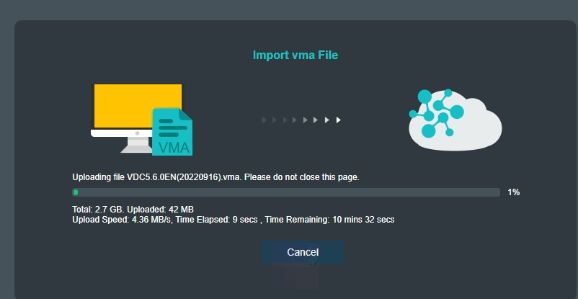
Steps:
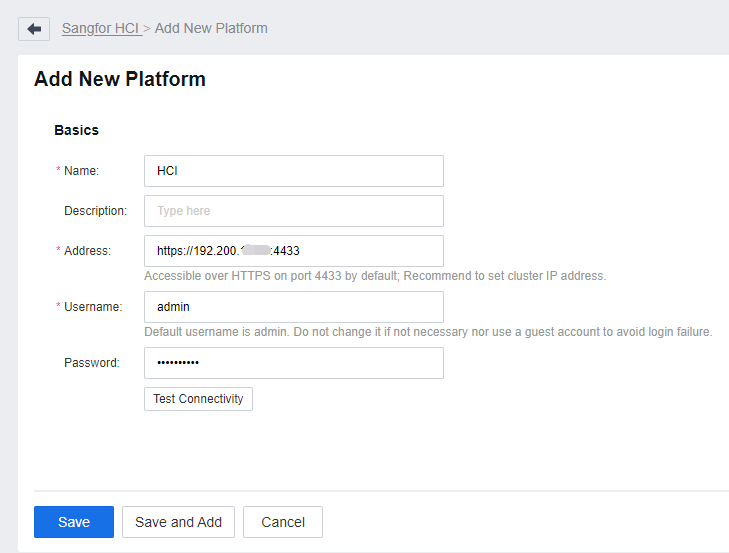
Name: Self-Defined
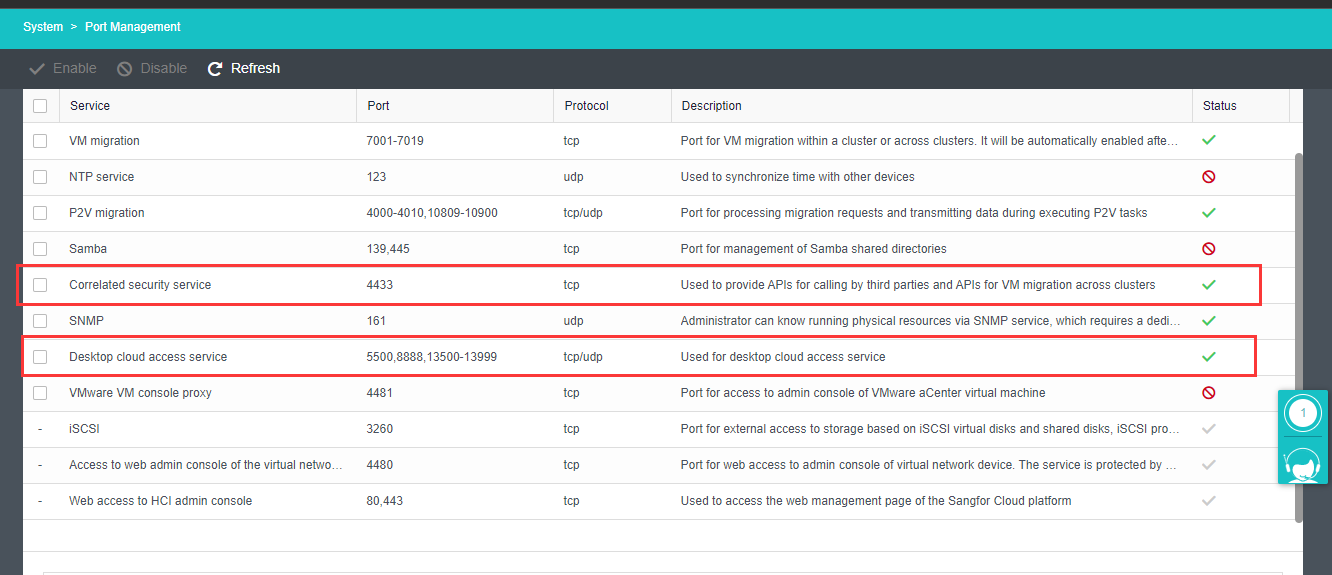
Controller address: https://HCI cluster address: 4433
Connection account: admin
Password: admin account password 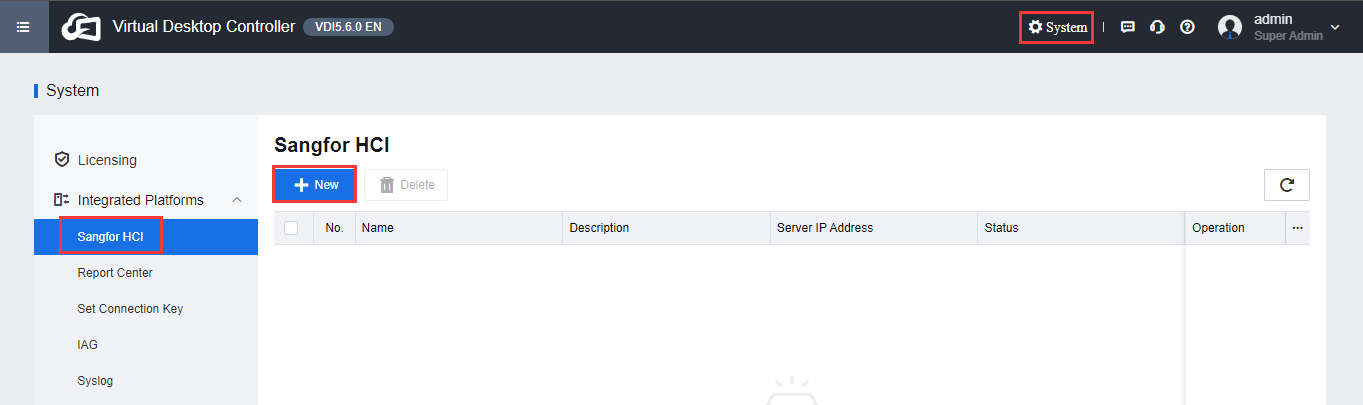

Device name: Self-defined
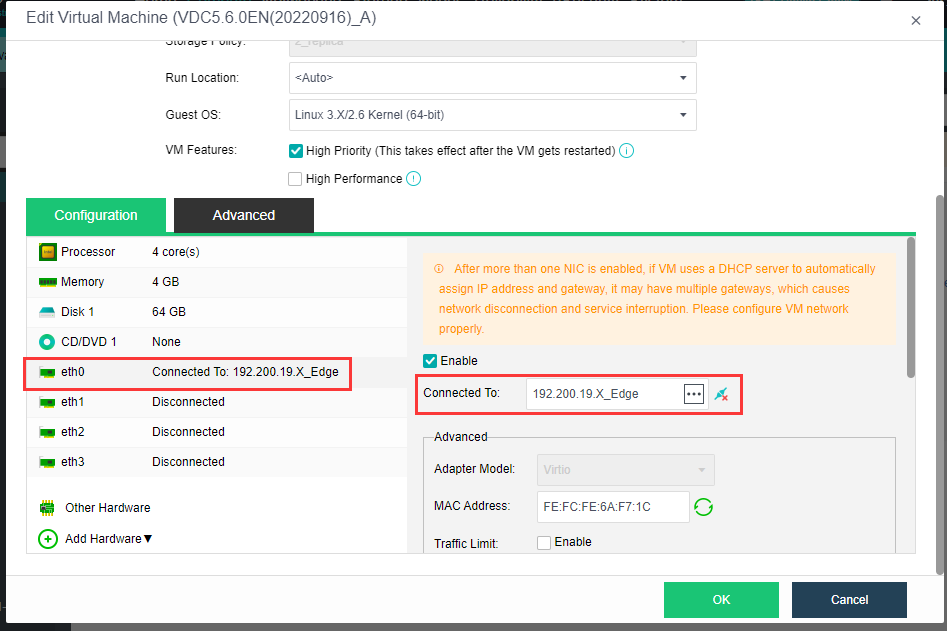
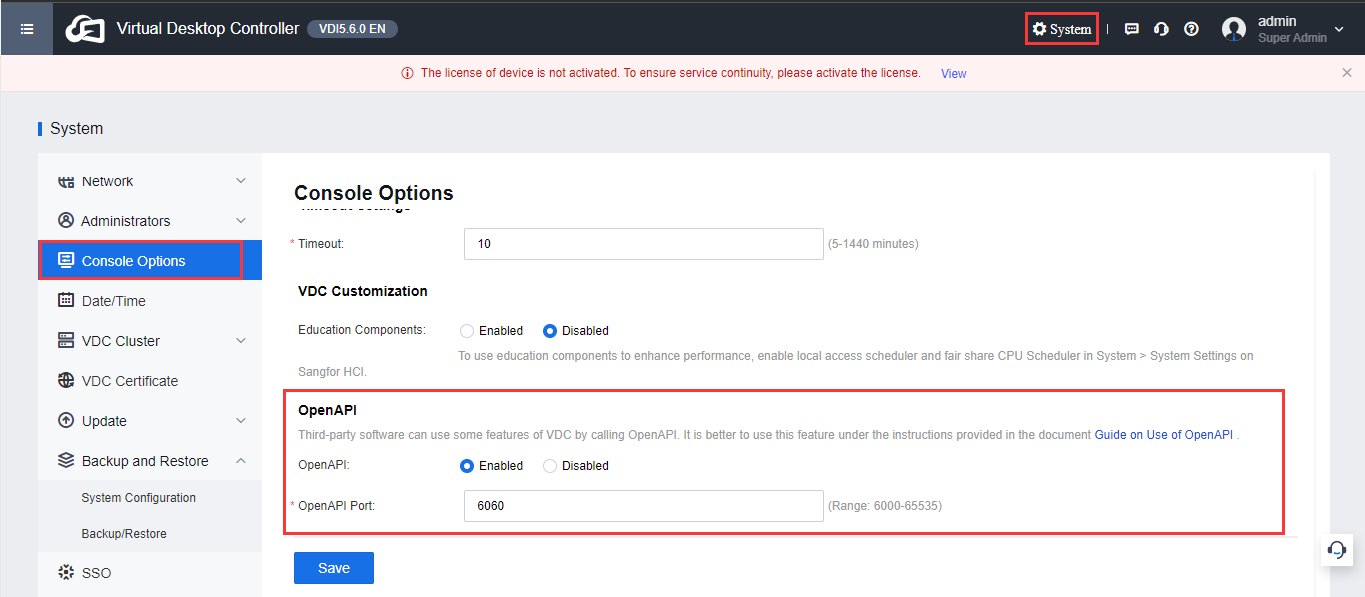
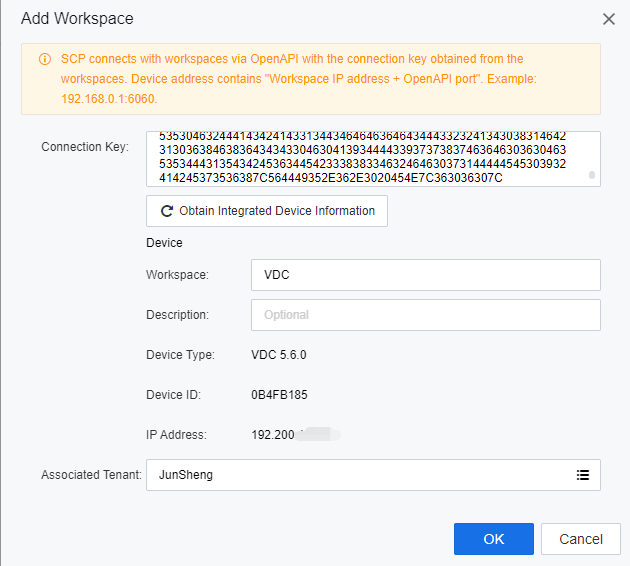
Device address: VDC Platform address: OpenAPI port 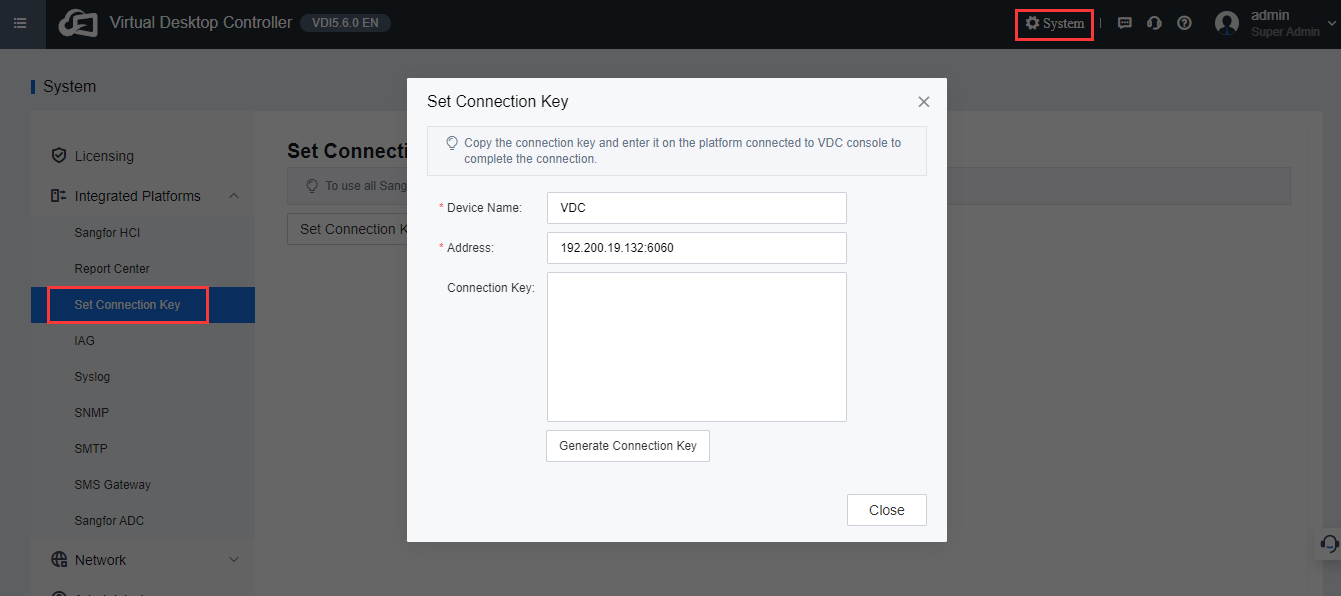

 {{ $t('index.defaultHeader.chromeBrowserTip') }}