{{ secondMenu.name }}


Function Description:
Sangfor SCP was newly deployed on the HCI platform.
Precautions:
Please ensure that the IP configured for SCP does not conflict with the IP addresses of other nodes.
Recommended configuration:
Many factors affect SCP performance, including the number of tenants, users, concurrent users (the number of users who log in to the SCP simultaneously), managed clusters, physical nodes, and virtual machines, depending on the scale of the cloud platform. Therefore, it is recommended to use the following configuration for SCP virtual machine.
| SCP Configuration |
Number of Tenant |
Number of Tenants User |
Concurrency Number of accounts |
Number of HCI Cluster |
Number of Physical Nodes |
Number of Virtual Machine |
| 16 Core 26G |
32 |
200 |
64 |
4 |
32 |
0-3000 |
| 22 Core26G |
64 |
500 |
128 |
8 |
64 |
3000 -5000 |
| 22 Core 42G |
128 |
1000 |
256 |
16 |
128 |
5000 -10000 |
| 30 Core 42G |
128 |
1000 |
256 |
25 |
256 |
10000 -30000 |
Prerequisites:
Steps:
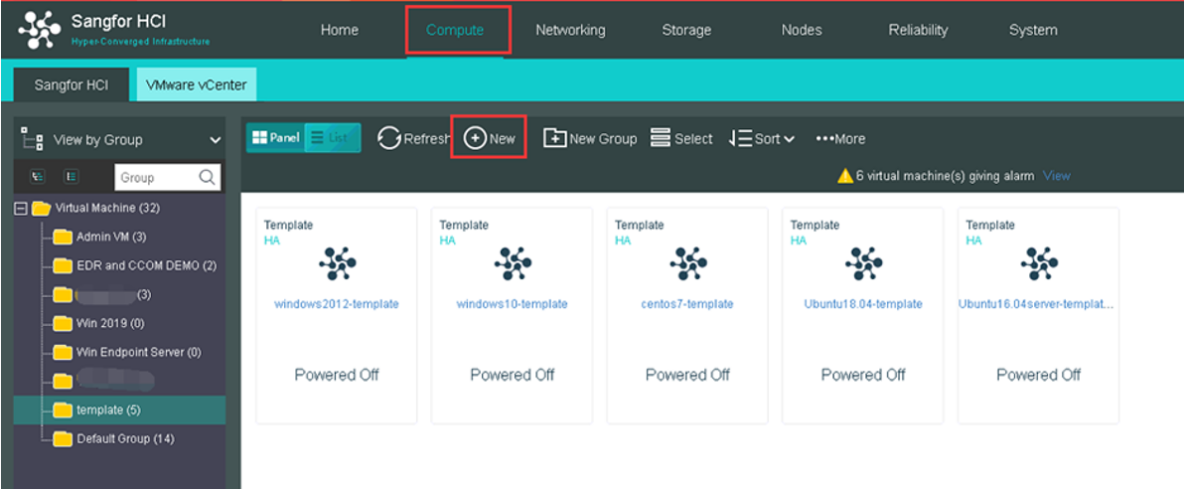
Step 1.Log in to the HCI platform console.

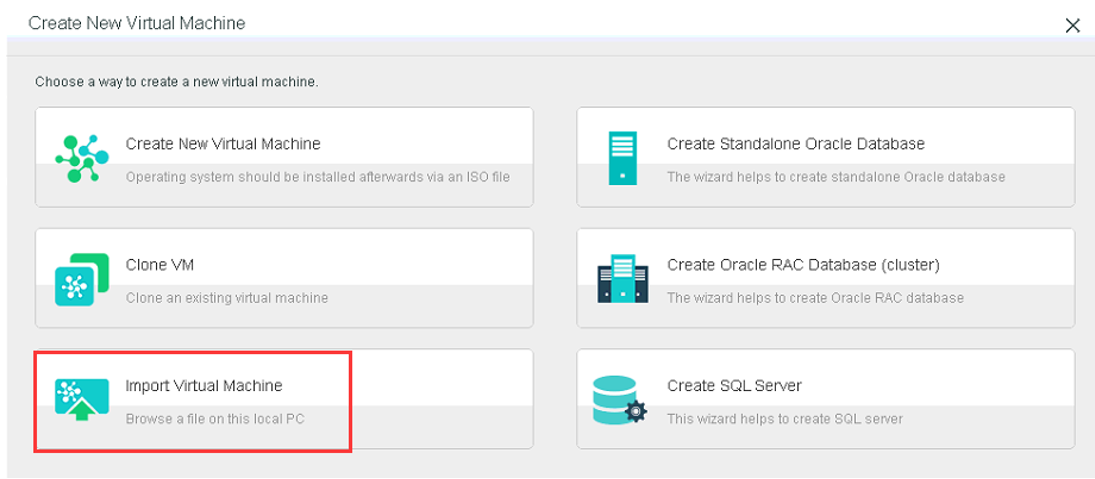
Step 2.Click Compute > New > Import Virtual Machine:
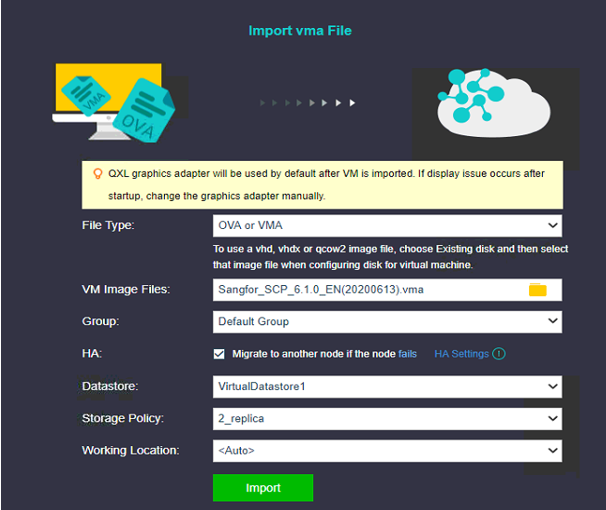
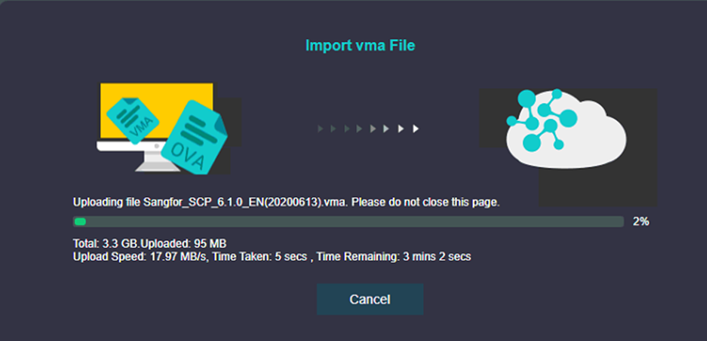
Step 3.Select the corresponding VM Image File, Group, Datastore, and Run-on Node. After that, click Import to display the upload interface.
Step 4.After successfully uploading, select the newly imported SCP virtual machine and click More > Edit to map the USB key.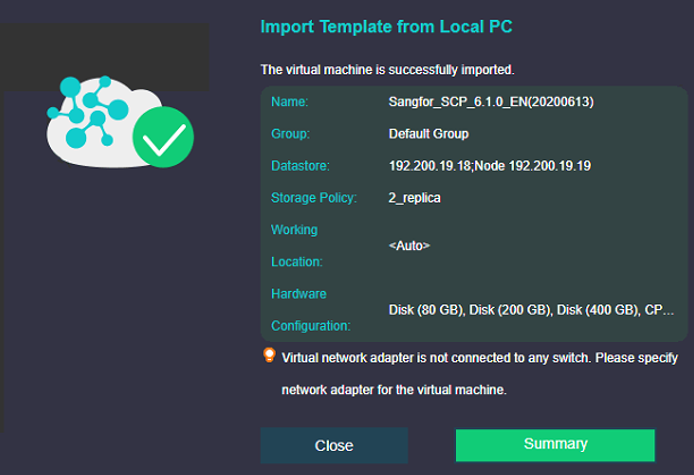
Step 5.Select the newly imported SCP virtual machine, click More > Edit to edit the NIC, connect the network with the second/third layer management network, and click OK.

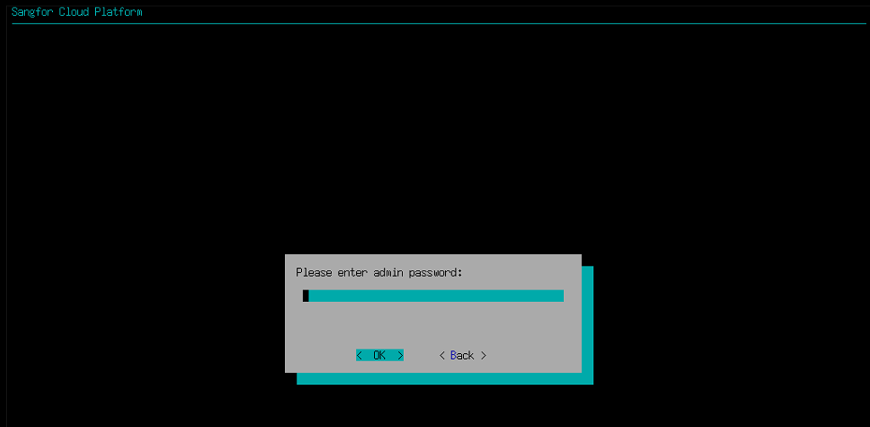
Step 6.Powered on the imported SCP virtual machine, have a random click on the virtual machine's console, press Enter to enter into the maintenance mode, and then enter the password (the initial password is admin). After the password is entered, click OK and press Enter to enter the configuration interface.
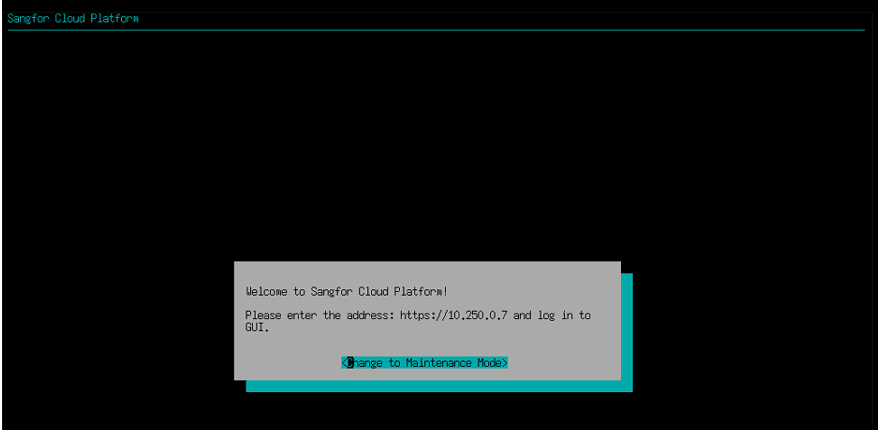
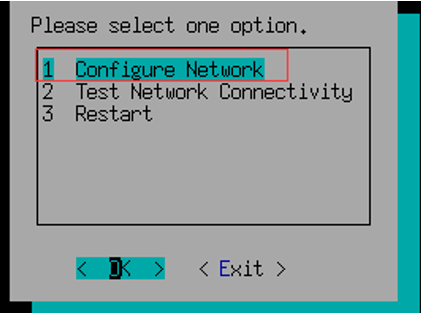
Click OK to enter the following interface:
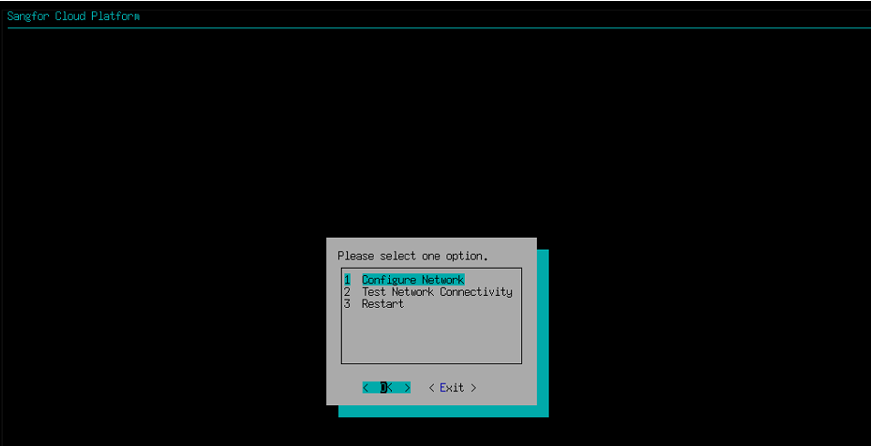
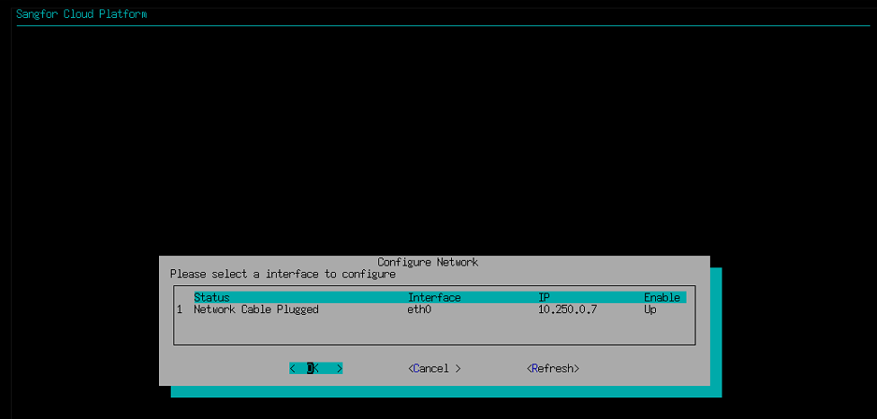
Step 7.Click the key ↑↓ on the keyboard to select Configure Network and press enter.
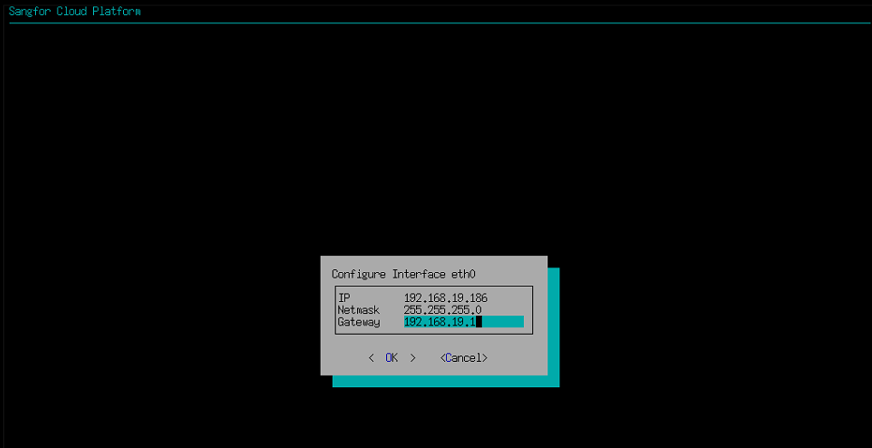
Step 8.Set the IP address, netmask, gateway and click OK.
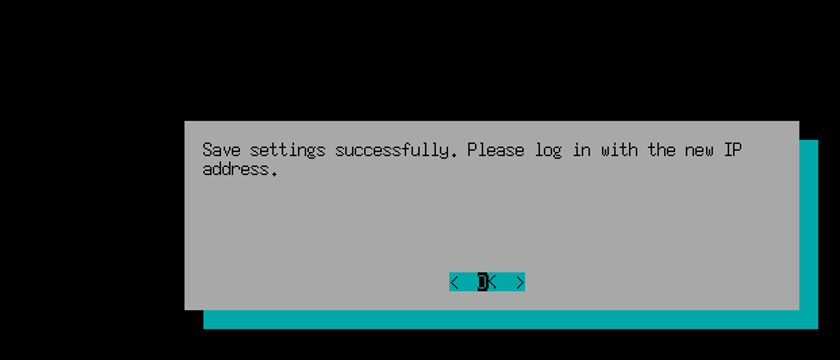
Step 9.Open a browser, browse https://SCP IP:4430 and click enter. 
![]()

 {{ $t('index.defaultHeader.chromeBrowserTip') }}