


{{ secondMenu.name }}






During access to the server's background, access authentication is required. Access authentication is required when accessing the server's background. After the authentication is passed, the server's background can be accessed normally, thus improving the server's security level. The server's background management interface and FTP can be protected by allowing the specific IP address and email authentication.
Click Add to create a server access authentication policy, as shown in the following figure.
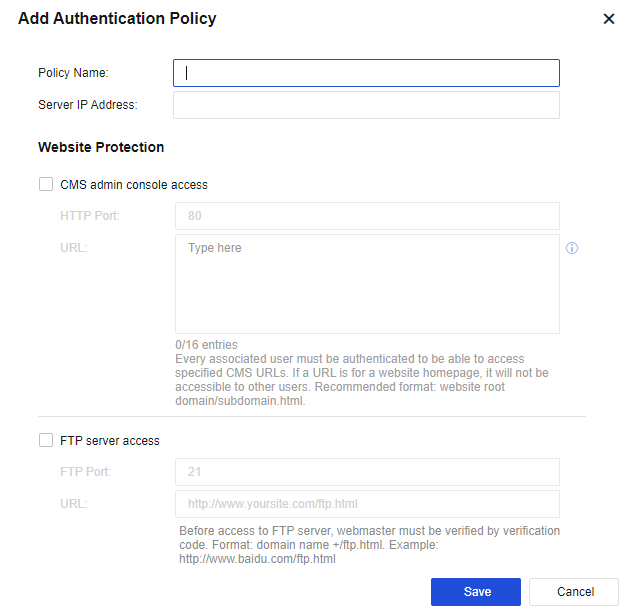
Policy Name: Enter the name of the policy.
Server IP Address: Enter the server IP address to be authenticated.
Website Protection
HTTP Port: Enter the HTTP port number of the server.
URL: Enter the URL to be protected.
FTP port: Enter the port number of the server protected by FTP.
URL: Enter the URL to be protected.
Administrator Authentication
IP Authentication: Indicates the IP address that is accessible without authentication.
Email Authentication: Indicates that access is allowed after email authentication.
In the server network of a user, to improve the security of the server's background management, the management of the server's background should be authenticated by email. Only the authenticated users can access the server's background.
Step 1.Configure the SMTP server. For more information, see Section 9.1.3 SMTP Server.
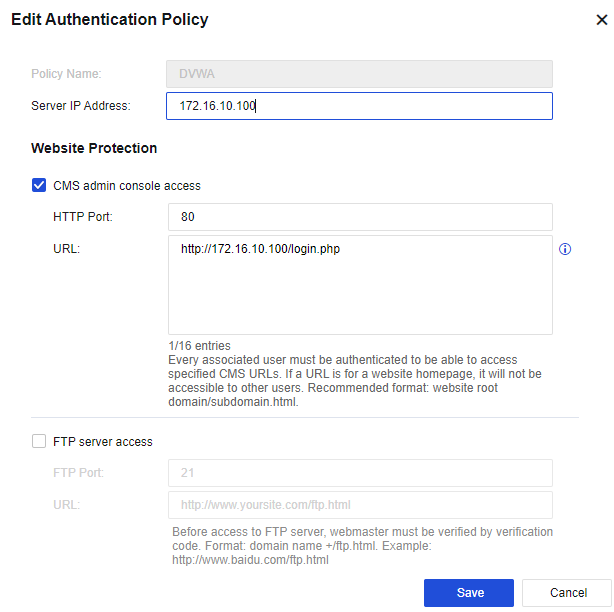
Step 2.Create an authentication policy to authenticate the background accessing the HTTP page by email, as shown in the following figure.
Step 3.Log in to the server page, as shown in the following figure.
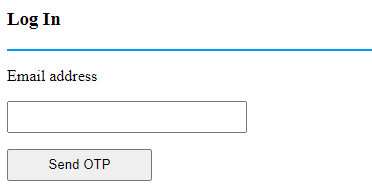
Step 4.Enter the configured mail address for verification, and then click Get Verification Code to obtain a verification code, as shown in the following figure.
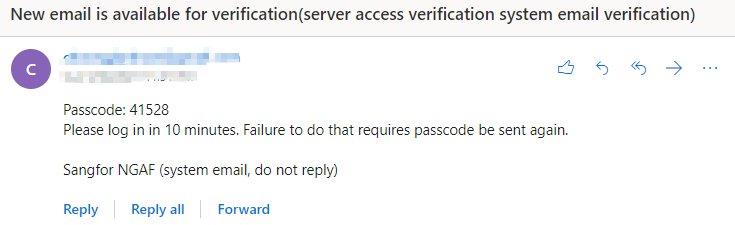
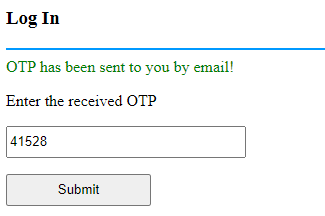
Step 5.Enter the verification code for verification, as shown in the following figure.
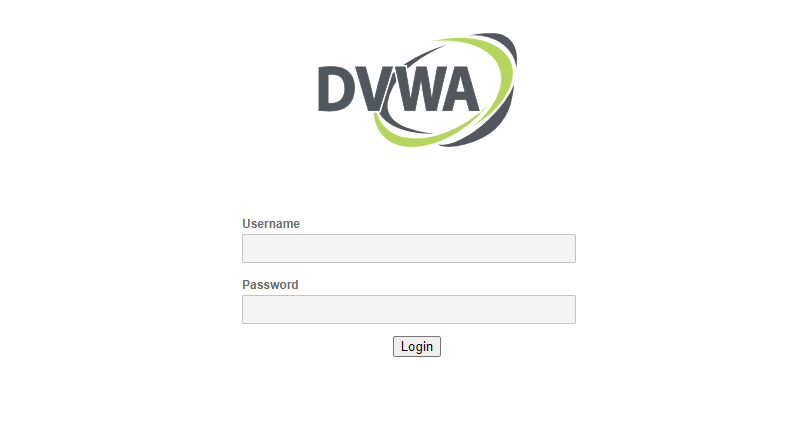
Step 6.Go to the specific login page after verification succeeds, as shown in the following figure.
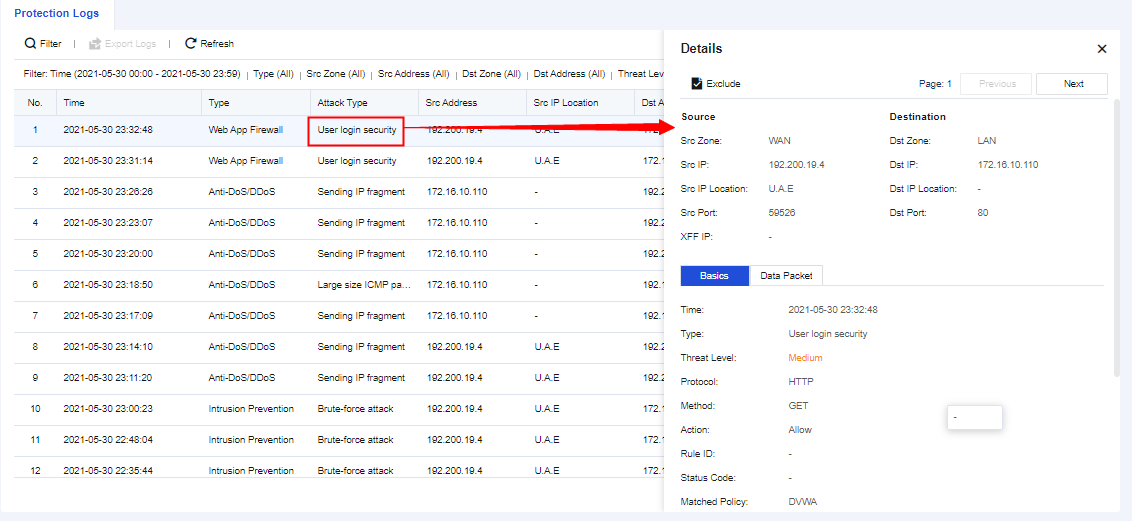
Step 7.View the details of logs, as shown in the following figure.


 {{ $t('index.defaultHeader.chromeBrowserTip') }}