Sangfor HCI and aSV provide a unified infrastructure combining compute, storage, networking, and built-in security to simplify deployment, operations, and services.
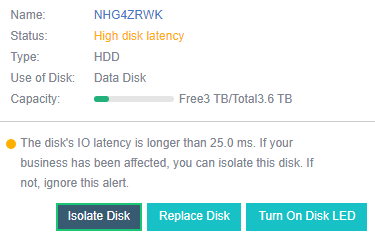
Enter the Storage > Virtual Storage > Physical Disk and click the affected hard disk.
Click Isolate Disk, and you will be prompted to choose how to process the data.
When performing hard disk isolation, you can select Quick Isolate. If you choose this method, the replacement time will be shorter, and at the same time, there will be a single copy time window. If you select Prioritize data integrity, the system will first migrate the data on the hard disk to other disk groups to ensure that there are always two healthy copies of data in the environment.
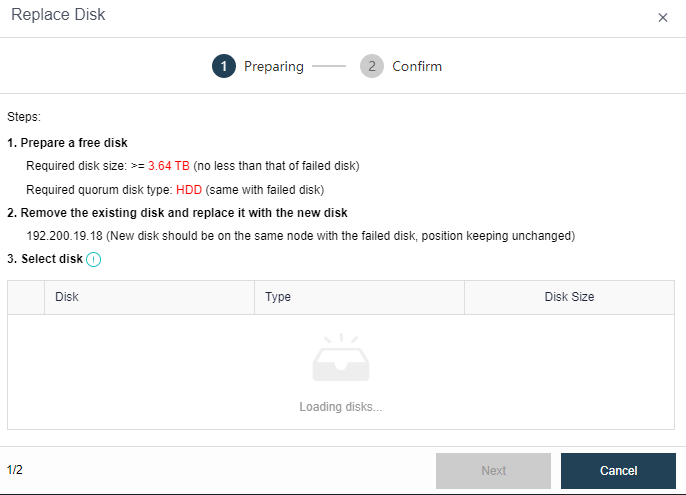
After the disk isolation is completed, enter the Storage > Virtual Storage > Physical Disk interface, click the affected hard disk and click Replace Disk.
On the node, first, unplug the failed disk, then insert the new disk, check I'm ready, and click Next.
Select the new disk and click Next.
Confirm the information about the new disk and the faulty disk, check the I'm sure I want to replace the disk checkbox, and click Finish, and then the platform starts to replace the disk.


 {{ $t('index.defaultHeader.chromeBrowserTip') }}