{{ secondMenu.name }}


Function Description
This function allows you to deploy an NVIDIA licensing server to provide licenses for vGPU-enabled 3D VMs. A license is required to give vGPU performance into full play. A licensing server is a VM template that is installed on HCI as a VM. To use vGPU on your VM, enter the applied vGPU license key for the licensing server and then enter the IP address of the licensing server for the graphics driver of your VM.
Precautions
The licensing server needs to be connected to the business VM using the vGPU.
Prerequisites
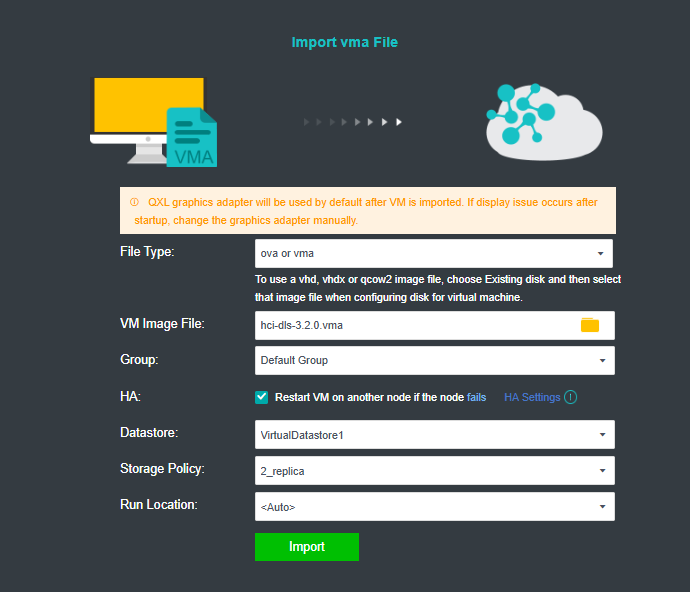
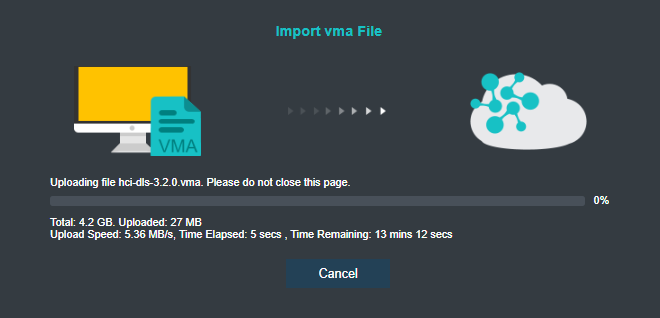
You have downloaded the licensing server image.
Table 2:Licensing Server Download
| File Name |
hci-dls-3.2.0.vma |
| Download Link |
Self Services > Download > aCloud(HCI) > vGPU Licensing Server and Driver in Sangfor Community |
| MD5 Value |
E0EF9A18A469C8BB71C67AA38AE691F3 |
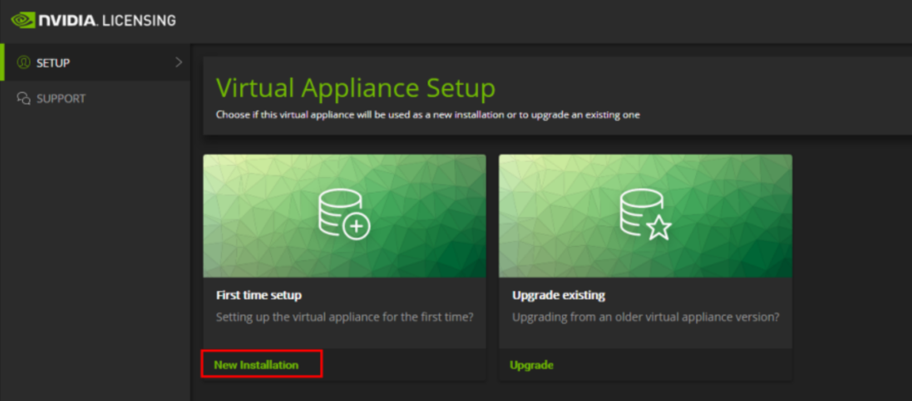
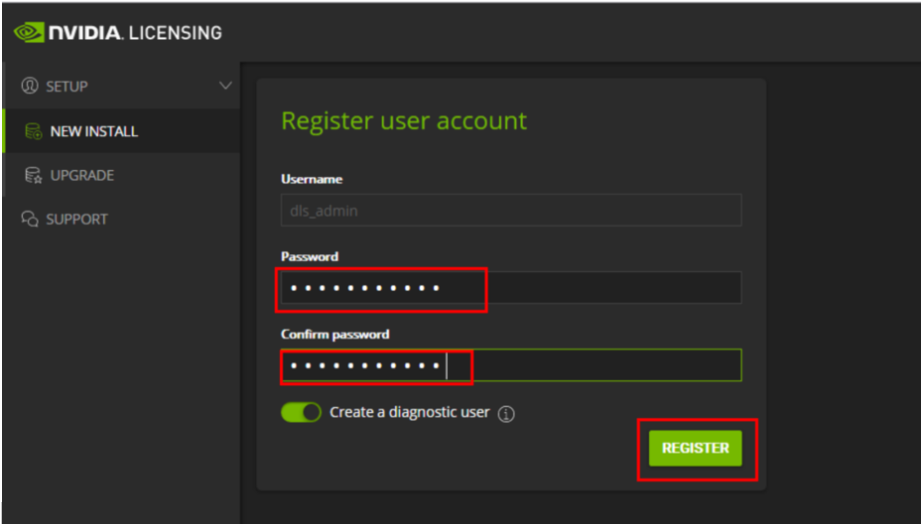
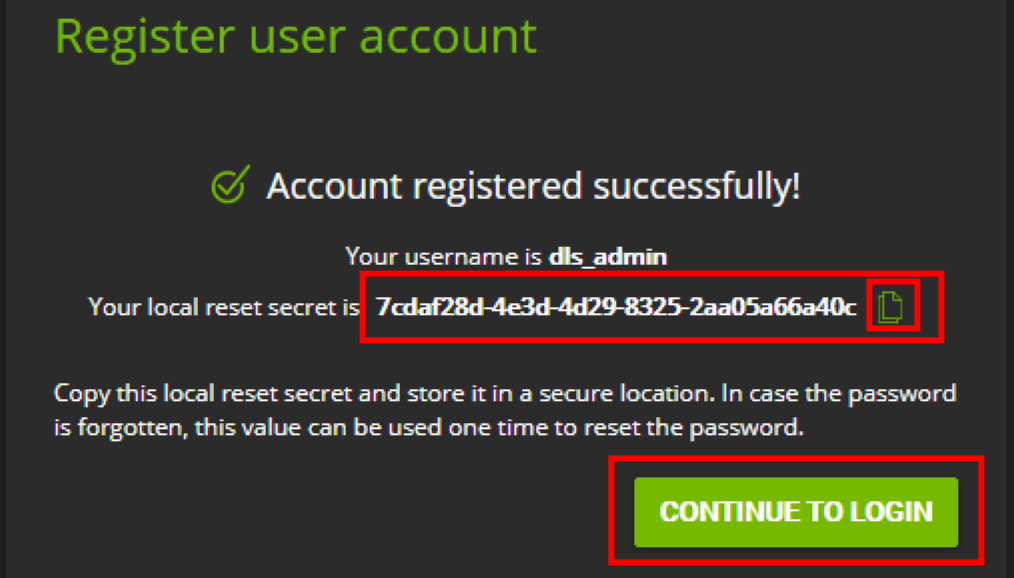
Procedure


 {{ $t('index.defaultHeader.chromeBrowserTip') }}