{{ secondMenu.name }}


Precautions
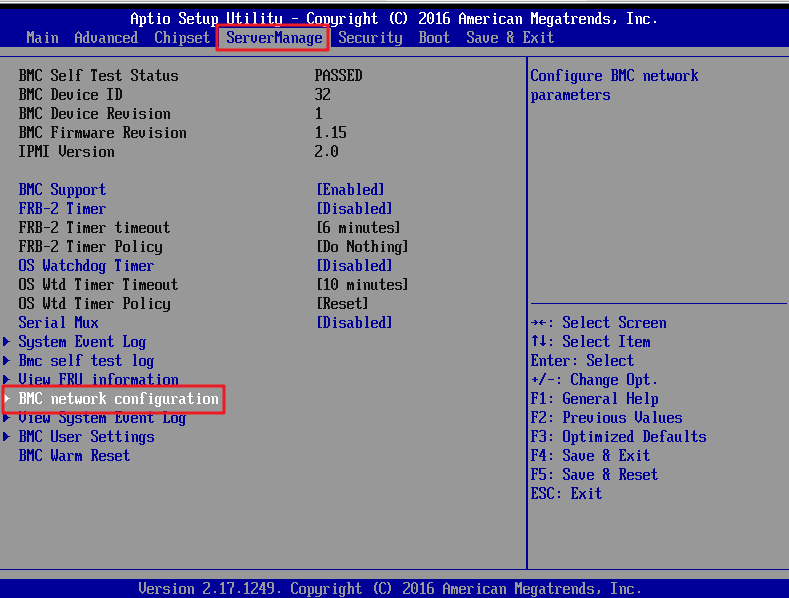
An Inspur server is used as an example.
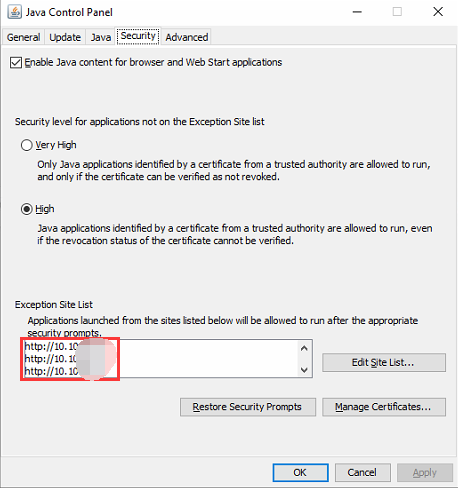
Software: Chrome.
You need to install Java for your PC in advance. jdk-8u181-windows-x64.exe is recommended.
Switch and server configurations shall meet the requirements in section 2.2 "Installation Preparations" of this manual.
If the HCI installation progress is stuck at 6% for a long time, you need to check whether the disk is offline.
If the server fails to be started after a USB key is inserted, you need to set USB 3.0 Support to Enabled in BIOS settings.
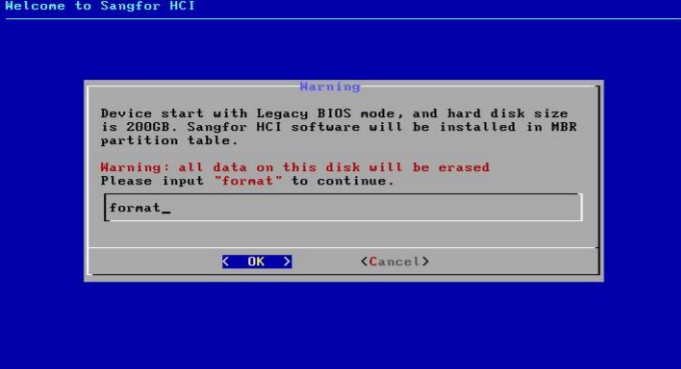
Use the legacy mode rather than the UEFI mode for installation. Specifically, select a boot disk without UEFI.
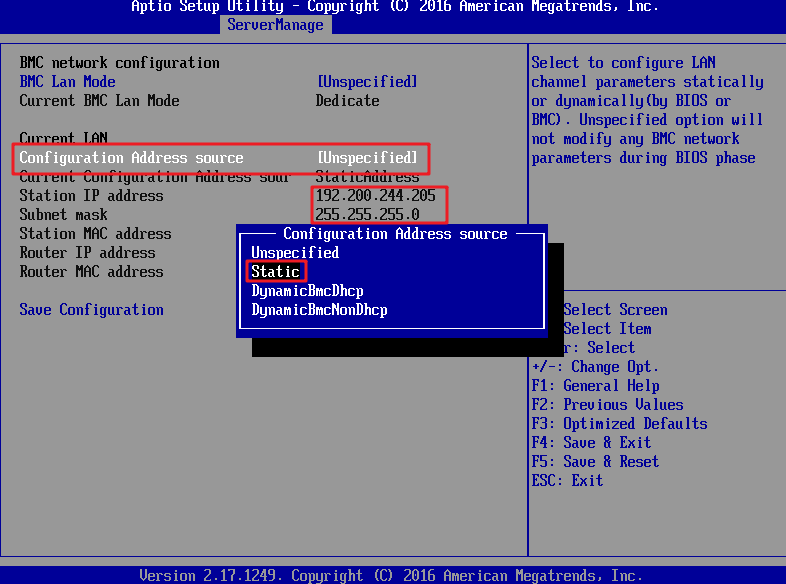
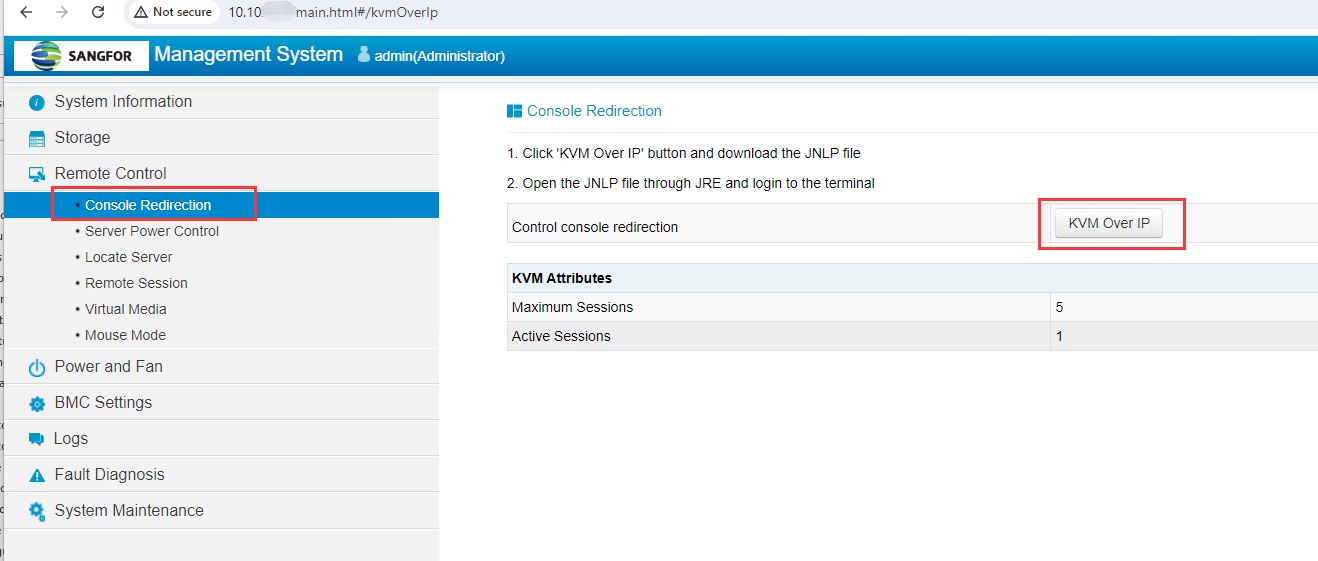
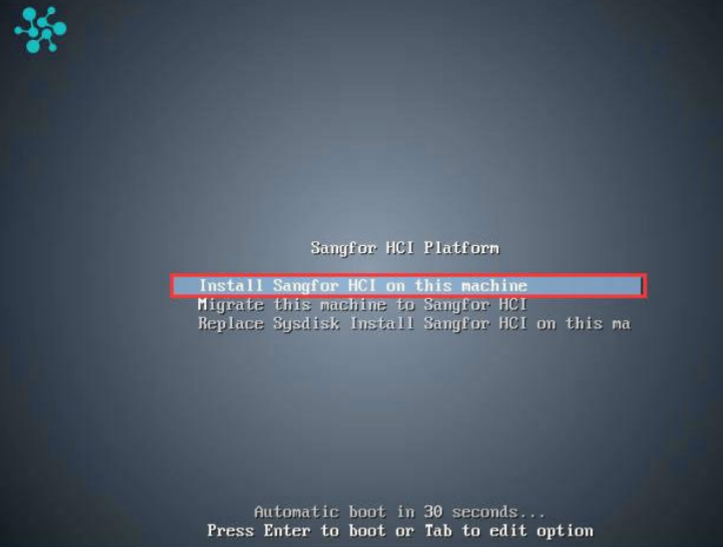
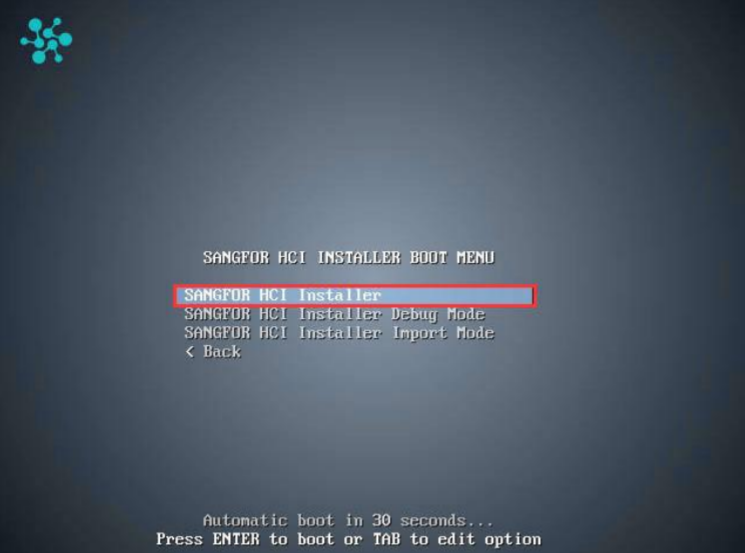
Procedure

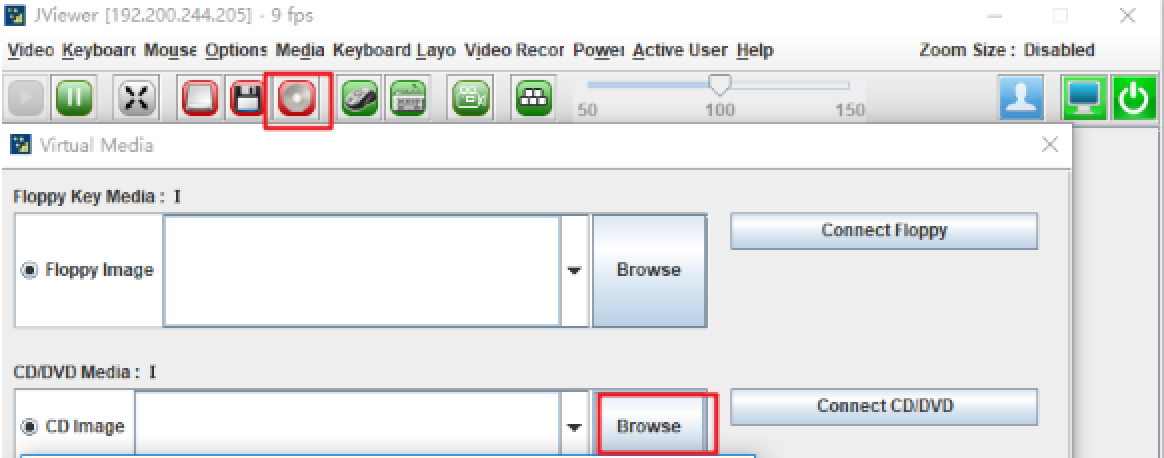
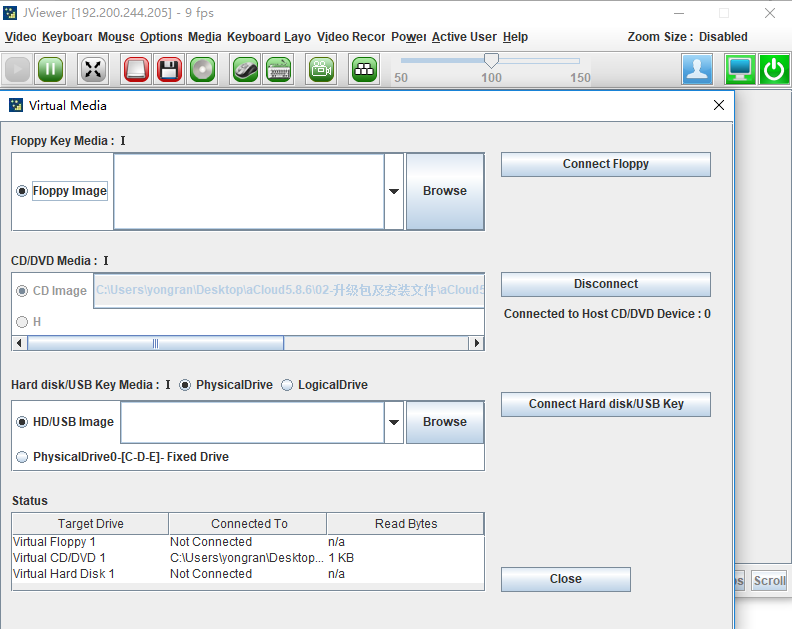
![]() :
:
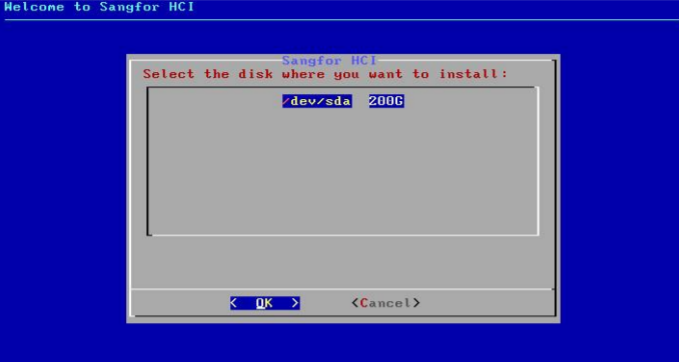
HCI needs to be installed on a disk with a storage capacity of more than 2 TB and an available capacity of more than 60 GB. You are advised to use the UEFI mode for installation.
![]()
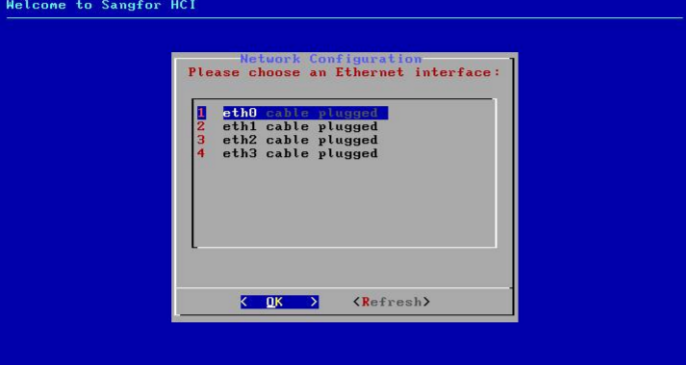
If you skip NIC configuration, the default IP address 10.250.0.7 and netmask 255.255.255.0 will be configured for the management interface eth0. If you skip NIC configuration for multiple devices, an IP address conflict will occur because the same default IP address is configured for them.
• NIC aggregation:
• Select the network interfaces comprising the aggregate interface.
• Select the aggregation mode.
• Configure the VLAN.
• Configure the name, IP address, netmask, default gateway, MTU, and VLAN ID for the aggregate interface.
• Single-NIC configuration:
• Select an interface.
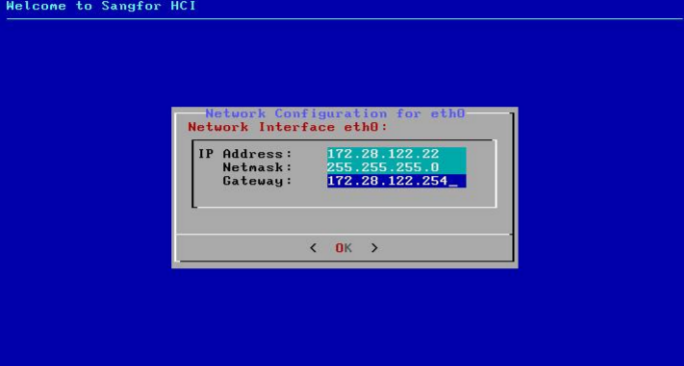
• Configure the IP address, netmask, and default gateway for the interface.
• Specify whether to configure the VLAN.

 {{ $t('index.defaultHeader.chromeBrowserTip') }}