{{ secondMenu.name }}


Description
Prerequisites
N/A
Precautions
N/A
Steps
• The virus is fixed after the snapshot is taken successfully. The snapshot suppression time is 1 hour, indicating that the earliest snapshot is retained if manual fixing is performed several times on a VM within an hour.
• A consistent group snapshot is taken for the VM if it is in a consistency group.
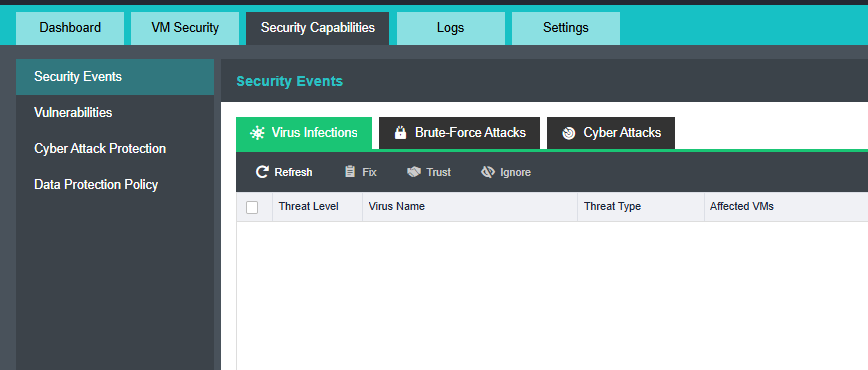
• Recover File: Recovers the selected file to its original location, which overwrites the existing file with the same name and cannot guarantee the security of the file. By default, a recovered file will be marked as trusted. Please operate with caution.
• Recover from Snapshot: Recovers the VM from a snapshot. Note: This operation will recover the VM to the time point of the selected snapshot. Ensure that a snapshot or backup has been made for the VM; otherwise, unprotected data will be lost. Perform recovery during off-peak hours, as it will shut down the VM and interrupt your business.

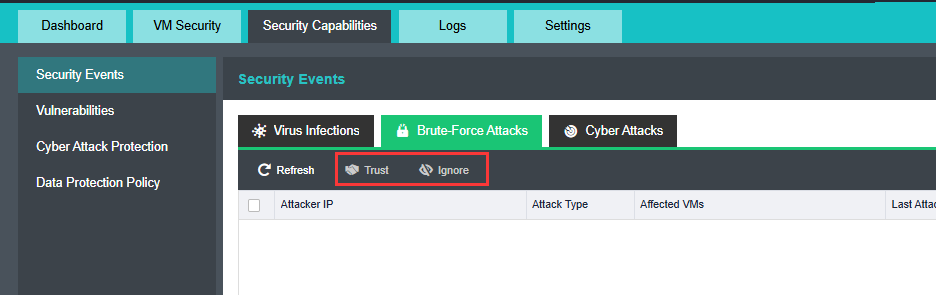
• If you click Block, the attack source IP address will be added to the permanent blacklist. Traffic flowing to or from blacklisted IP addresses will always be discarded. If your business becomes abnormal after fixing, go to Settings > Blacklist and Whitelist > Permanent Blacklist to allow the blocked IP address by referring to Blacklist and Whitelist.
• If you click Block, the attack source IP address will be added to the permanent blacklist. Traffic flowing to or from blacklisted IP addresses will always be discarded. If your business becomes abnormal after fixing, go to Settings > Blacklist and Whitelist > Permanent Blacklist to allow the blocked IP address by referring to Blacklist and Whitelist.

 {{ $t('index.defaultHeader.chromeBrowserTip') }}