{{ secondMenu.name }}


Description
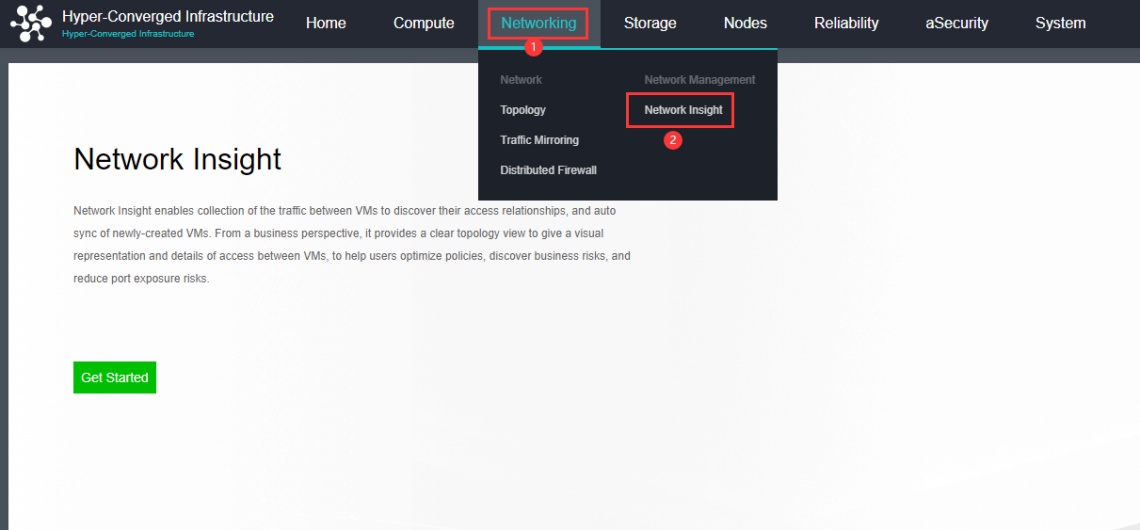
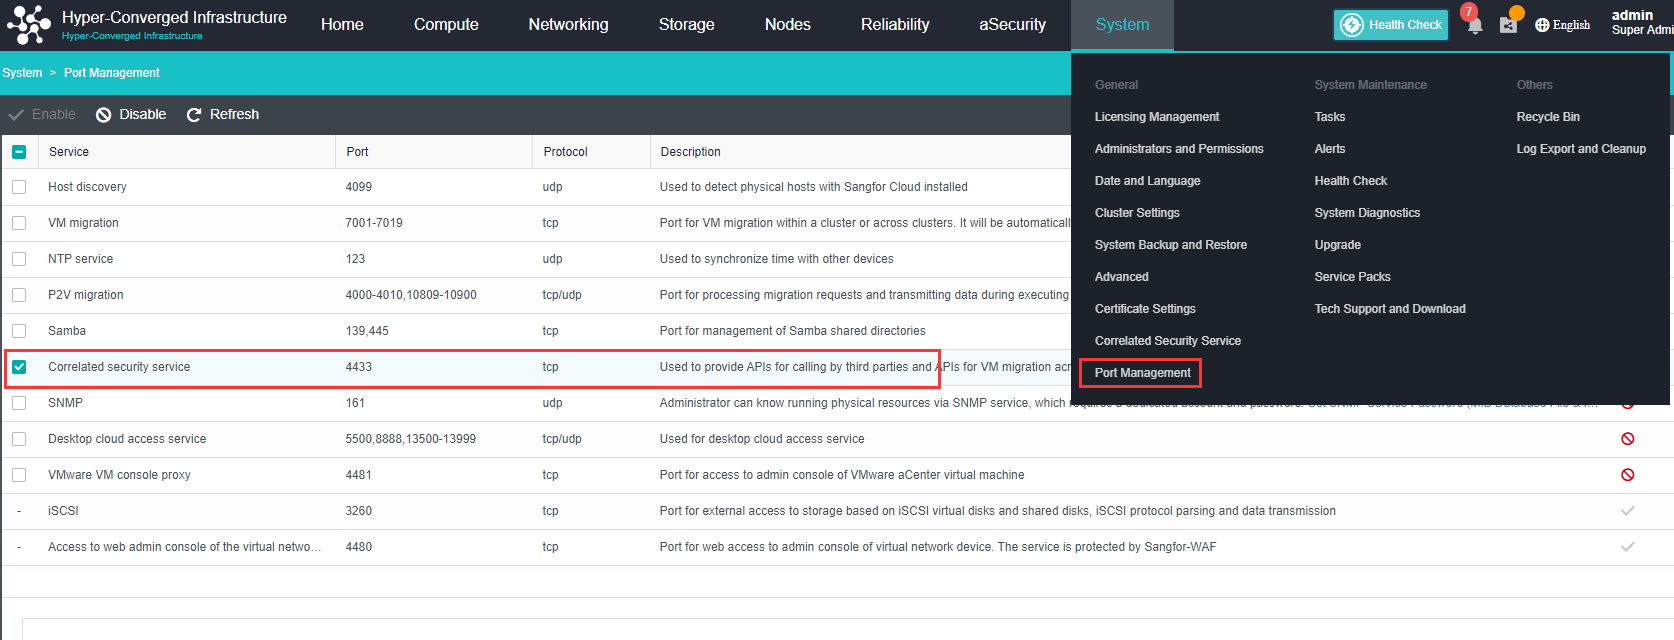
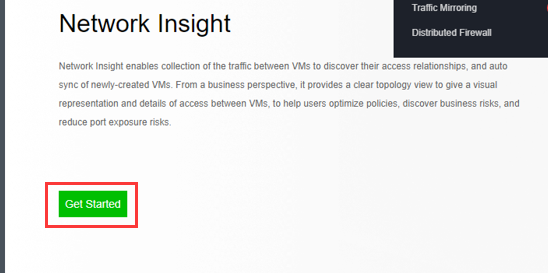
Network insight (aNI, Advanced Network Insight) achieves the automation of collecting and sorting virtual machine access relationships, automatically adding and displaying new assets, and synchronizing asset status on time. From a business perspective, it provides an intuitive and clear access relationship topology diagram and access details between virtual machines. It is convenient for optimizing policy configuration, discovering business access risks, and reducing risky port exposure.
Precautions
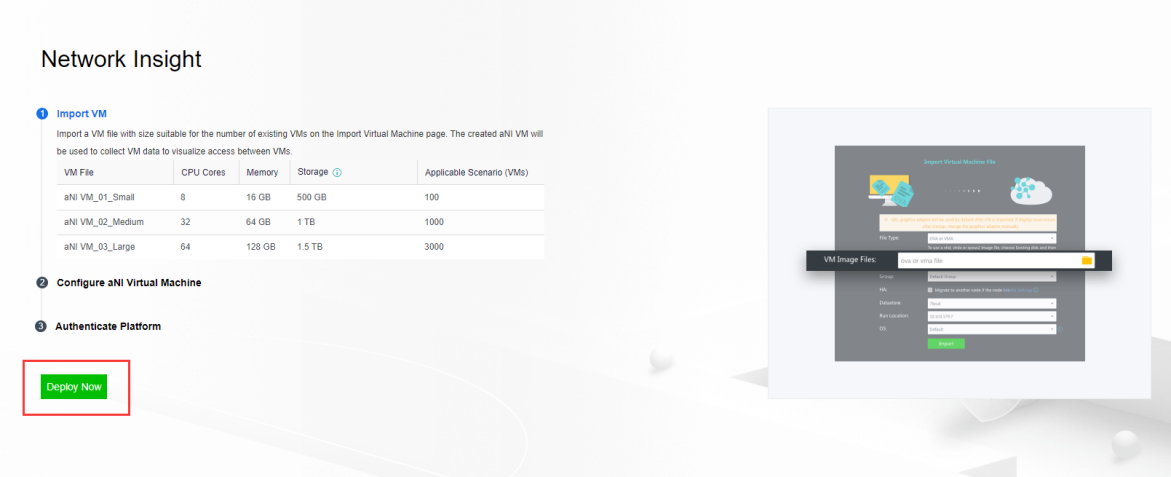
| Specification |
Cores |
RAM |
Storage |
Total number of virtual machines |
| Small |
8 |
16GB |
500GB |
100 |
| Medium |
32 |
64GB |
1T |
1000 |
| Large |
64 |
128GB |
1.5T |
3000 |
Prerequisites
N/A
Steps
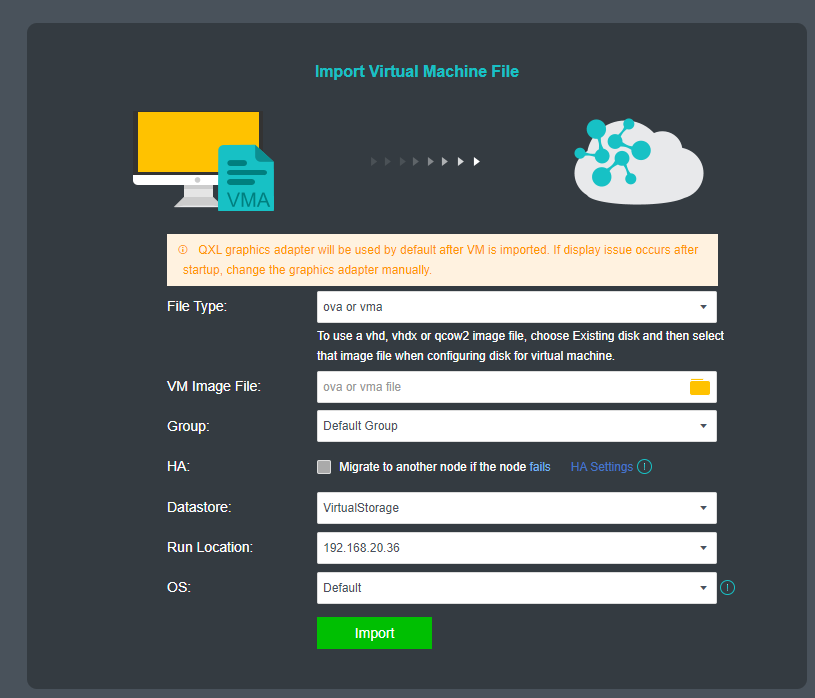
![]()
After the virtual machine is imported, please view the wizard shown in the figure below, and edit the parameters of the template virtual machine according to the number of existing virtual machines and according to the small, medium, and large specifications. The storage capacity is mainly used to store all the streaming data of virtual machines with access relationships on the platform within 30 days.
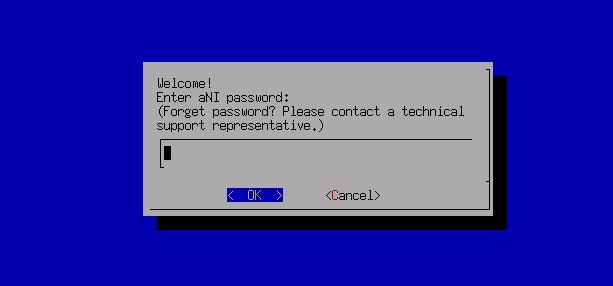
Step 1.Input the aNI login credentials to log in.
![]()
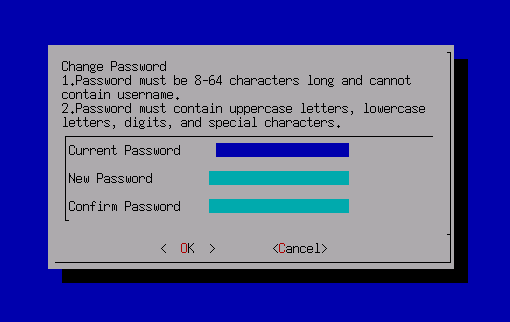
Changing the password for the first login is required, and there are only five attempts for the wrong password retry. If you enter the wrong password five times, the account will be locked for 5 minutes, and you can enter retry after 5 minutes.
The default password is Sfcsec@123. The password policy is as follows:
• Password length should be 8 to 64 characters and cannot contain the username.
• Password must contain uppercase letters, lowercase letters, digits, and special characters. such as ~`@#%&<>"',;_-^$.*+?=!:|{}()[]/ .
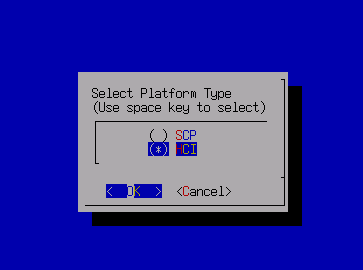
Step 2.After the password change, it is required to log in again. Select Platform Authentication and select HCI as the platform type.
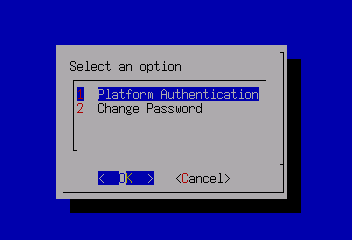
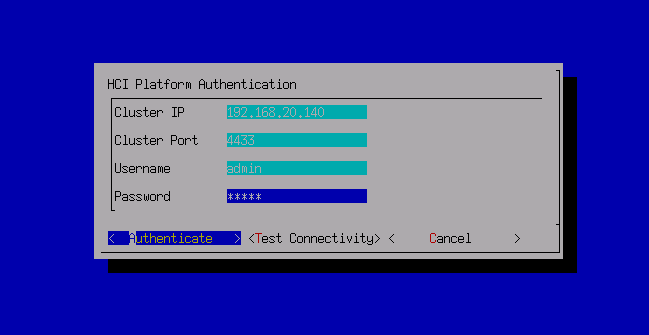
Step 3.Input the cluster IP, username, and password to authenticate.
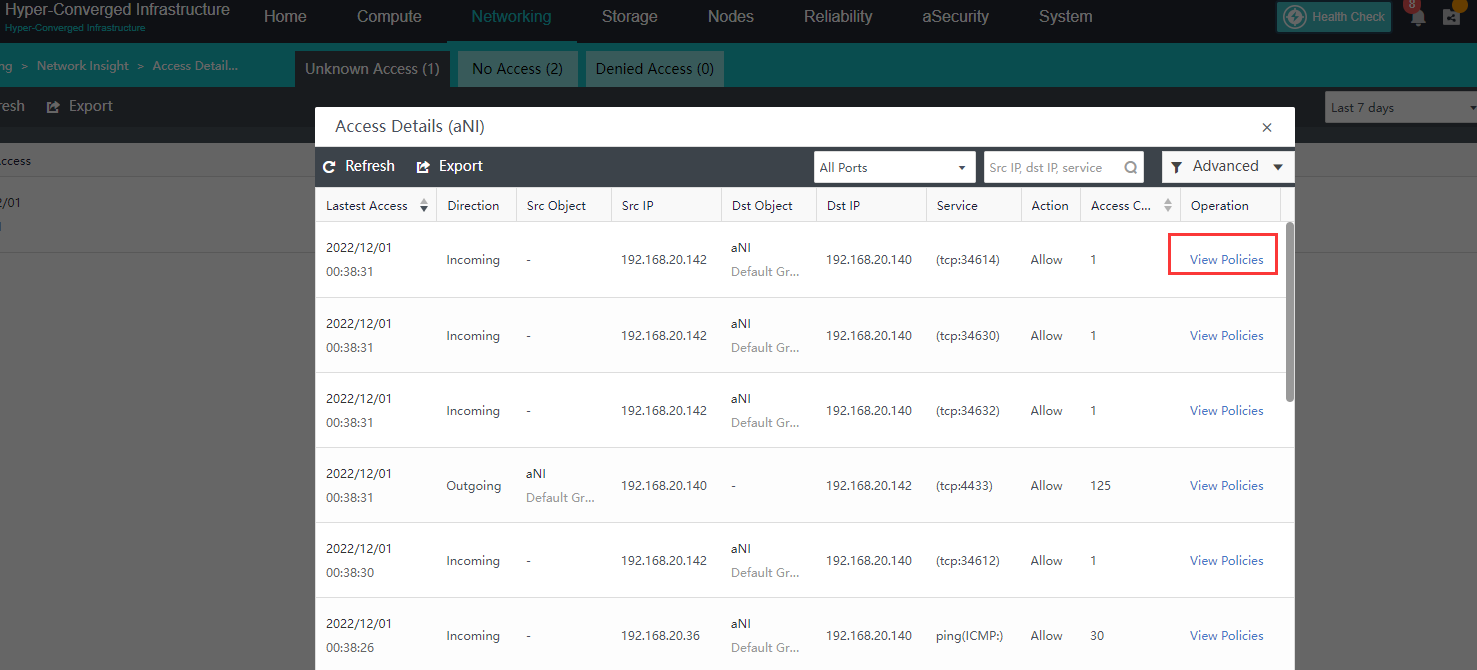
• Access Statuses filter: All Access Statuses, Allowed, Denied and No Policy Matched.
• Day filter: Last 30 days, Last 7 days, Last 3 days, and Today.
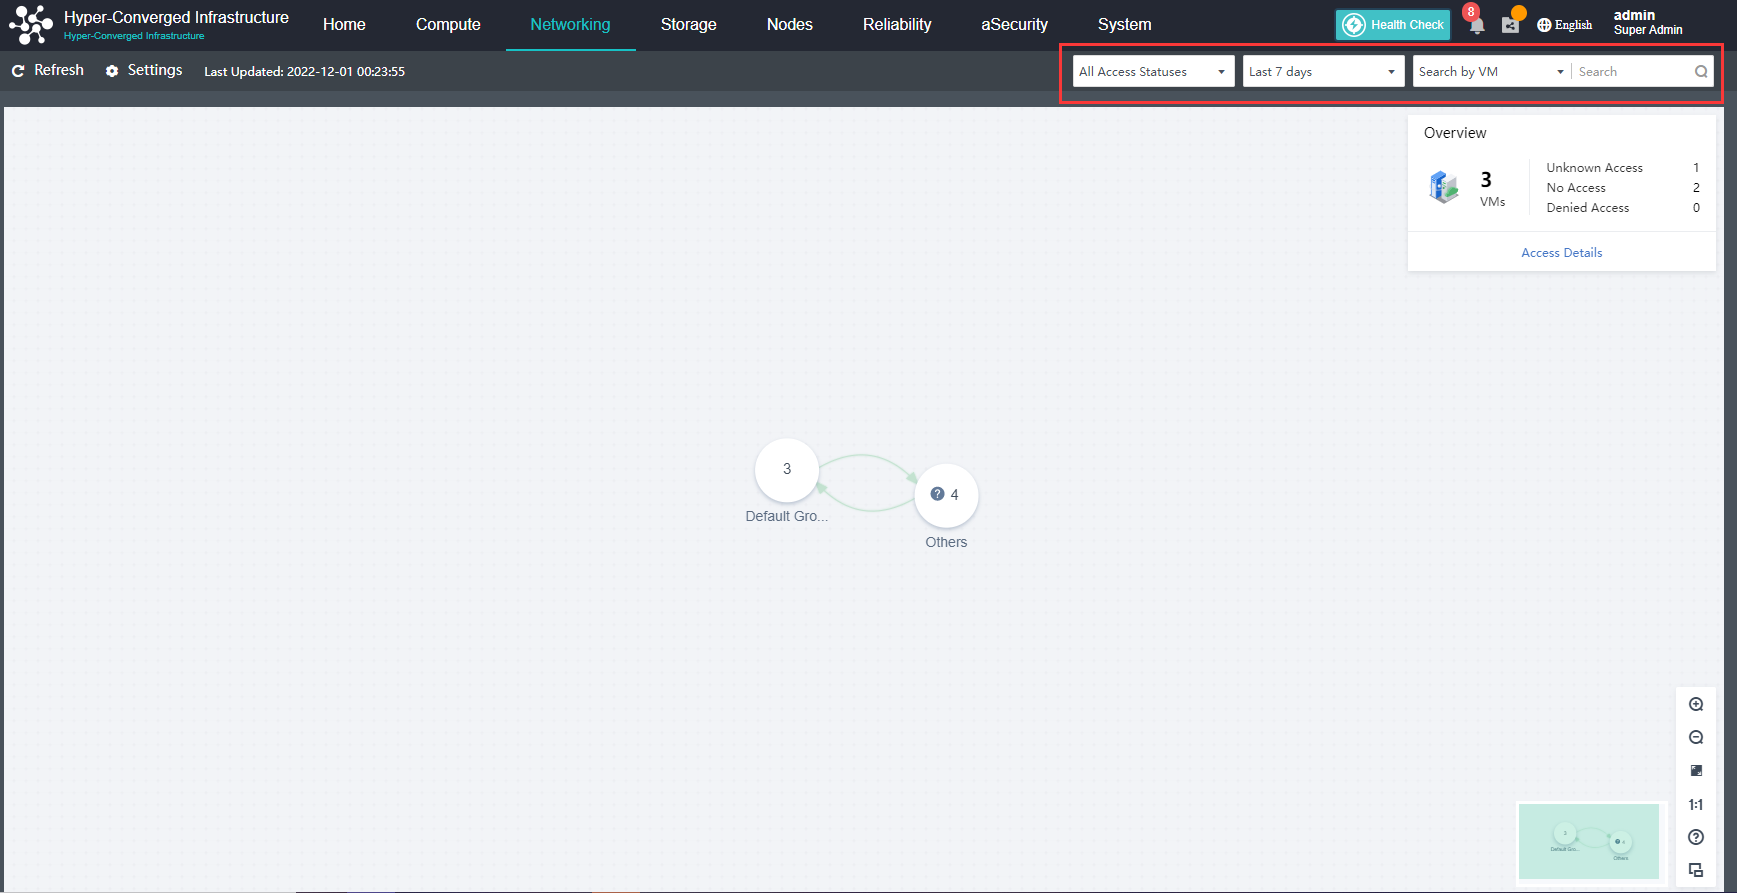
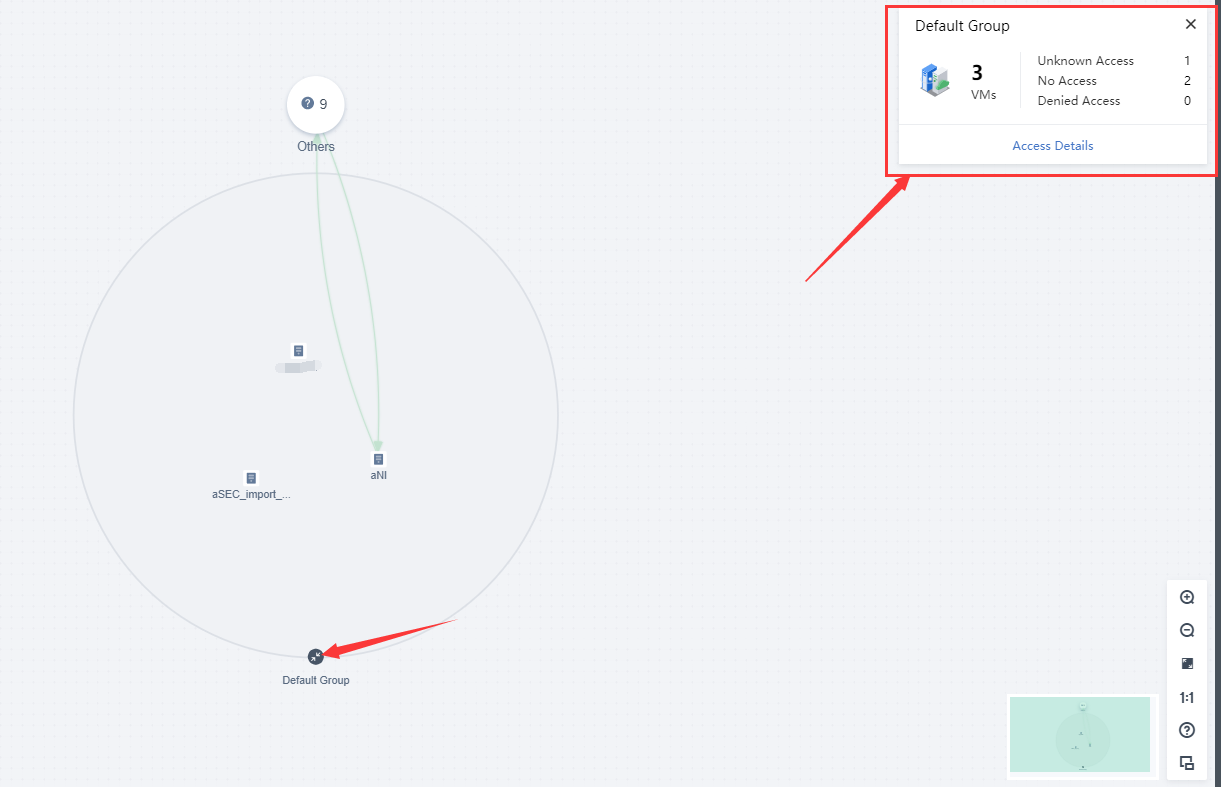
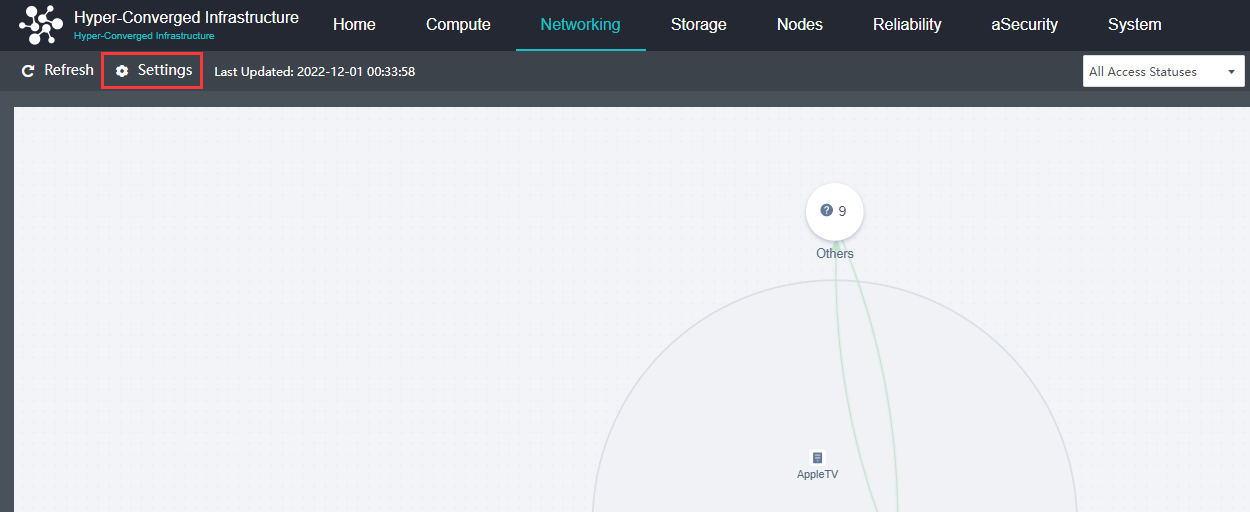
• The card in the upper right corner displays VM access information, including the total number of VMs and the number of VMs with unknown access, no access, and denied access.
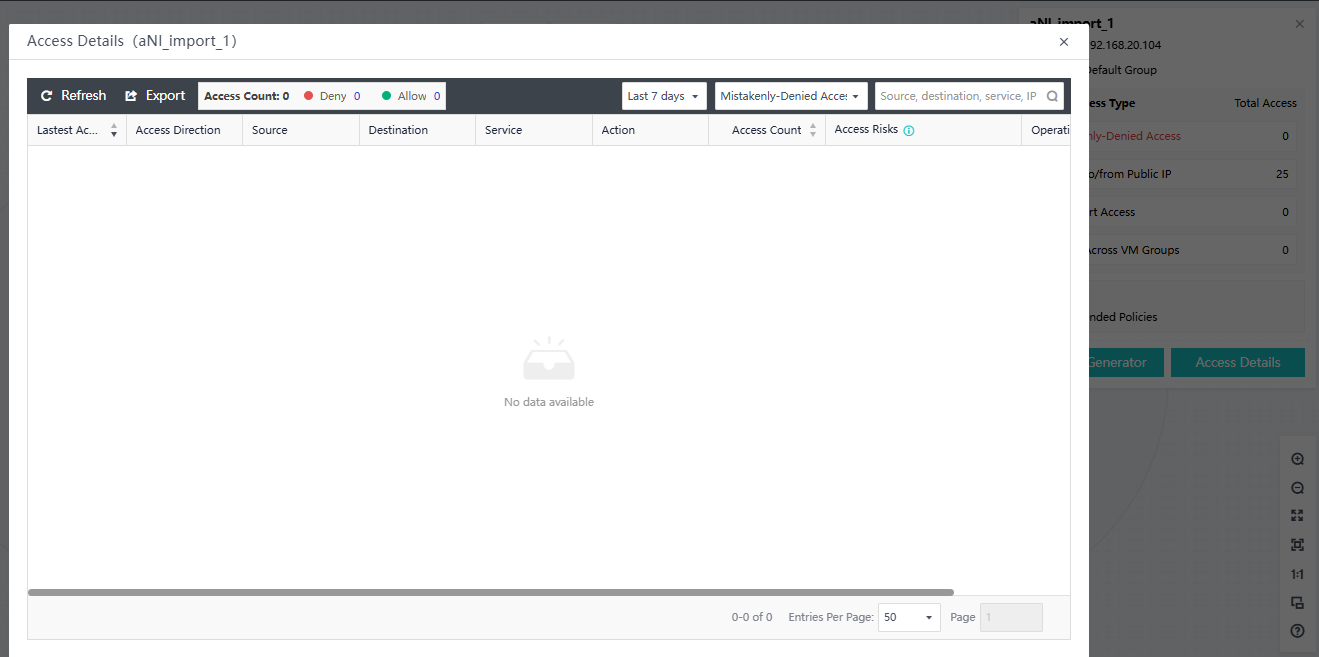
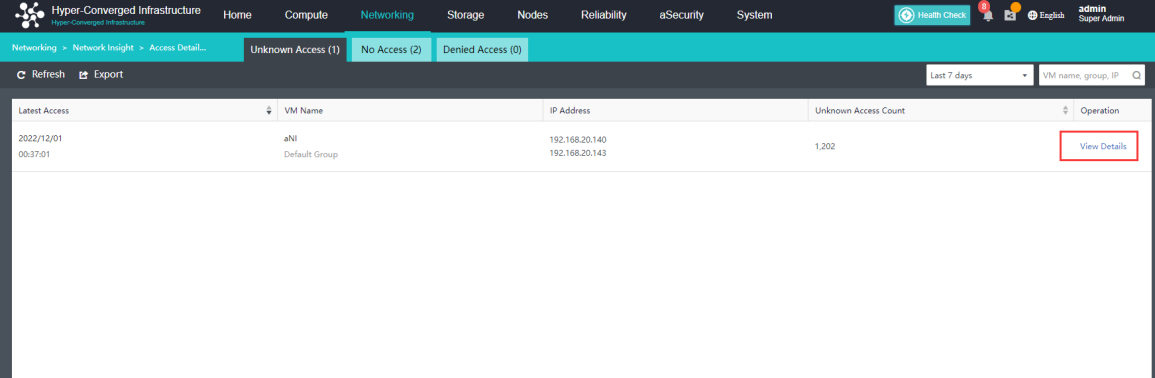
• Select a VM and click Access Details in the upper right corner to view its access details.
• Click the zoom-out button to go back to the initial view.

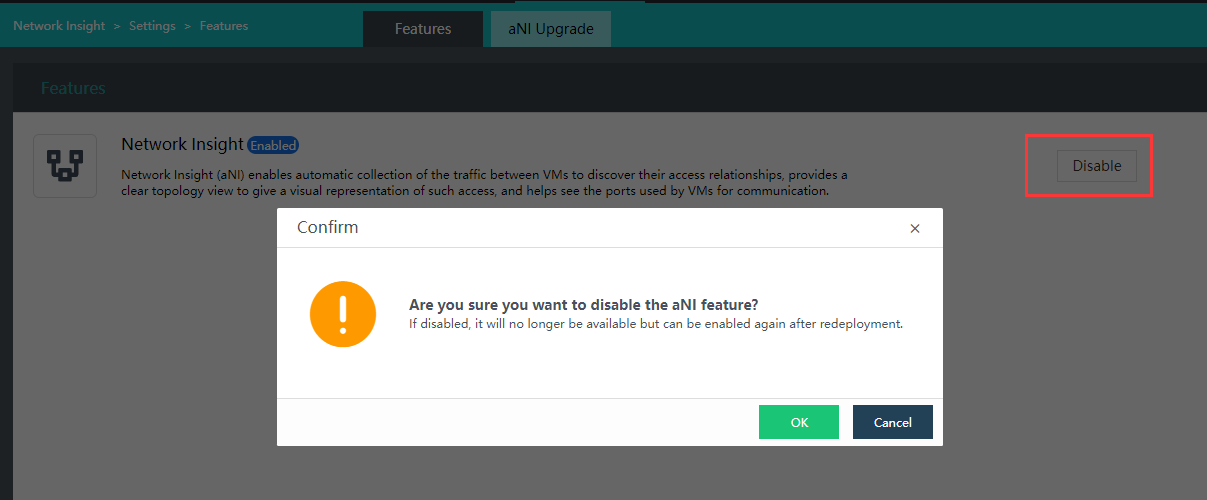
![]()
After the network insight feature is disabled, this feature can no longer be used. You need to redeploy to enable the feature again.
Note:
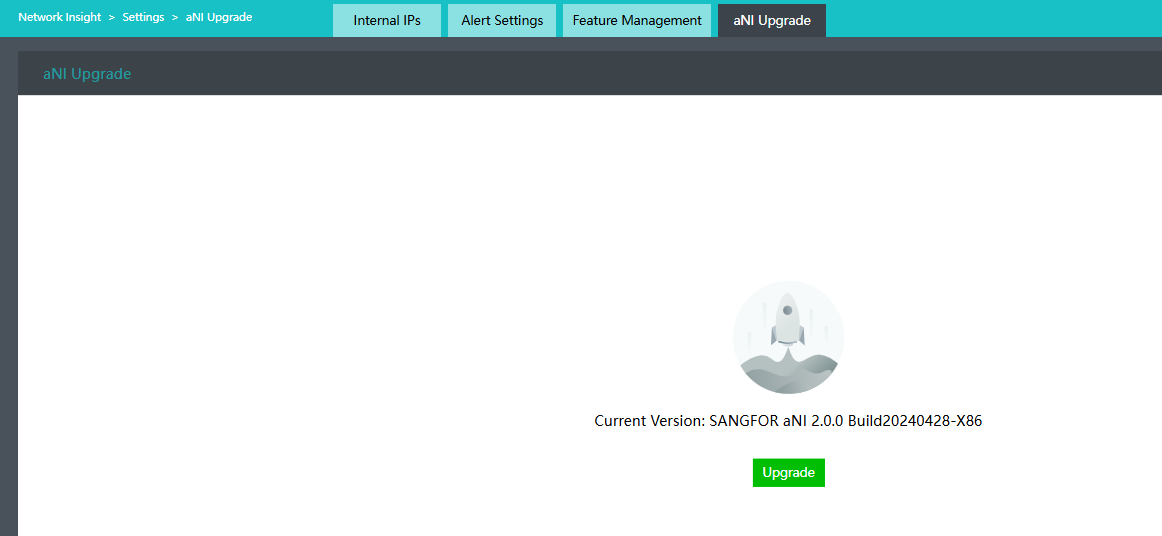
• You can install up to 10 service packs for a version.
• You can roll back one service pack at a time, in reverse order of the upgrade sequence.
• Cold start is used for upgrades and rollback, which means they do not affect your business and only make aNI unavailable temporarily.
• If the upgrade or rollback is interrupted, the service pack is rolled back automatically.

 {{ $t('index.defaultHeader.chromeBrowserTip') }}