{{ secondMenu.name }}


On the Local Users page, you can manage VPN access accounts. That is, set the user name and password for accessing the VPN, the encryption algorithm used for user accounts, account validity period, and internal permission of user accounts. You can also group users and set the public attributes of the group members. See the figure below:
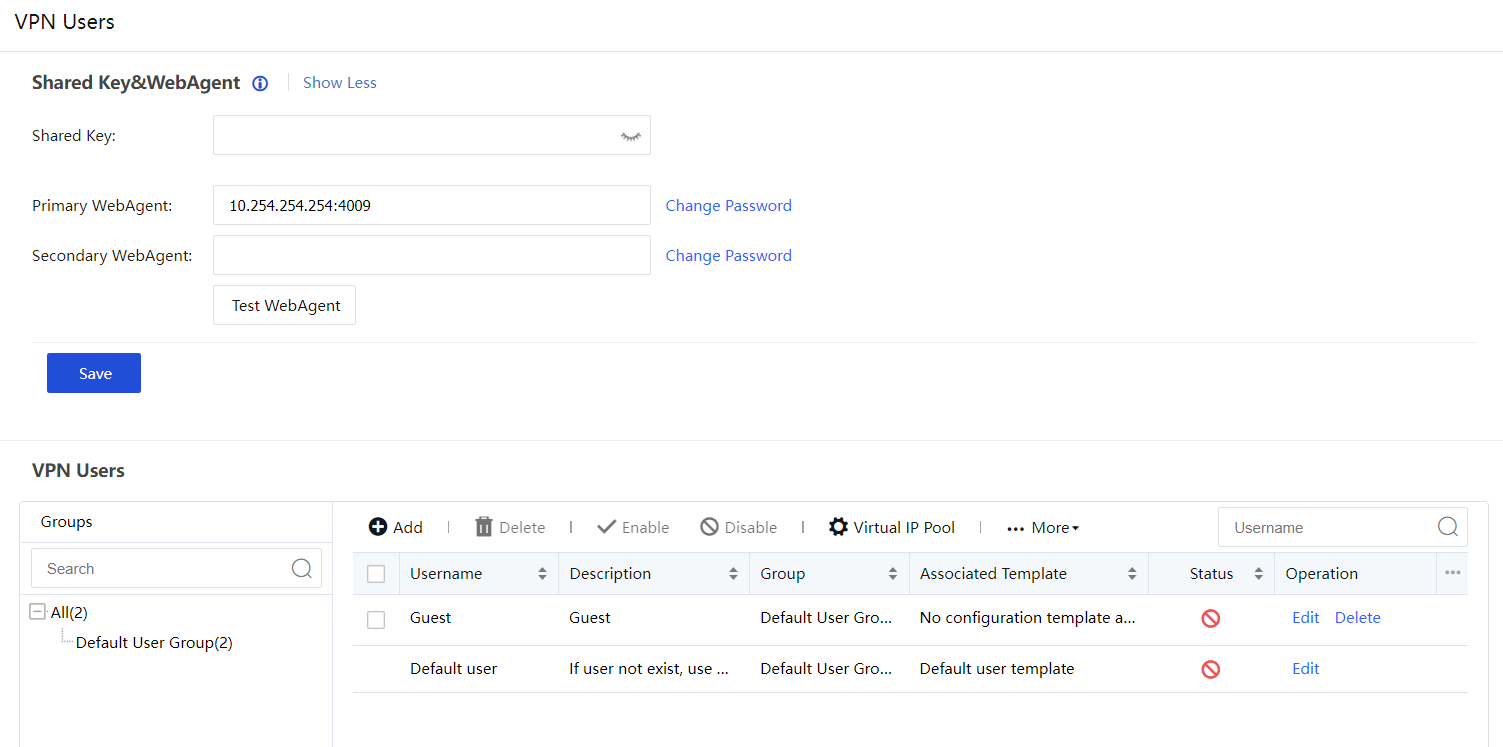
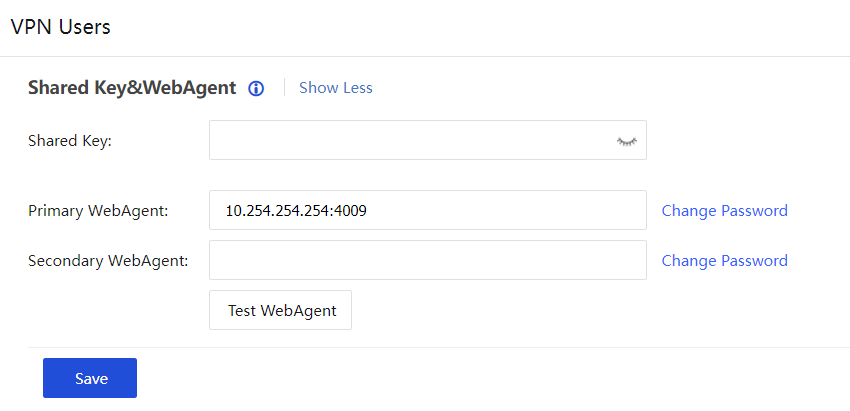
Shared Key: A shared key can be set to prevent unauthorized device access.
WebAgent: Refers to the address of the dynamic IP addressing file in the Web server, including the primary WebAgent and secondary WebAgent address.
If it is dynamic IP(headquarters), please fill in the WebAgent webpage address (usually the webpage address ending in .PHP). After filling in the WebAgent, you can click Test WebAgent to check whether the filling format is normal.
If the headquarters is fixed IP, please fill in the format of IP address: port, such as 200.200.133.134:4009.
Click Change Password to set the WebAgent password to prevent illegal users from stealing WebAgent to update the fake IP address, which is only valid for the page address.
![]()
After setting the WebAgent password, it cannot be recovered if the password is lost. Need to contact the Sangfor Technology Customer Service Center to regenerate a file that does not contain the WebAgent password and replace the original file.
If a shared key is set, all VPN sites must set the same Shared Key to connect and communicate with each other.
If it is multi-line and all have fixed IP, you can use "IP1#IP2:port" to fill in WebAgent.
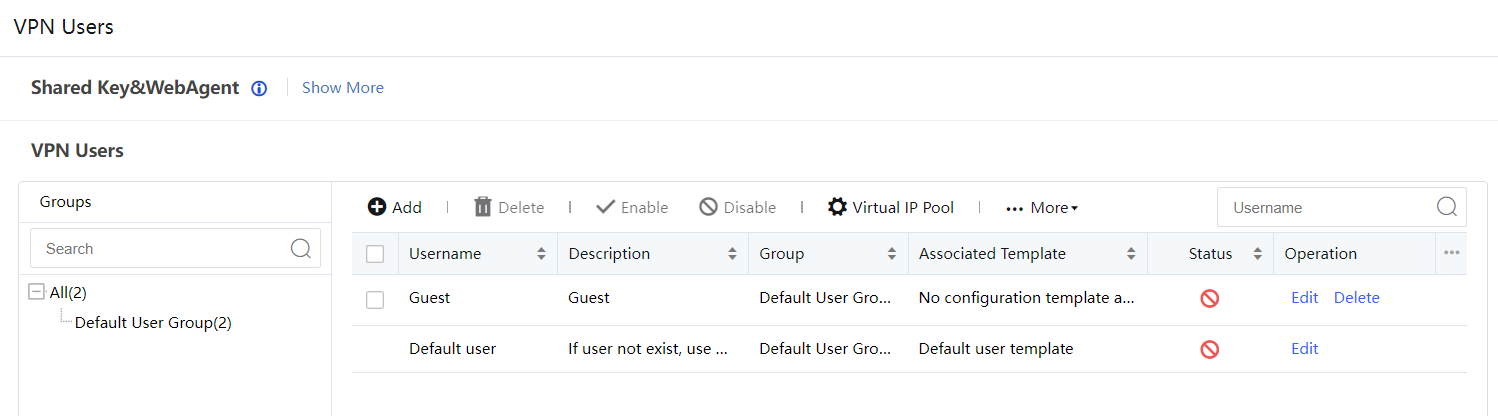
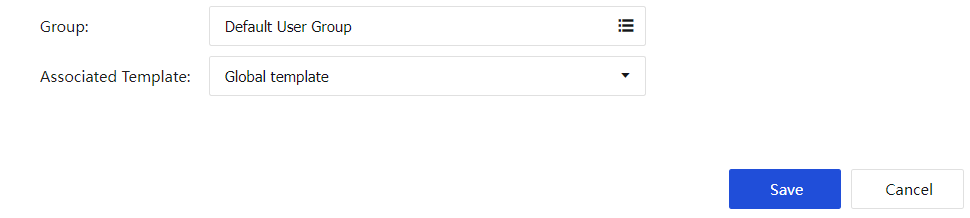
Click Add to add a VPN access account. You can set the name, description, and group information of the access account in sequence, as shown in the figure below:

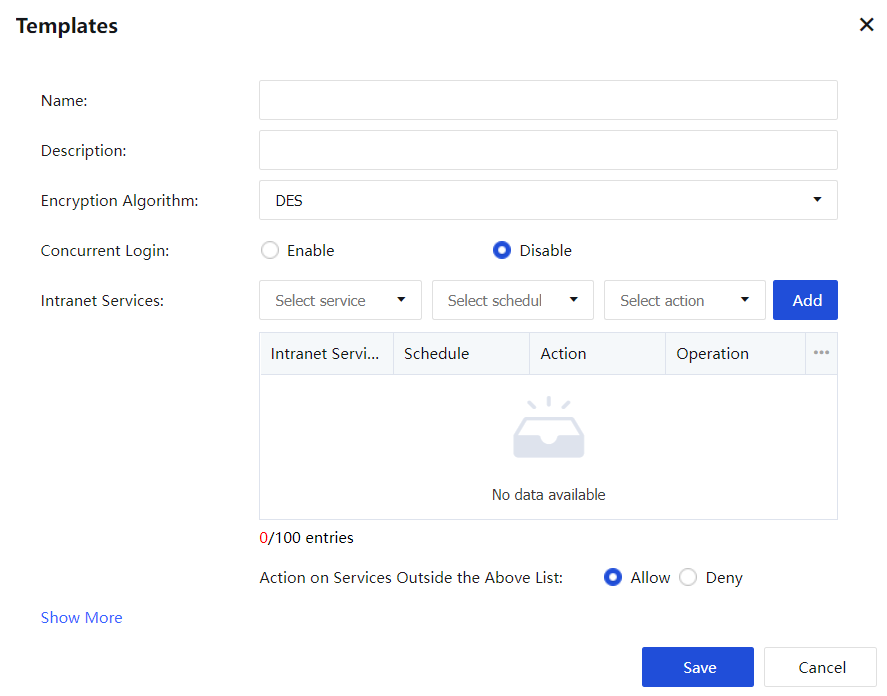
Select Template: You can view the template settings or add a new configuration template to modify the content. The template can be configured with the template name, encryption algorithm, whether to enable multi-user login, user's intranet service settings, multicast service, IPSec VPN tunnel timeout, and other configurations.
Auth Method: Select the user authentication method, including local authentication and certificate authentication.
Show More: Including user expiration time, client certificate verification, Tunnel NAT, multi-line Policy, and other configurations.
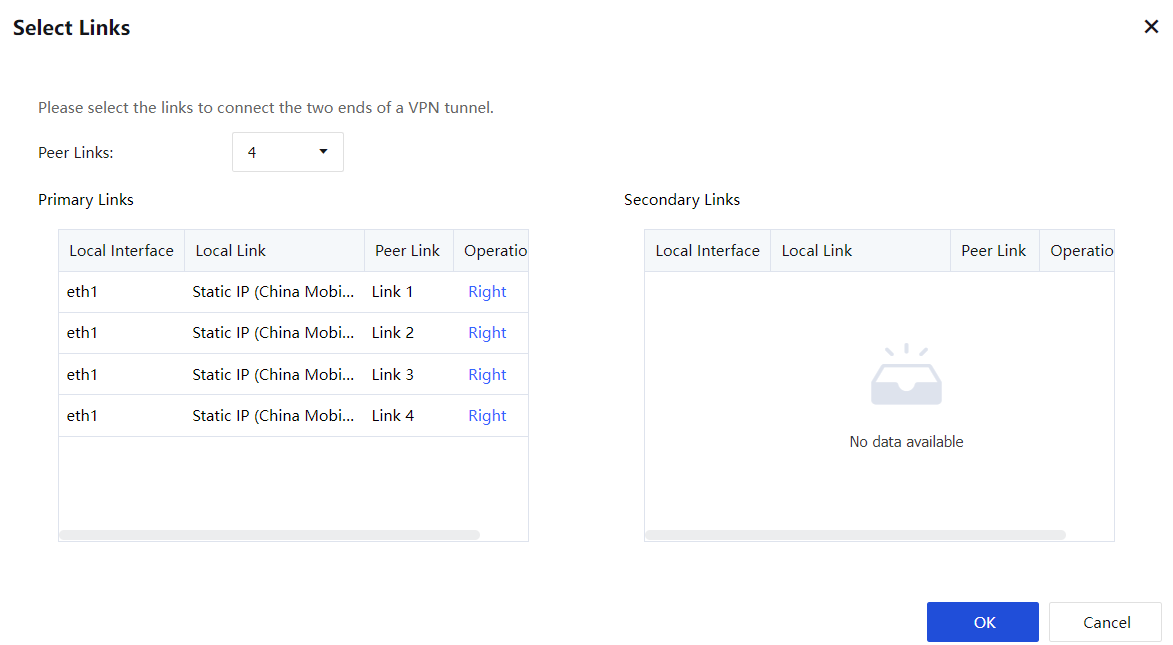
Settings: When the intelligent routing does not match, use the multi-line routing. Select the number of lines at both ends of the VPN connection based on the actual situation, and then select the number of main lines and the number of backup lines.
Click Delete to delete selected users.
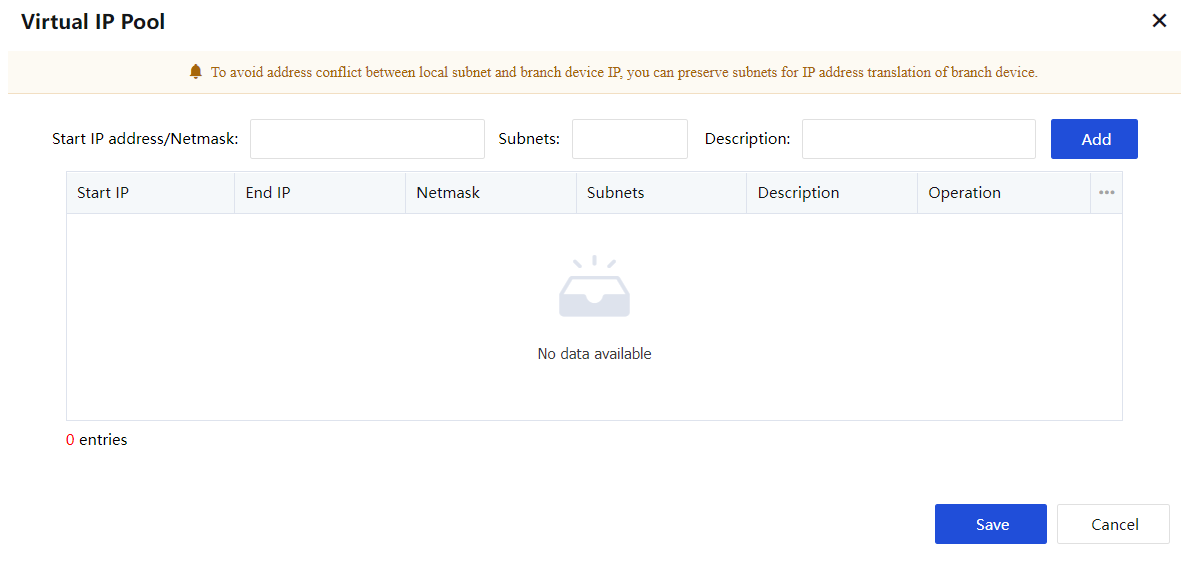
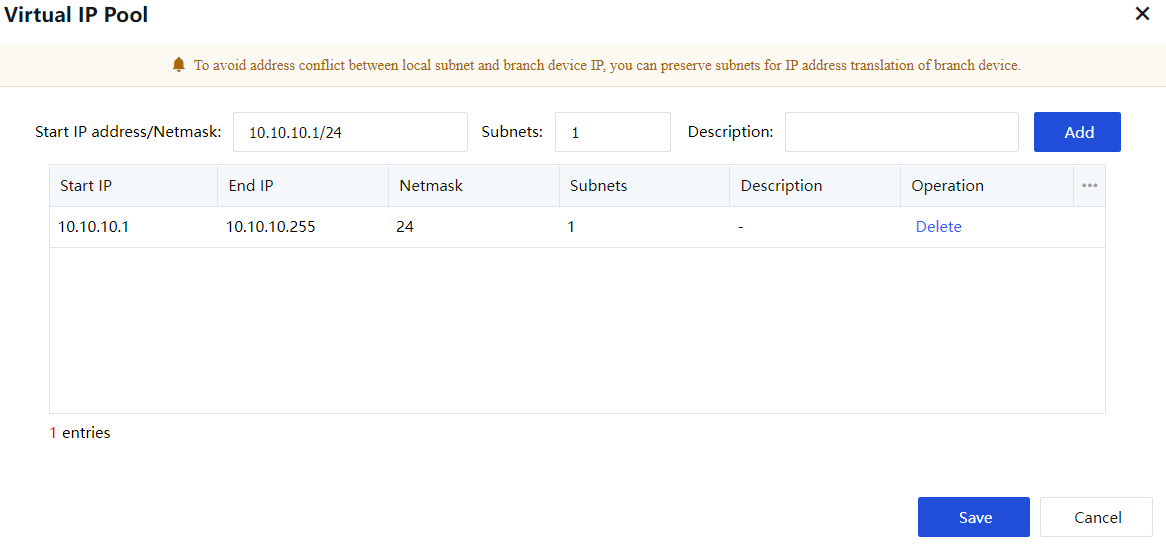
Click Virtual IP Pool to create a branch virtual IP pool. The virtual IP segment in the branch virtual IP pool is provided to the branch when it connects to the headquarters. Replace the original network segment of the branch with a network segment in the virtual IP pool to solve when two branches with the same network segment are connected to the headquarters at the same time Intranet IP conflict problem. When setting, set the starting IP/subnet mask, the number of network segments, and a description of the virtual IP. See figure below:
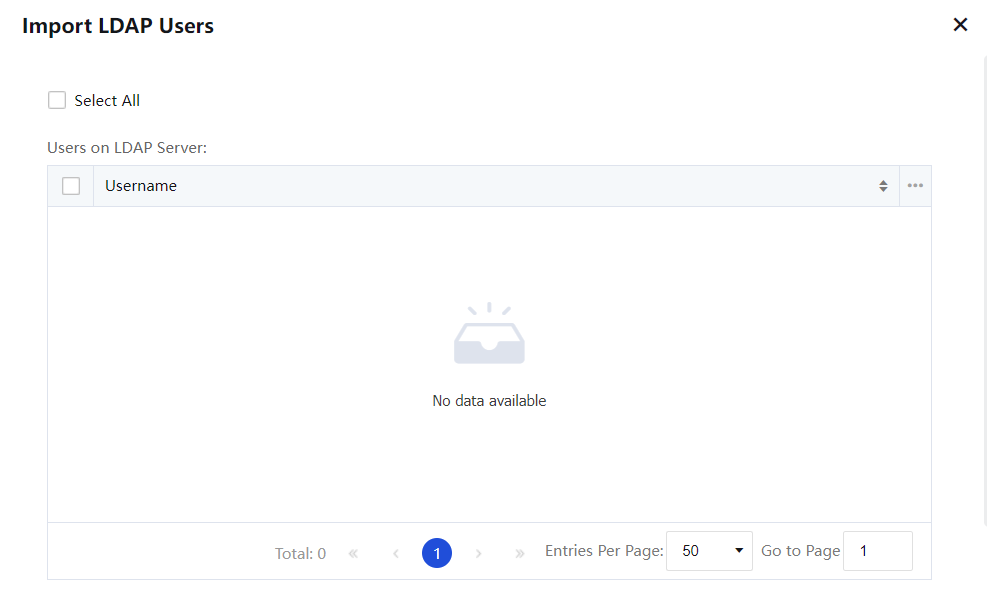
Click Import From LDAP Server to import user information from the local users or LDAP users.
![]()
Before importing user information from the domain server, choose VPN > Advanced > LDAP Server and set the information about the LDAP server.
Click Import From Text to import user information from a TXT or CSV file.
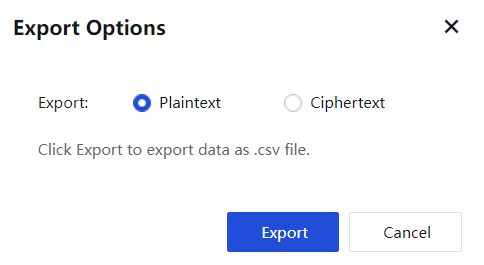
Click Export to export user information from the equipment to a local computer. You can choose to export the user passwords in plaintext or ciphertext mode. See the figure below:
Click Template to manage the interface of access account configuration template, as shown in the figure below:
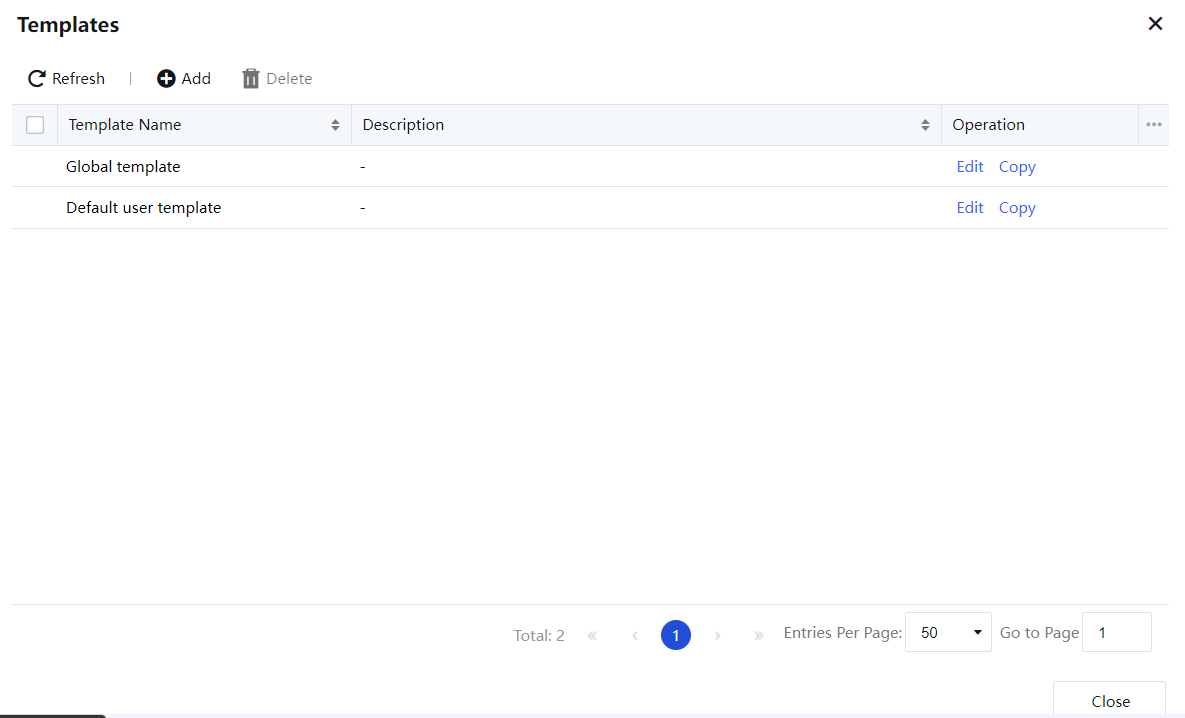
Click Add to configure the encryption algorithm, intranet service settings, and multicast services in the configuration template.
Tunnel NAT is mainly used to solve the problem of intranet network segment conflicts between branches through the Virtual IP Pool configuration, as shown in the figure below:
In the newly added account, you can see whether the NAT tunnel function is enabled or not. See figure below:

After clicking Enable, configure the corresponding original IP network segment. The system will automatically assign a virtual IP pool to the network segment. If the virtual IP pool allocation is empty, you can go to Virtual IP Pool to add.

 {{ $t('index.defaultHeader.chromeBrowserTip') }}