{{ secondMenu.name }}


During the operation of the security device, a large number of system, security, and running logs will be generated. However, the security device's storage space is insufficient for log storage, which tends to cause logs to be overwritten or lost, thus making it impossible to perform attack traceability analysis and meet regulatory requirements. Therefore, after the security device is successfully connected to the Syslog server, the security device sends logs to the Syslog server, thereby relieving the log storage pressure on the security device and meeting regulatory compliance requirements.
Syslog is used to send logs generated by the device to the Syslog server for storage. IP address and port details of the Syslog server need to be set.
An enterprise deployed a Network Secure device at its Internet port. To meet the regulatory requirements, the security logs need to be sent to a log server for storage, and the server can only receive UDP packets on port 514.

Step 1.Enable Security Logs and send them to the log server in the form of syslog, as shown in the following figure.
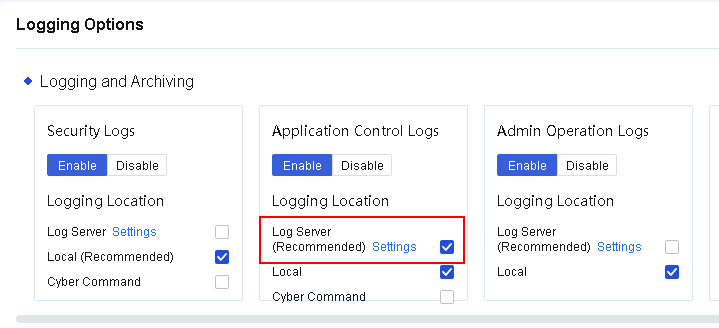
Step 2.Click Settings to enter the Application Control Logs Server Settings dialog box. Add a log server, and select a minimum log level, as shown in the following figure.

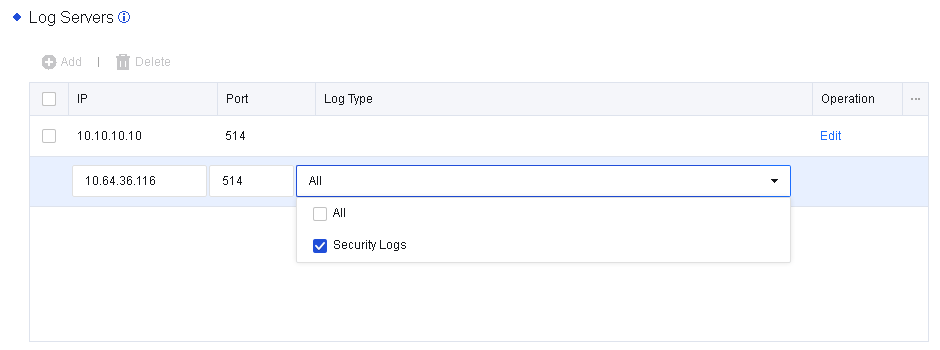
Step 3.Click Add Log Server to configure log servers. On the Log Servers page, click Add, set Port to 514, and select Security Logs for Log Type. You can configure multiple log servers, as shown in the following figure.
Step 4.View the security logs generated by Network Secure and select the logs that you want to send to the log server, as shown in the following figure.
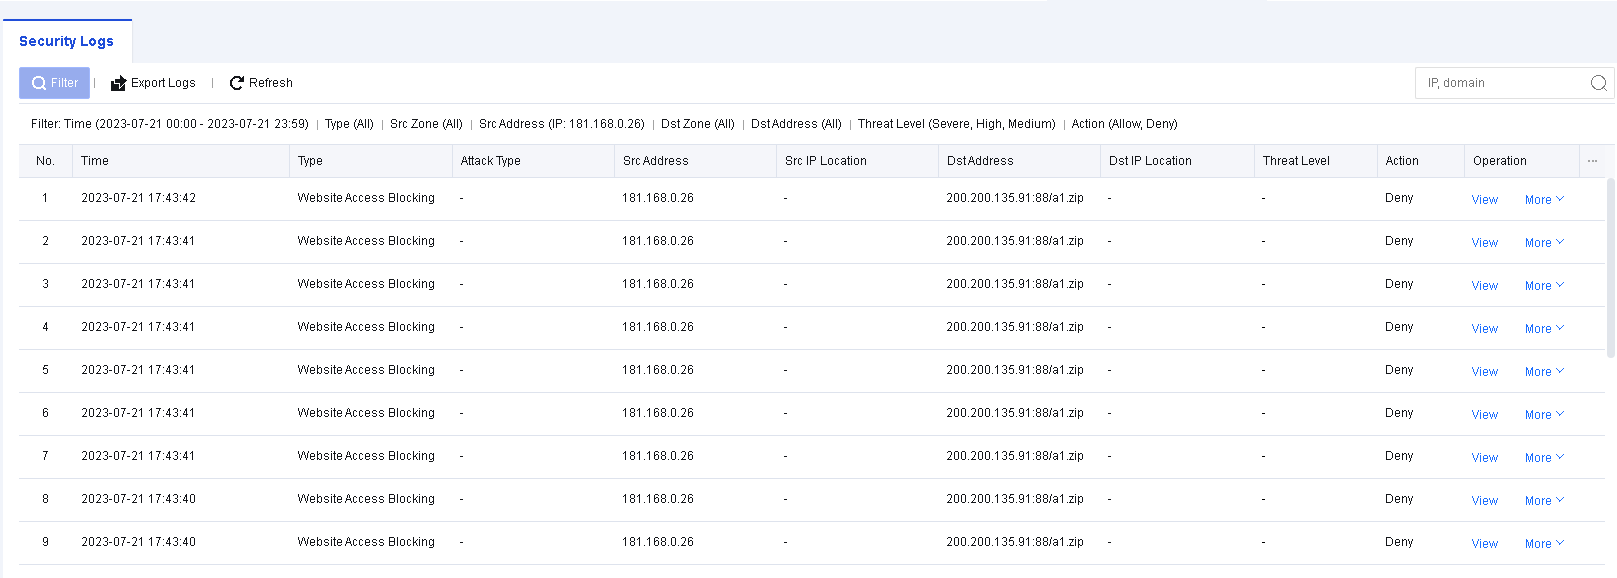

Step 5.Send the logs to the log server.
![]()
1. You can only use a UDP connection and UTF-8 encoding to send syslog.
2. You can configure up to five syslog servers.
To set the automatic deletion options of the device for log storage, as shown in the following figure.
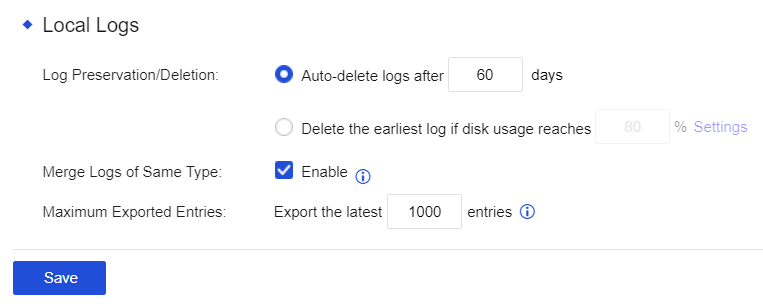
Log Preservation/Deletion: Set whether the system needs to automatically delete the access control logs recorded by selecting Auto-delete logs after xx days. You can set a duration within which logs should be preserved. By selecting Delete the earliest log if disk usage reaches xx, you can preserve logs according to the disk usage percentage.
![]()
Deleted logs cannot be retrieved. It is recommended that Syslog, Cyber Command systems, etc., be added for log backup.
Merge Logs of Same Type: After checking Enable, the built-in data center only records one activity of access to the same domain name to save the device's disk space.
Maximum Exported Entries: The number of logs allowed to be exported. Exporting too many logs will consume a large number of resources, such as memory and CPU.
This function establishes a connection between Network Secure and CCOM systems as well as the full traffic threat analysis system. After establishing this, logs created by the Network Secure device will be synchronized with the CCOM platform, and the CCOM platform will perform further traceability analysis on the logs. The CCOM platform can also issue commands to the Network Secure device, which will execute the corresponding actions after receiving the commands.
To configure the settings for establishing the connection between the Network Secure and the CCOM system, navigate to Monitor > Settings > Logging Options. In the Logging and Archiving section, check the box next to Cyber Command for Security Logs. The Cyber Command Settings section will appear, as shown in the following figure.
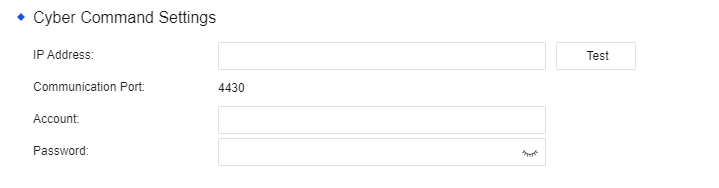
IP Address: The IP address of the CCOM system and the full traffic threat analysis system.
Communication Port: Port 4430 by default. Other ports are not currently supported.
Account: The account used to establish the connection to the CCOM system and the full traffic threat analysis system.
Password: The password used to establish the connection to the CCOM system and the full traffic threat analysis system.

 {{ $t('index.defaultHeader.chromeBrowserTip') }}