{{ secondMenu.name }}


The steps to add the XBSA App are as follows:
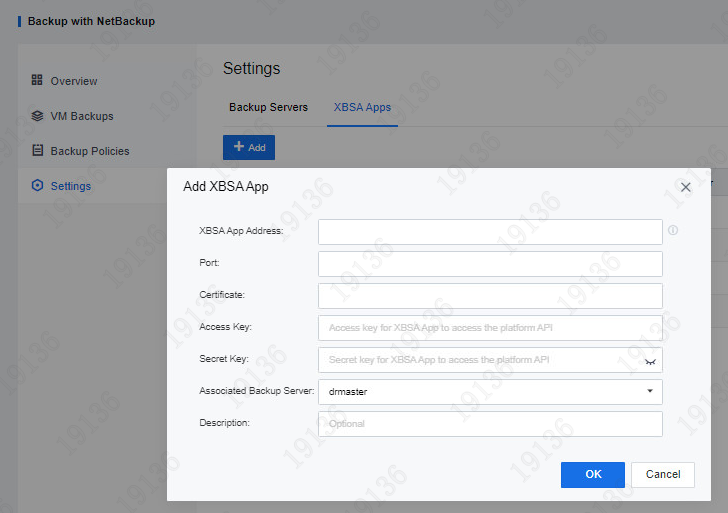
XBSA App Address: The domain name address of the NetBackup client where the XBSA App is deployed.
Port: The service port of the XBSA App, which defaults to 8888 and can be changed during deployment, the detail refers to chapter 2.7.3.
Certificate: The HTTPS authentication certificate of the XBSA App, which can be obtained after deploying the XBSA App, the detail refers to chapter 2.7.2.
Access Key/Secret Key & Associated Backup Server: The API keys generated by SCP, the detail refers to chapter 2.8.1.
Associated Backup Server: Auto select.
Description: Enter descriptive information for the added XBSA App.

 {{ $t('index.defaultHeader.chromeBrowserTip') }}