{{ secondMenu.name }}


You can implement software deployment for the Athena EPP manager in three ways: OVA image-based, ISO image-based, and script-based. Their scenarios are as follows.
Recommendations and differences:
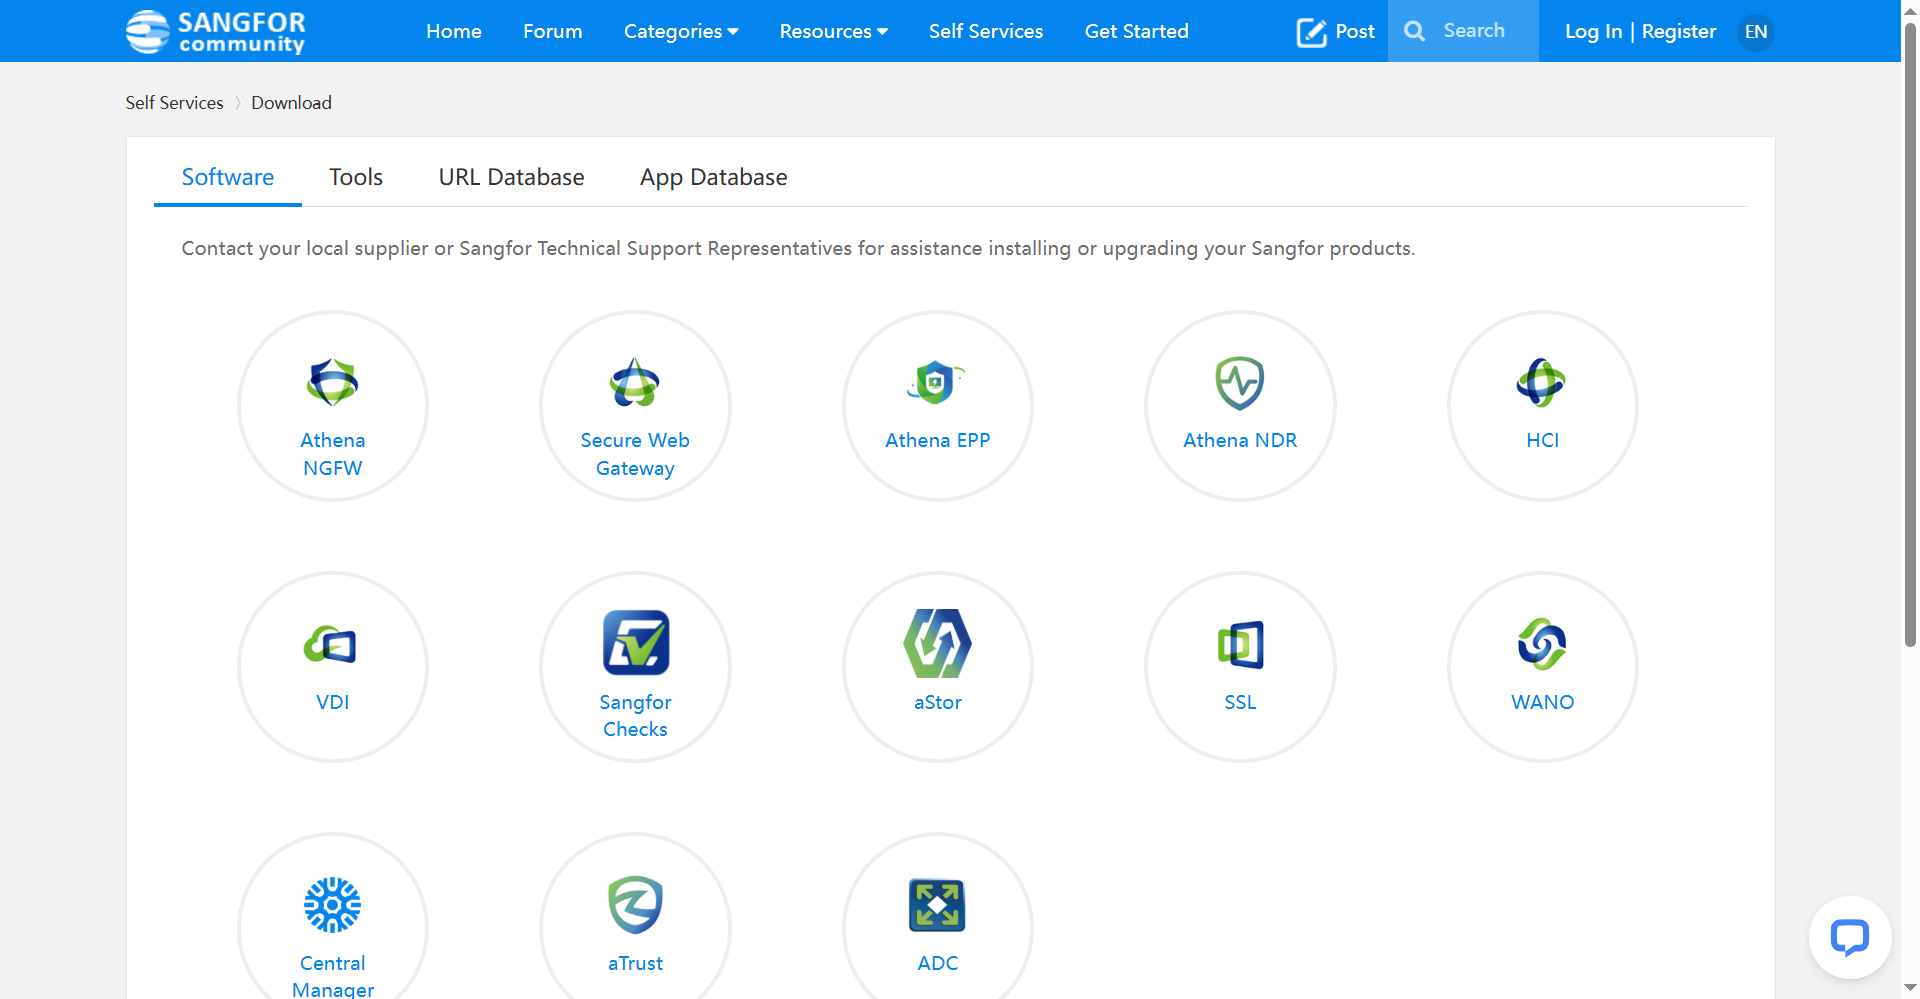
Download URL: https://community.sangfor.com/plugin.php?id=service:download/
Path: Self Services > Download.
![]()
1.For OVA image-based deployment, download the OVA installation package.
2.For ISO image-based deployment, download the ISO installation package.
3.Download the Athena EPP upgrade package of the corresponding architecture for the version upgrade.
![]()
1.The following procedure is based on Sangfor HCI, which is an example for your reference when using other virtualization platforms.
2.When creating a virtual machine, please allocate a network card in advance. Otherwise, the installation will fail.
3.If deploying MGR on third-party platforms such as Vmware, please check whether the hard disk interface type can be set independently in the virtual machine settings of the platform. Be sure to select "SCSI" instead of "IDE".
Steps
Step 1.Import the Open Virtual Appliance (OVA) template.
Import the OVA template, as shown in the following figure: 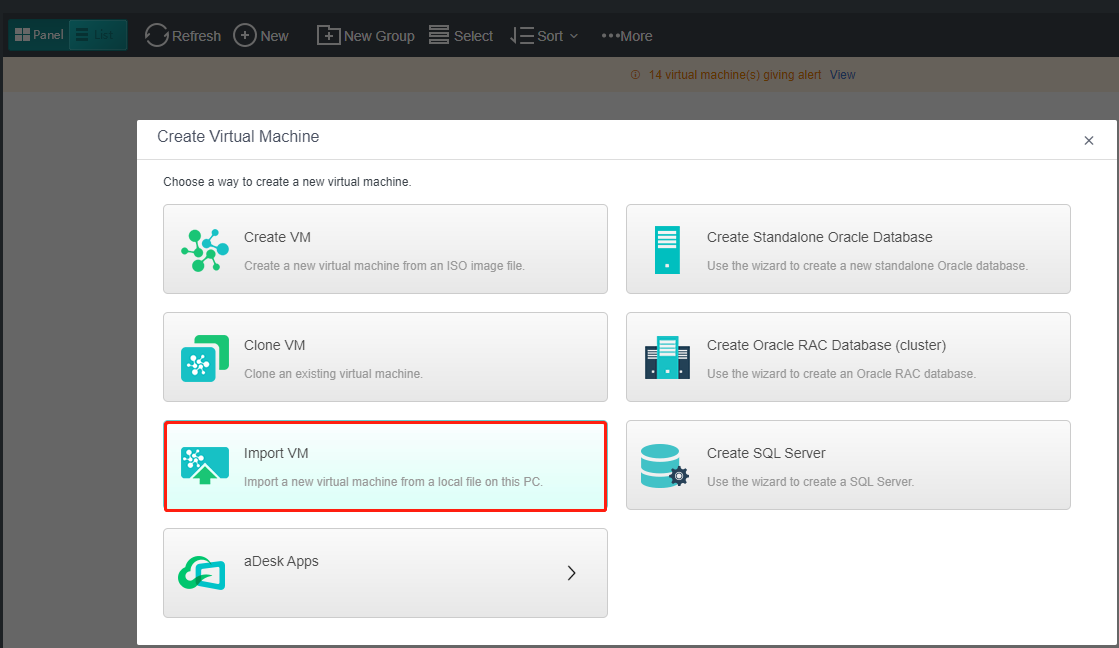
During the image import process, the console will display the installation progress. The deployment finishes after the import is complete, without the need to perform additional operations.

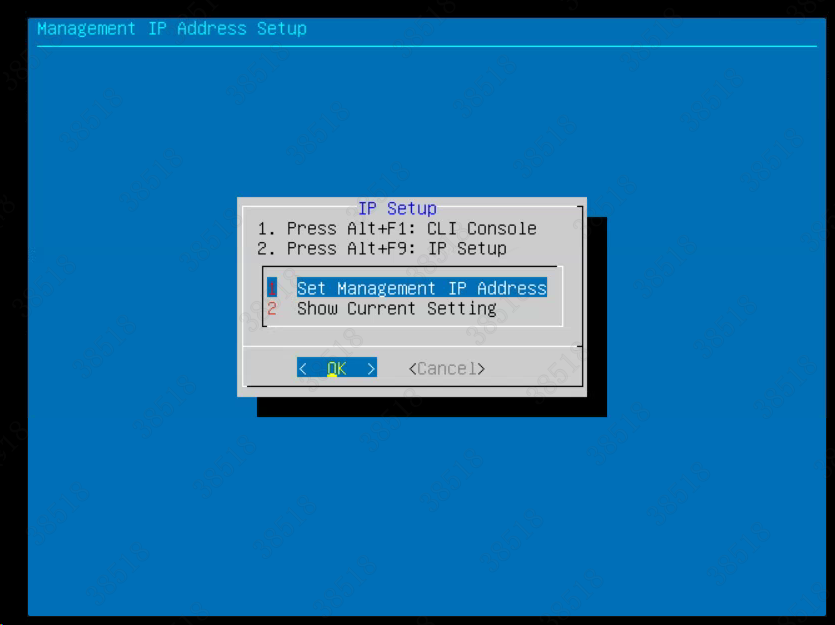
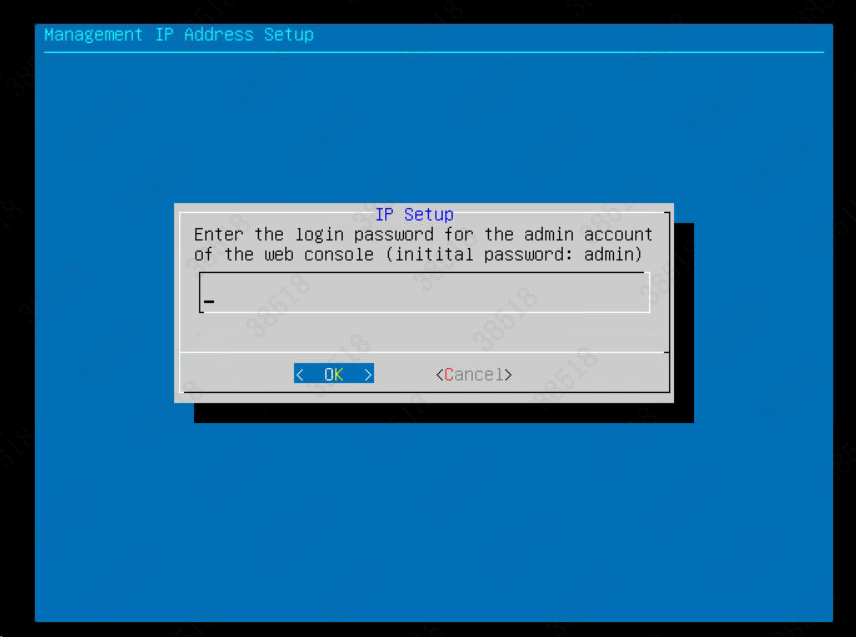
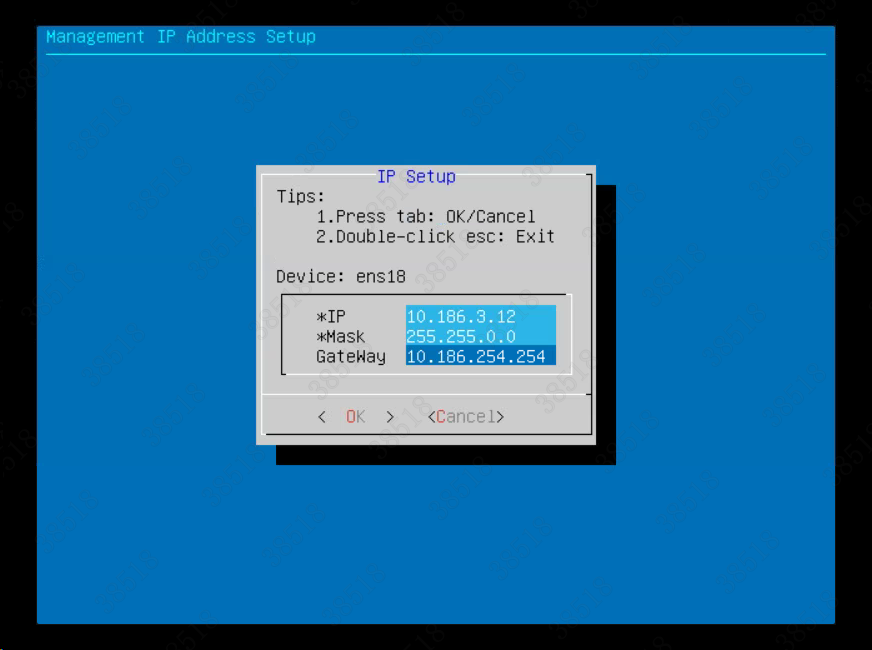
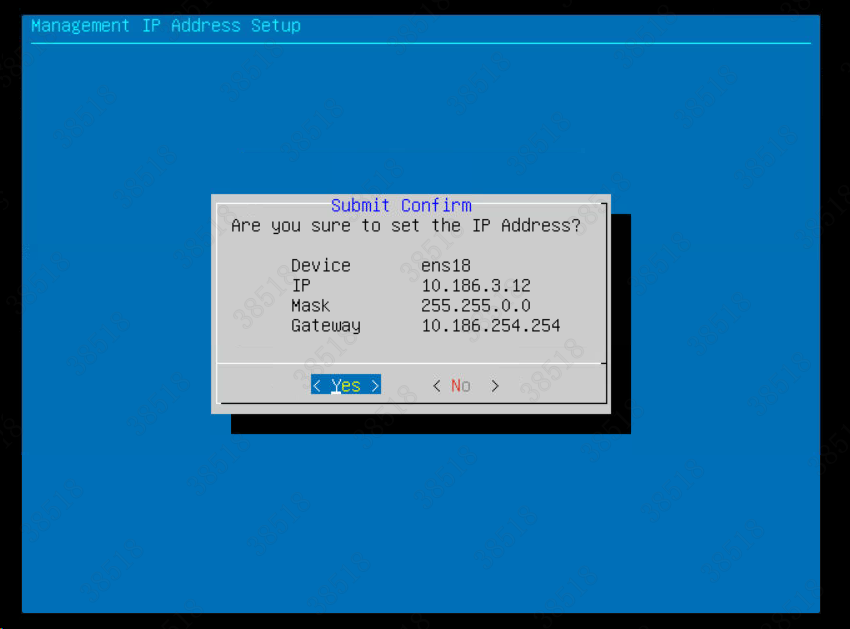
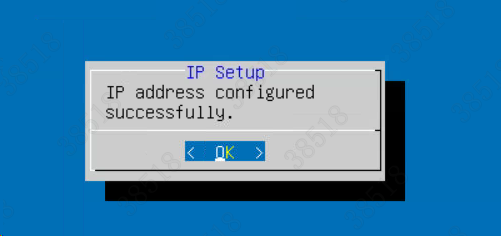
Step 2.Configure network settings.
Step 3.Configure the DNS network.
![]()
Supported browsers include Internet Explorer 10 and later, Firefox, Google Chrome, 360, and Microsoft Edge.

Go to System > System > Network > Advanced, and configure a preferred DNS server and an alternate DNS server, as shown in the following figure.
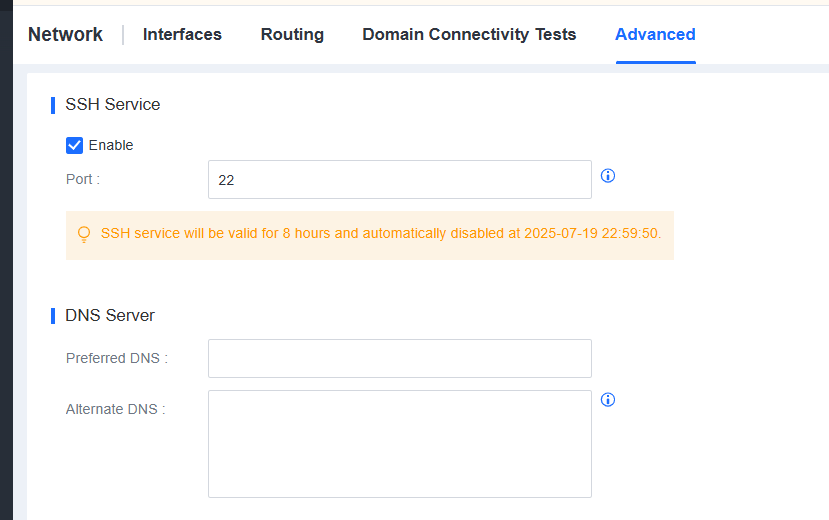
![]()
The Athena EPP manager requires DNS servers to resolve domain names for antivirus database updates.
Step 4.Configure routing information.
Go to System > System > Network > Routing, and configure a route, as shown in the following figure.

![]()
The Athena EPP manager requires a route to connect to the Internet and communicate with endpoints.
Step 1.Prepare for the installation.
For installation on physical servers, use software such as UltraISO to burn the ISO template to a blank USB device or DVD. For installation on virtual machines, directly import the ISO image or mount a disk first.
Step 2.Install the Athena EPP manager.
During the image import process, the console will display the installation progress. The deployment finishes after the import is complete, without additional operations.
You do not need to log in to the server as the root user. If you have special requirements, call +60 12711 7129 (7511) to obtain the root password.
Step 3.Configure network settings.
Refer to Step 2 in Chapter 2.2.1.2 "OVA Image-Based Deployment".
![]()
Prioritize OVA and ISO images for the Athena EPP manager deployment and use script-based deployment only in environments that do not support OVA/ISO image-based deployment.
Before script-based deployment, prepare a server, install a compatible operating system on the server, configure network settings (including the server IP address, routing information, gateway, and DNS servers) for the server, and test the network connectivity of the server.
Step 1.Upload the installation package.
Upload the installation package (with the extension .pkg) and the installation script (with the extension .sh) to the same directory on the server, verify the MD5 checksum after the upload is complete to ensure package integrity, and run the chmod u+x manager_deploy.sh command to make the installation script executable.
![]()
Packages whose name includes "offline" indicate offline installation packages. Select an offline Athena EPP installation package based on your operating system and architecture. 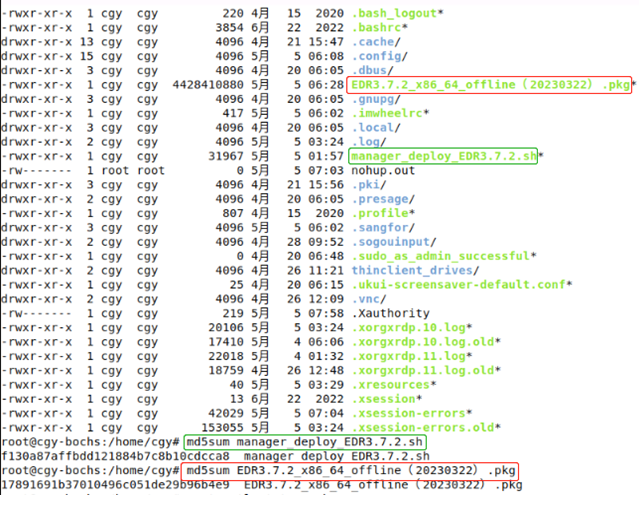
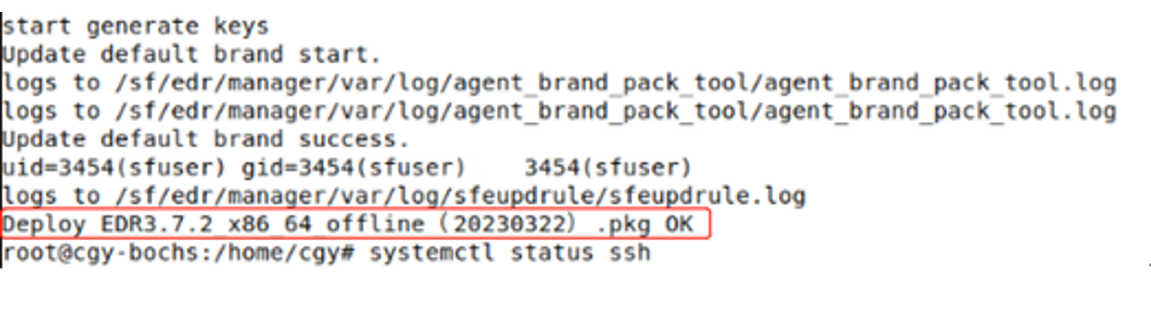
Step 2.Run the installation script.
Run the installation script by using the following command. Replace the package name and keep 127.0.0.2 unchanged:
./manager_deploy.sh package_name.pkg 127.0.0.2

The installation is complete once the prompt "Deploy XXX.pkg OK" appears.
Step 3.Configure network settings.
Network settings vary with the underlying operating systems and system versions. The following examples demonstrate how to configure interfaces and restart services on common operating systems.
Linux: vi /etc/sysconfig/network-scripts/ifcfg-XXX, systemctl restart network.service
Ubuntu: vi /etc/netplan/XX-network-manager-all.yaml, netplan apply
Example 1: Linux
Check the interface information and find the management interface eth0. 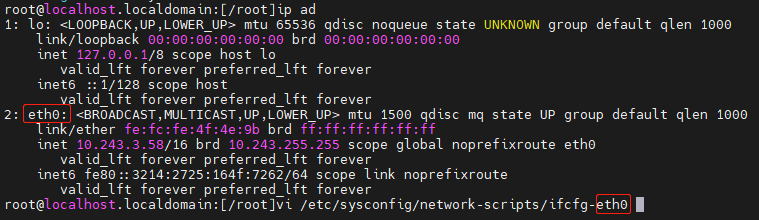
Open the configuration file of eth0. Set BOOTPROTO to static, set ONBOOT to yes to start the interface at boot time, and specify network settings (IPADDR, NETMASK, GATEWAY, and DNS). After the modifications, press ESC, type ":wq", and then press Enter to quit the file. 
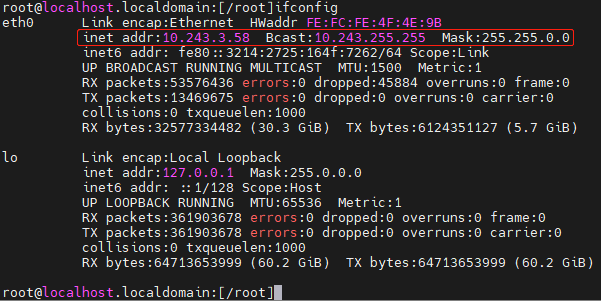
Run systemctl restart network or service network restart to restart the network service for the interface configurations to take effect.
![]()
![]()
Run ifconfig to check the interface configurations.
Example 2: Ubuntu
Check the interface information and find the management interface ens18. 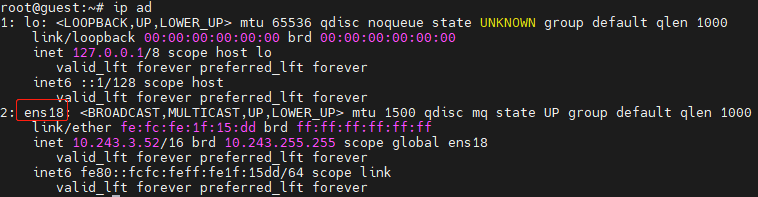
Run vi /etc/netplan/00-installer-config.yaml. ![]()
![]()
The number in the preceding command may vary with the environment. Go to the directory /etc/netplan/ for the accurate file name.

Modify the network settings, including addresses (IP address and subnet mask), gateway4 (gateway), and nameservers (DNS servers). After the modifications, press ESC and type ":wq" to quit the file. 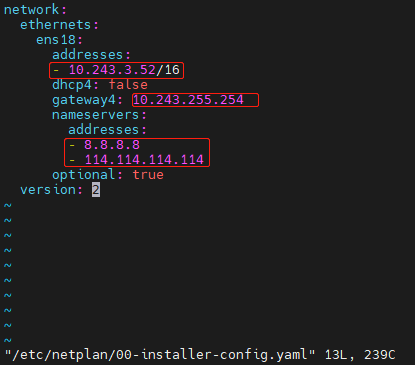
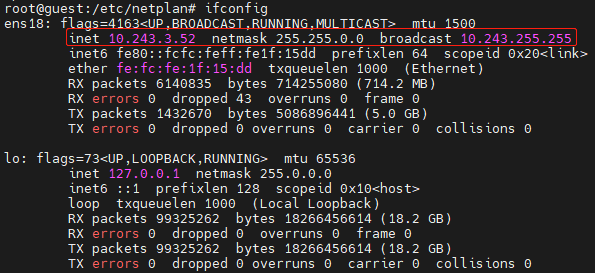
Run netplan apply to restart the network service for the interface configurations to take effect.
![]()
Run ifconfig to check the interface configurations.

 {{ $t('index.defaultHeader.chromeBrowserTip') }}