{{ secondMenu.name }}


On the Administrator page, you can set a user account for managing the device on the console. Navigate to System > General > Administrators. The Administrators pane is displayed on the right, as shown in the following figure.

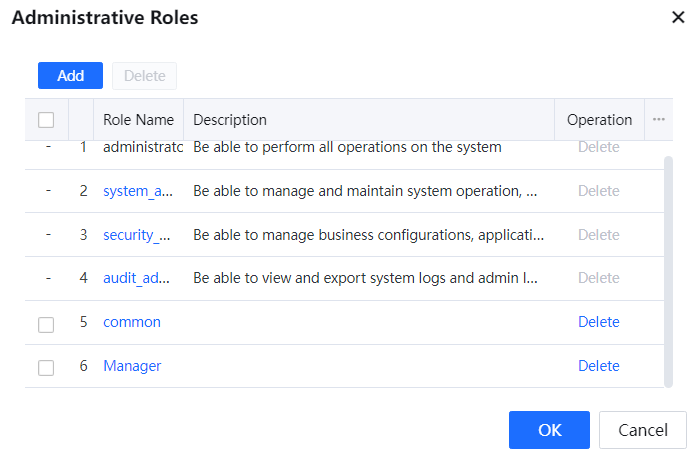
Click Add to add an administrator account, Delete to delete an administrator account, Enable to enable an administrator account, Disable to disable an administrator account, or Administrative Role to define the permission of an administrator account. When multiple administrators are required for hierarchical management, you need to define the permission level of each administrator. In the administrator account list, administrator accounts are displayed in descending order of permission level. If two administrators share the same jurisdiction scope, the administrator with a higher permission level can modify the policy created by the administrator with a lower permission level. The policy created by the administrator with a higher permission level takes precedence over that created by the administrator with a lower permission level. The role of the administrator is embedded. An account with the administrator role can manage the entire organization structure and add and delete administrator accounts.
Example 1: Add a console administrator.
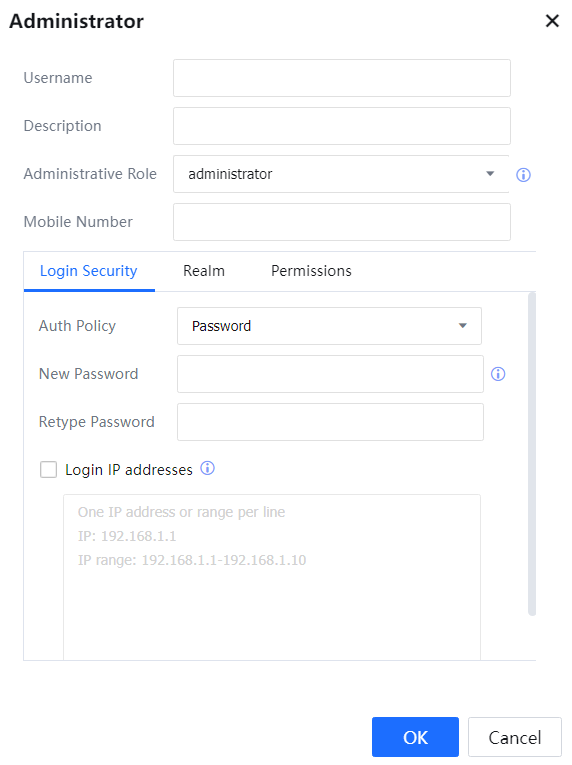
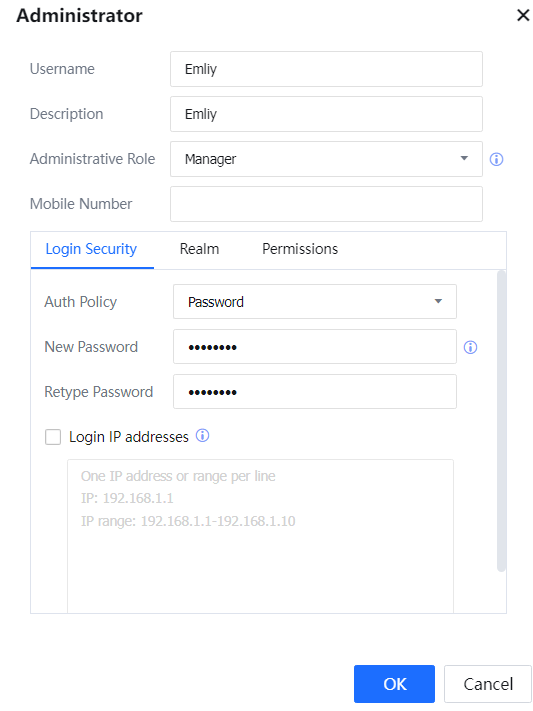
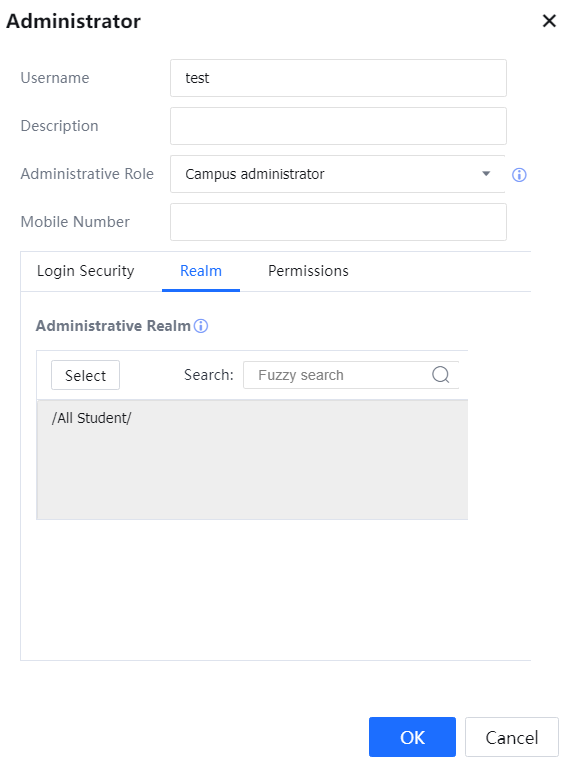
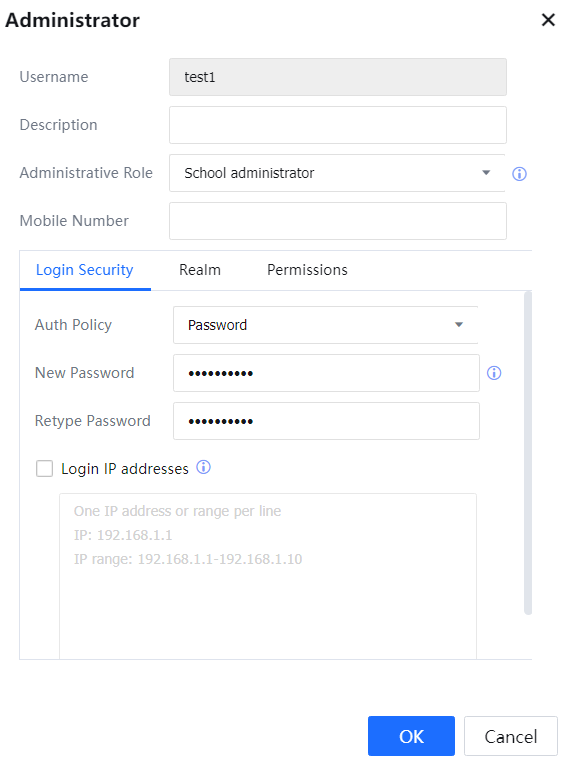
Username: Enter the account username for logging in to the console.
Administrator Role: Select the role defined in step 1.
Login Security: Enter the account's password for logging in to the console in New Password and Retype Password. You can also set the IP address used by the administrator account to log in to the console. You can set a single IP address or an IP address segment. Set one IP address in each row and can set a maximum of 32 rows.
Mail Verification: By enabling it, entering users who need mail verification on the gateway console will automatically pop up the verification code acquisition and input box.

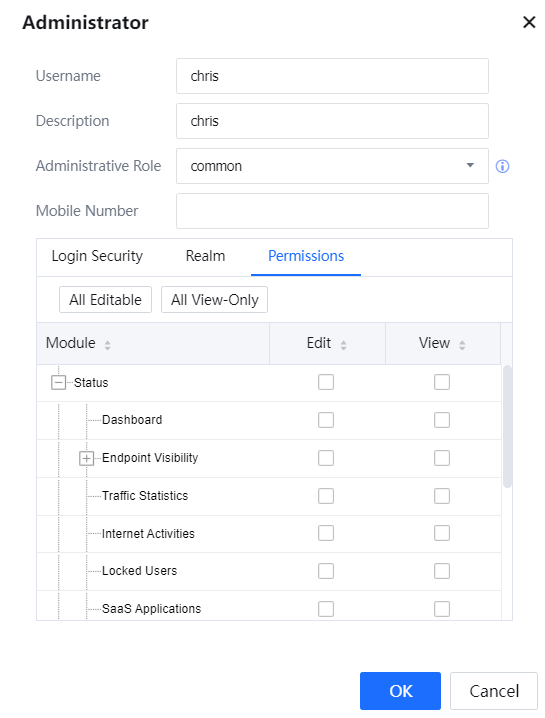
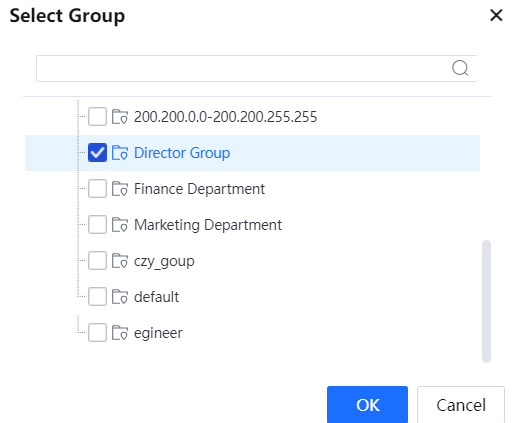
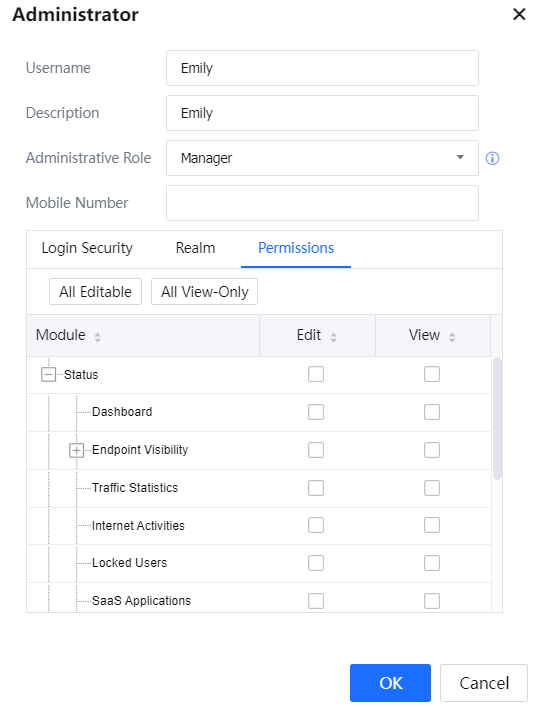
Example 2: Create an administrator role Manager, and an administrator account emily. Set the password to @1234abcd. Grant permission to manage the Director Group and view and edit the Users and Object pages. Assign the role Manager to the administrator account.
Example 3: Add two administrator roles, Campus administrator and School administrator, and two administrator accounts test1 and test2. Associate test1 to the Campus administrator role, which can manage all students. Log in as test1 and define a policy to prevent all students from playing games in class. Associate test2 to the School administrator role, which can manage the computer school students. Log in as test2 and define a policy to prevent computer school students from accessing Facebook in class.
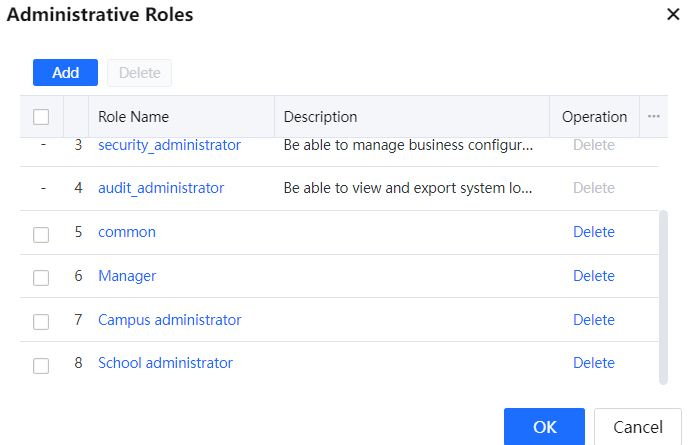
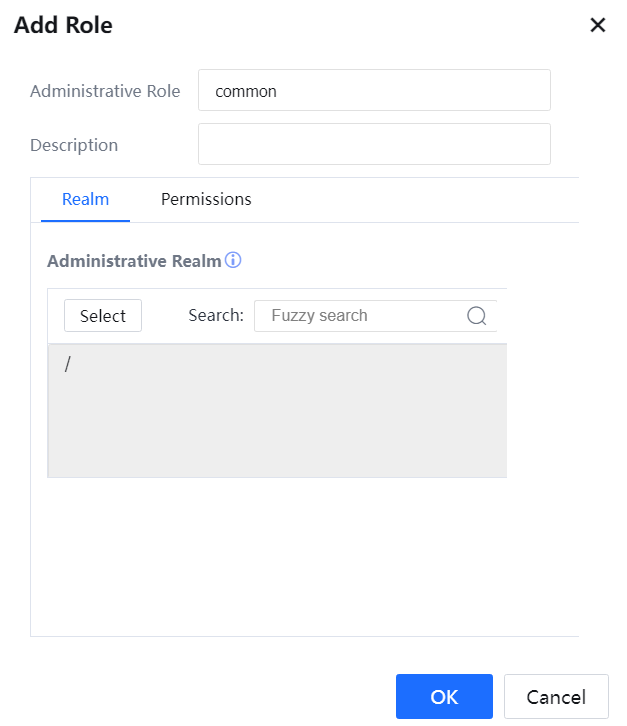
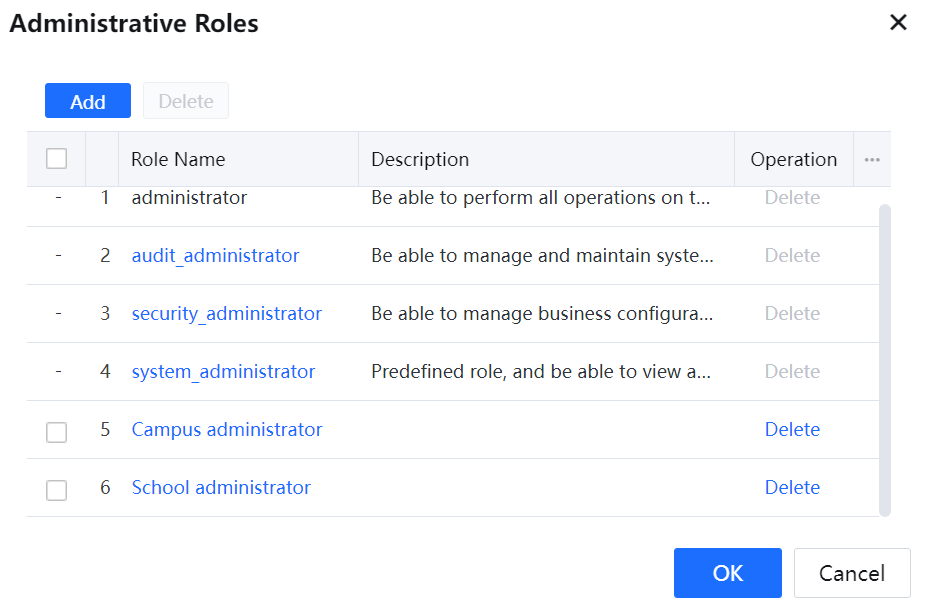
In the Administrative Roles list, roles are displayed in descending order of permission level. As shown in the following figure, the permission level of the Campus administrator role is higher than that of the School administrator role.


The priority of a policy depends on the permission level of the role that creates this policy. The policy created by the campus administrator takes precedence over that created by the school administrator. If the campus administrator test1 selects Give view privilege to administrator in lower-level role, the school administrator test2 cannot modify the policy defined by test1. Only the school administrator has permission to view the policy. See the following figure.
An administrator cannot modify the Internet Access Policy defined by another administrator of the same permission level if their jurisdiction scopes are different. For example, test2 and test3 are associated with the Campus administrator role, but test2 is authorized to manage the computer school, and test3 is authorized to manage the management school. The two administrators cannot modify the Internet Access Policy defined by the peer.
![]()
1. The role determines the level of an administrator. In the Administrative Roles list, roles are displayed in descending order of priority.
2. A higher-level administrator can set whether to allow a lower-level administrator to view the defined policy or allow an administrator of the same level to view and edit the defined policy.
3. By default, a lower-level administrator cannot modify the Internet Access Policy defined by a higher-level administrator.
4. If administrator A selects Give view privilege to administrator in lower-level role for the defined Internet Access Policy, administrator B of the same level can edit this policy only if they share the same jurisdiction scope of B covers that of A.
5. If administrator A selects Give view privilege to administrator in lower-level role for the defined Internet Access Policy, higher-level administrator C can edit this policy only if they share the same jurisdiction scope or C covers that of A.
6. An Internet Access Policy's priority depends on the administrator level that creates it. A policy created by a higher-level administrator has a higher priority. The priorities of policies created by the same level of administrators can be adjusted.
7. After an administrator is deleted, the user groups and users created by this administrator are unaffected. Therefore, the priority of the Internet Access Policy created by this administrator remains unchanged, and the created administrator becomes the admin.
8. By default, the Administrator role exists with the highest permission and cannot be deleted. Therefore, only an administrator of the Administrator role can create roles and administrator accounts.
9. To delete an administrator role, delete the administrator of this role and the Internet Access Policy created by this role, and then delete this administrator role.
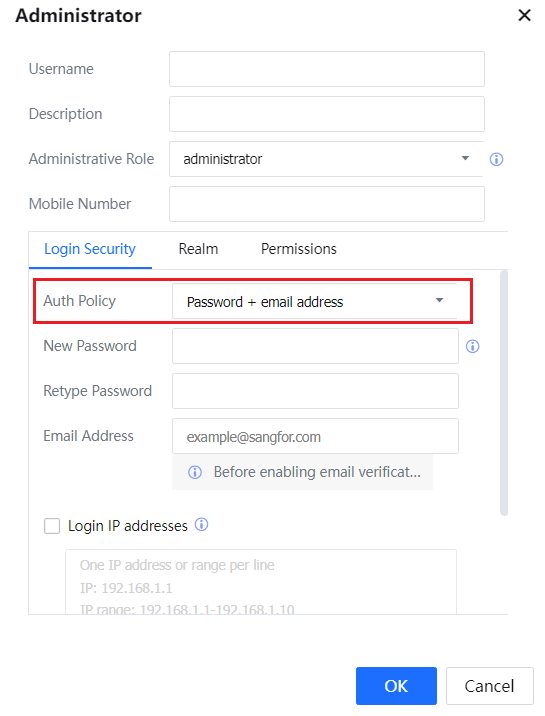
The dual-factor verification is added to the admin account. By default, this function is disabled. To use this function, select Password + email address in the corresponding admin account.
![]()
Enabling this function for the admin account is not recommended.
Configure Email Notification:
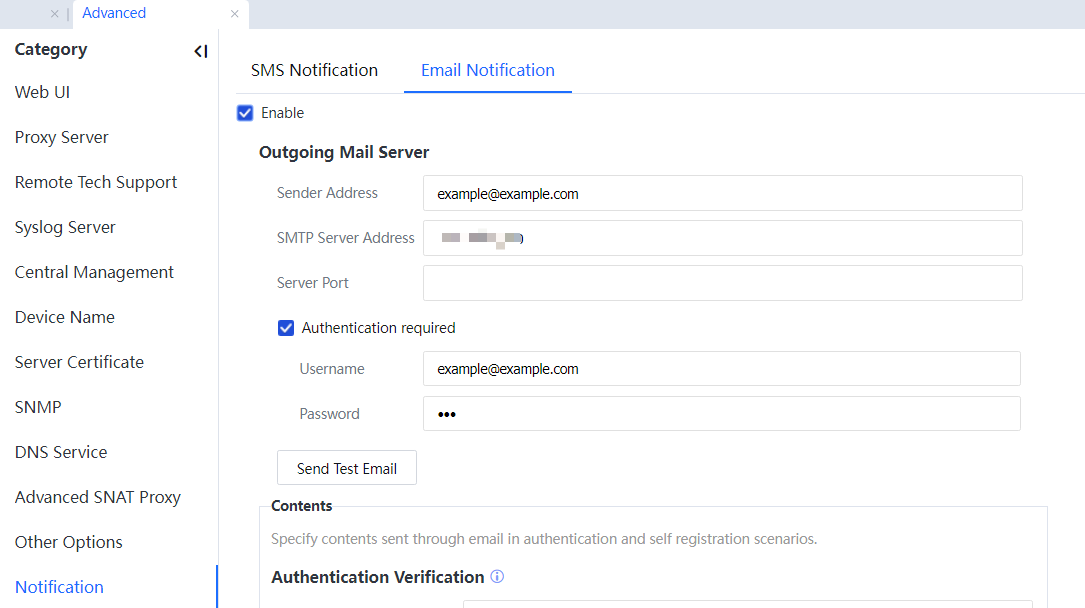
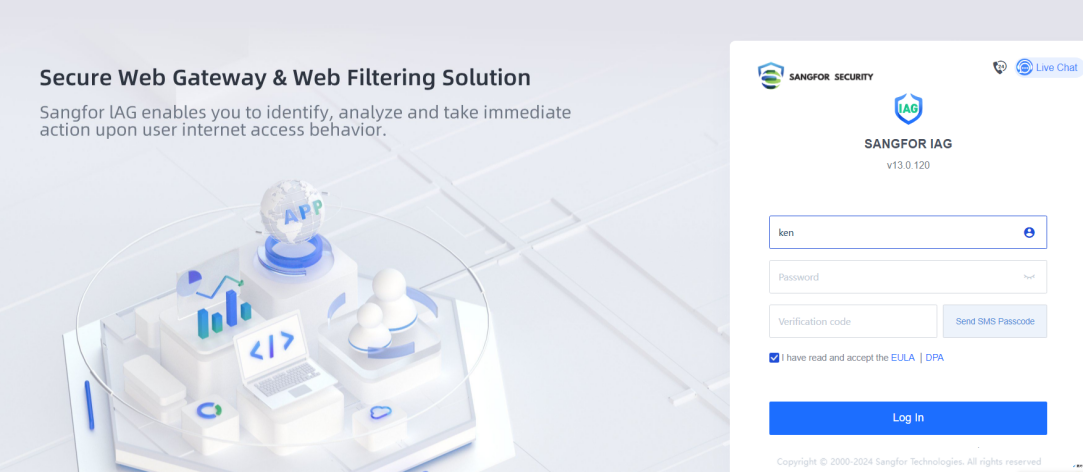
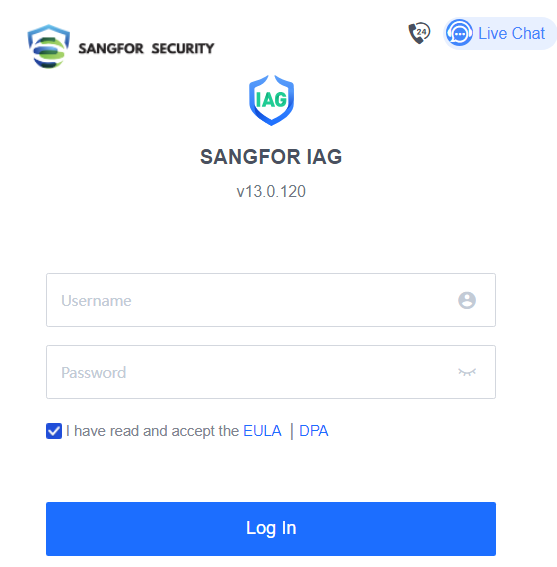
After configuration, log into the device console:
Normally log into the console if the account does not have Email Notification configured.
The verification code box appears if the account has Email Notification configured:
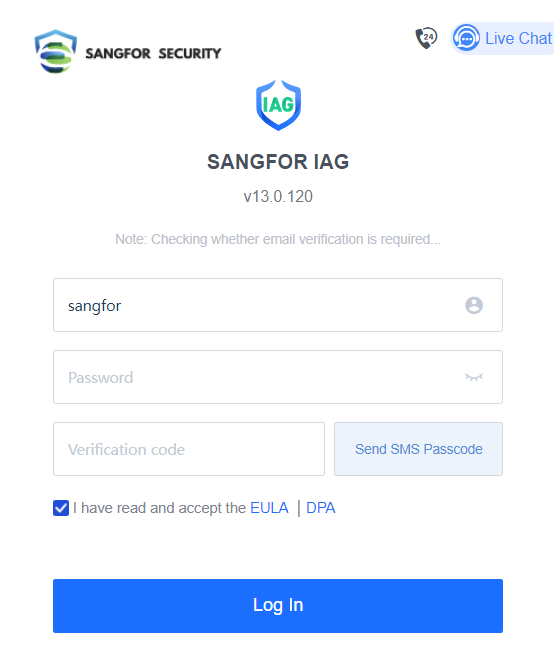
Enter the verification code received by email. 
Complete authentication and then log into the console.
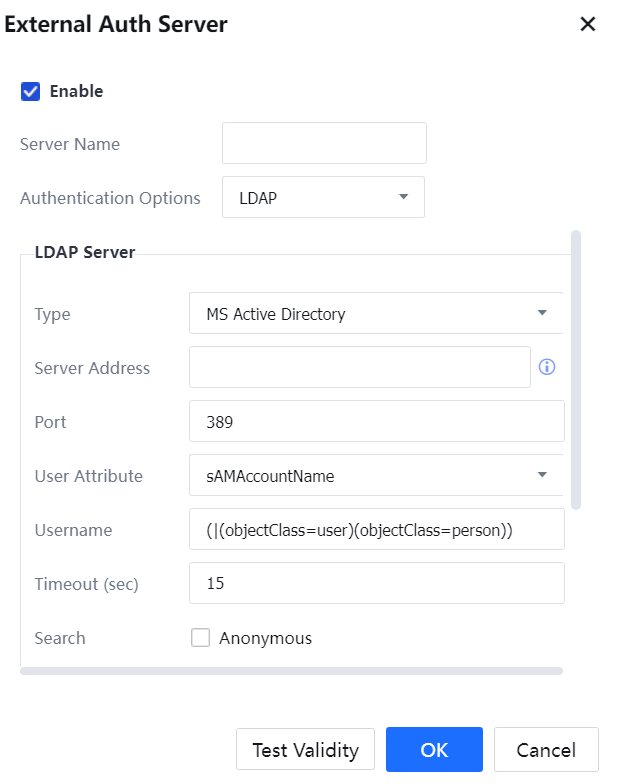
An external authentication function is added to the admin account, which supports TACACS+/RADIUS/LDAP protocol. TACACS+ protocol does not support IPv6, RADIUS, and LDAP support IPv6. Selecting either one of the local or external authentications is mandatory. Local authentication is enabled by default for a new admin account.
If it is required to put all admin accounts on the authentication server, click External Auth Server to configure the external authentication server:
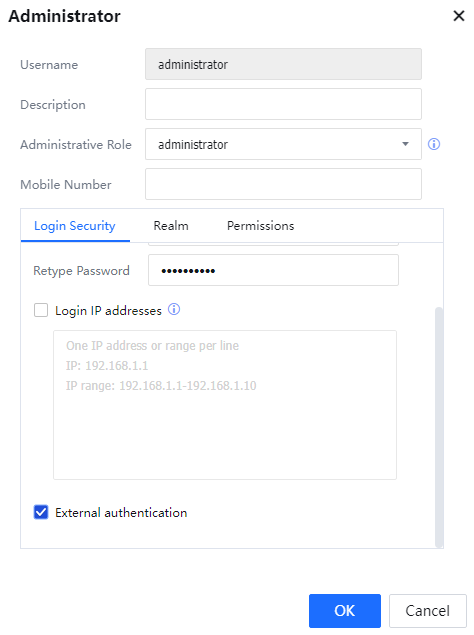
After configuration, add a new admin account, add a username, select External authentication, and submit.
 [A292][293]
Switch to the Disable status if local accounts and external accounts are not in use.


 {{ $t('index.defaultHeader.chromeBrowserTip') }}