{{ secondMenu.name }}


Background
As enterprises invest more in endpoint security protection, different security policies need to be deployed to adapt to different security requirements. In conventional solutions, an independent client needs to be installed for each security product. Consequently, multiple clients need to be installed, which consumes a large amount of resources on endpoint PCs. Moreover, this may result in compatibility issues and management issues. To resolve these issues, an all-in-one (AIO) client solution that integrates access control policies for endpoints, networks, application workloads, data, communication, and user workloads is necessary.
Solution
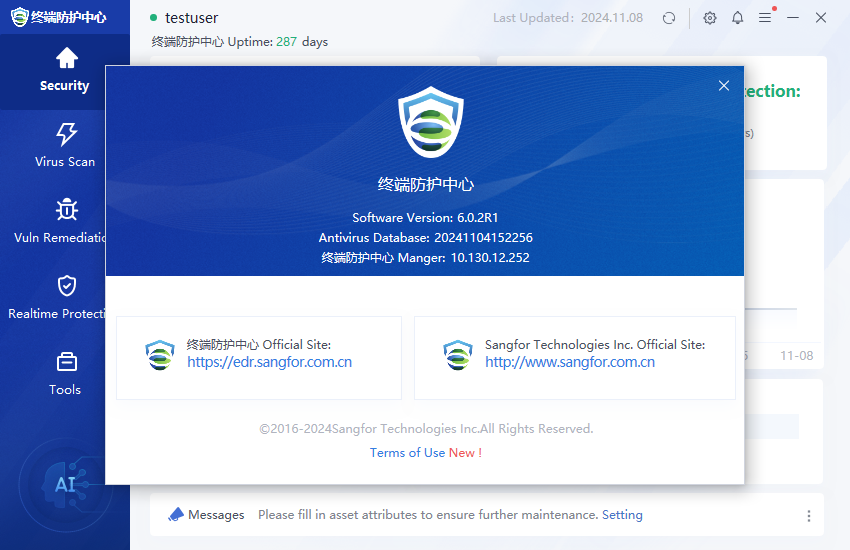
Sangfor's all-in-one (AIO) client is a client that can integrate features of various Sangfor security products. It provides a unified system tray and supports features such as unified client installation and product feature integration. In addition, with Endpoint Secure Agents deployed across the endpoints, the AIO client can effectively guard against security threats such as viruses, Trojans, and intrusions in the entire network, which not only improves office efficiency but also secures the entire system.
Features
• Unified client installation: Administrators can configure client integration rules to prevent repeated client installations. To be specific, users only need to perform one installation to successfully install all the required clients, such as Endpoint Secure Agent and IAG client. This saves administrator's workload in pushing client installation notifications, simplifies the client installation process, and enhances user installation experience.
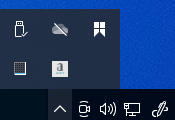
• Unified system tray: Users can be navigated to different product interfaces through the unified system tray. This reduces the number of client icons displayed on endpoints and enhances user experience.
Deployment Architecture
| Product |
Version |
Remarks |
| Endpoint Secure |
3.7.10 |
|
| IAG |
13.0.102 |
|
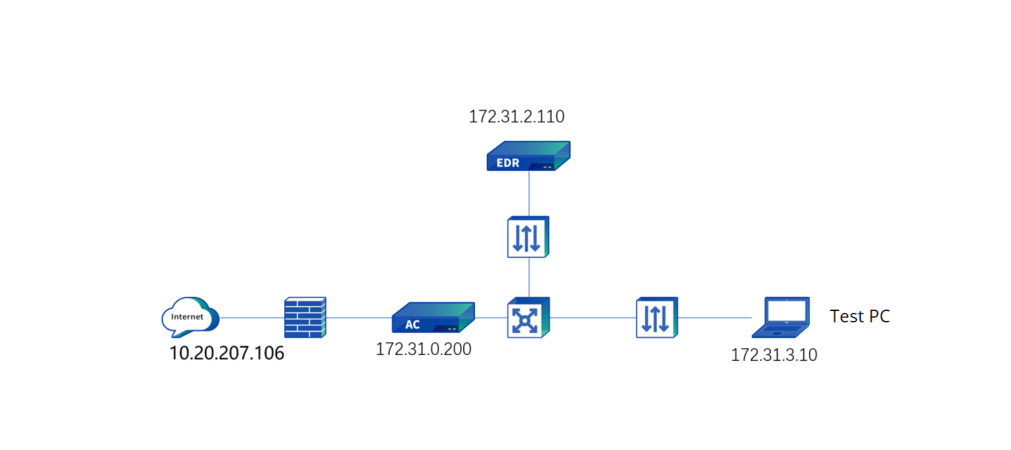
![]()
The connection port of the IAG device is TCP port 9998, whereas the connection ports of the aTrust device and Endpoint Secure Manager are both TCP port 443. If security devices such as firewalls are deployed in the intranet, the connection ports must be enabled.
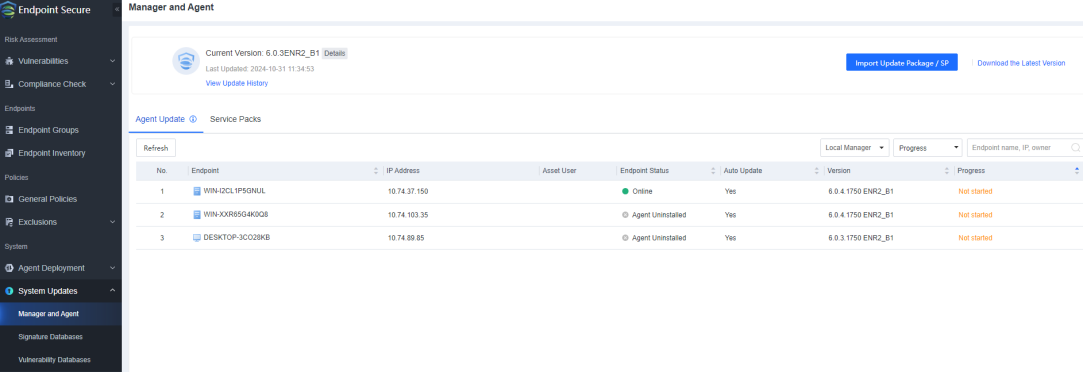
Log into the Endpoint Secure Manager, go to System > System > Network > Advanced > Ports, and change the access port of Endpoint Secure Manager and the upgrade port of Endpoint Secure Agent as required.
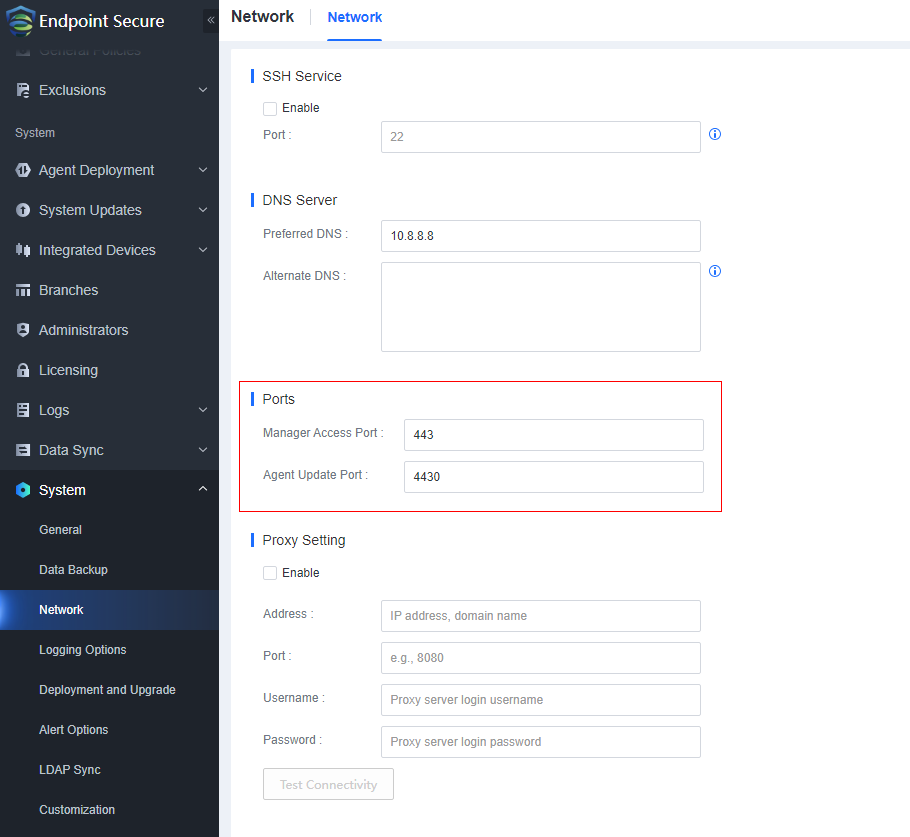
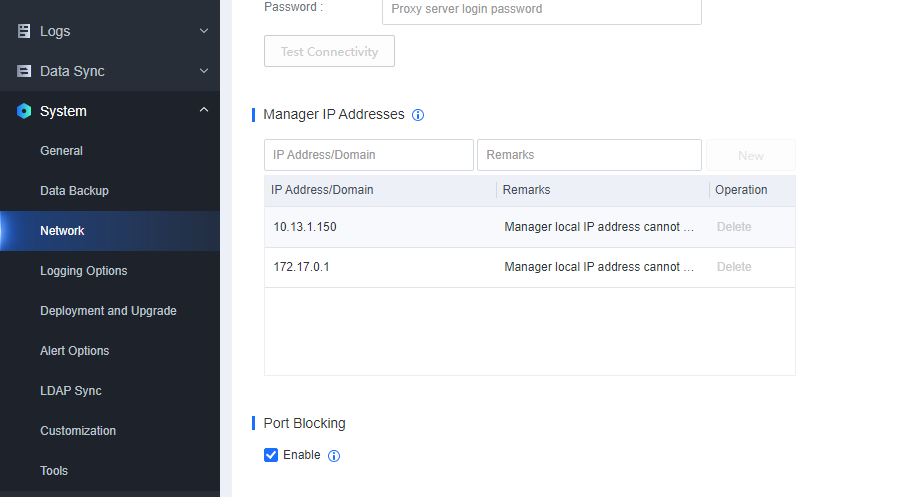
Go to System > System > Network > Advanced > Manager IP Addresses to add the address for downloading Endpoint Secure Agent. If Endpoint Secure Manager has multiple IP addresses or is accessed by users through the Internet, add the download address of Endpoint Secure Agent and the public IP address of the frontend gateway.
![]()
The system generates the client download address based on the settings in Ports and Manager IP Addresses[zyl177][A178], and then delivers the generated address to endpoint users for client download and installation.
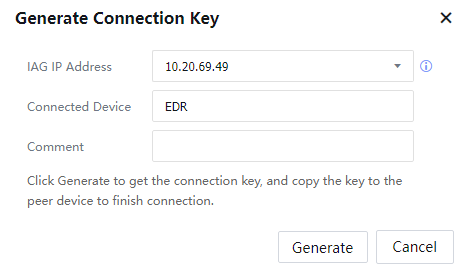
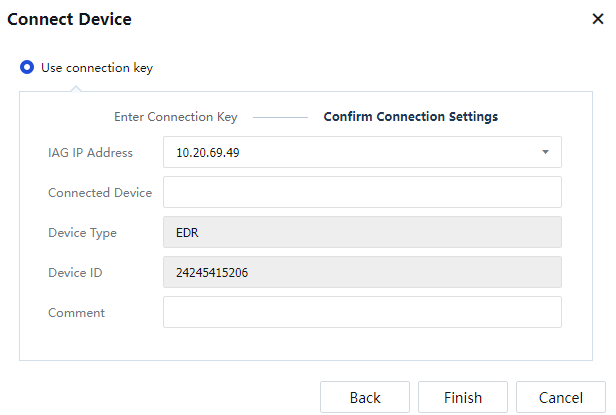
Step 8.Log in to the IAG console, go to Endpoint Mgt > Device Connection, and click Generate Connection Key. In the dialog box that appears, select IAG IP Address, specify Connected Device, and click Generate.
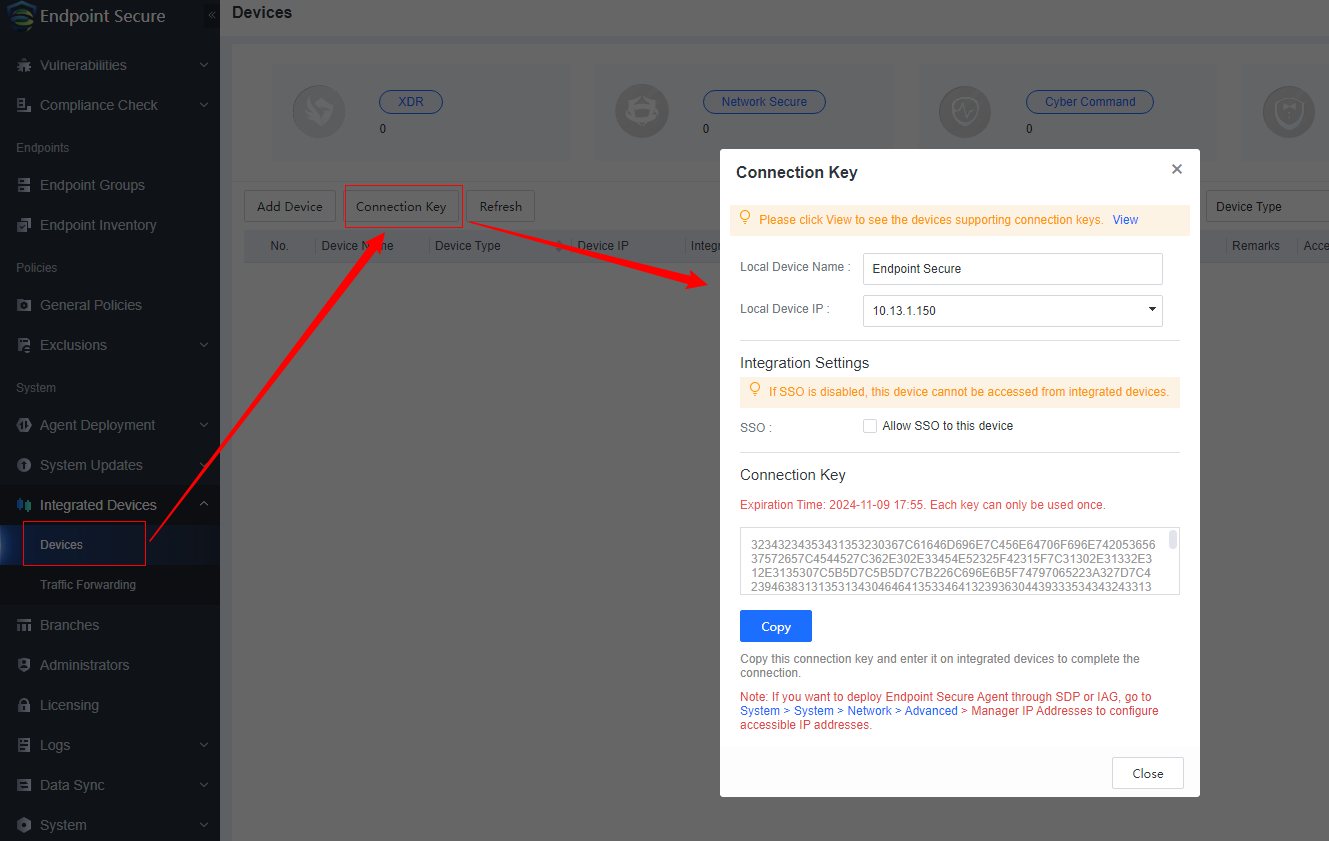
Step 9.Log in to the Endpoint Secure Manager, go to System > Integrated Devices > Devices, and click Add Device. In the dialog box that appears, paste the connection key generated in the foregoing step and click Next. Then, specify Local Device IP and click OK.[A179]
Step 10.After the configuration is completed, click Test Connectivity.
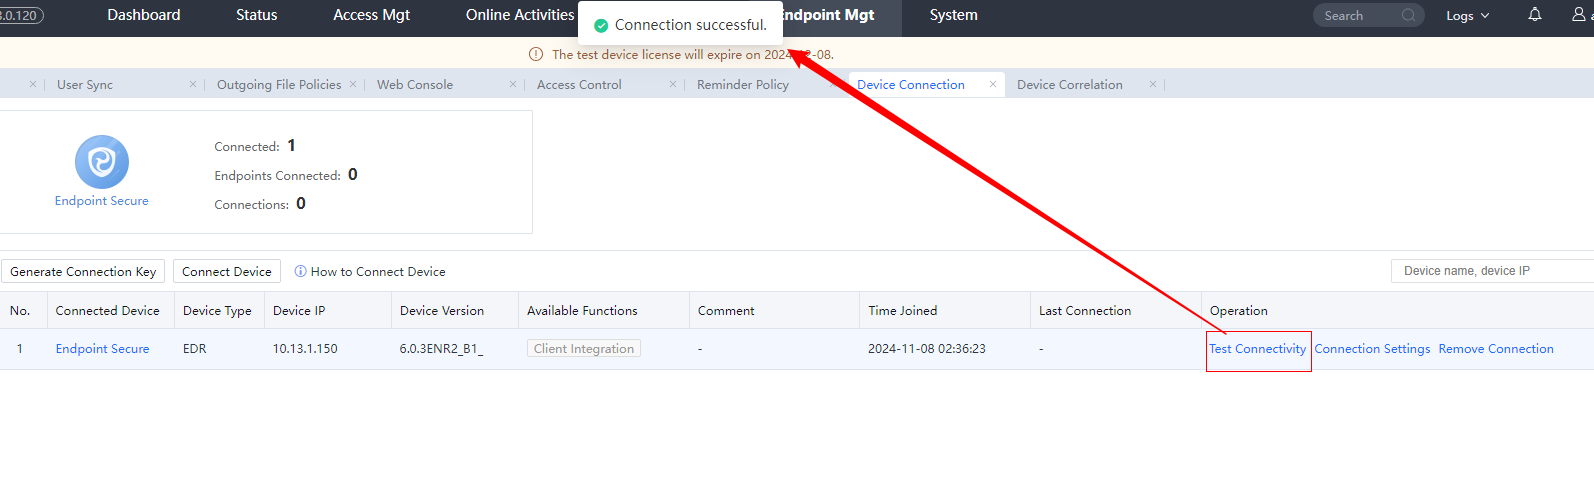
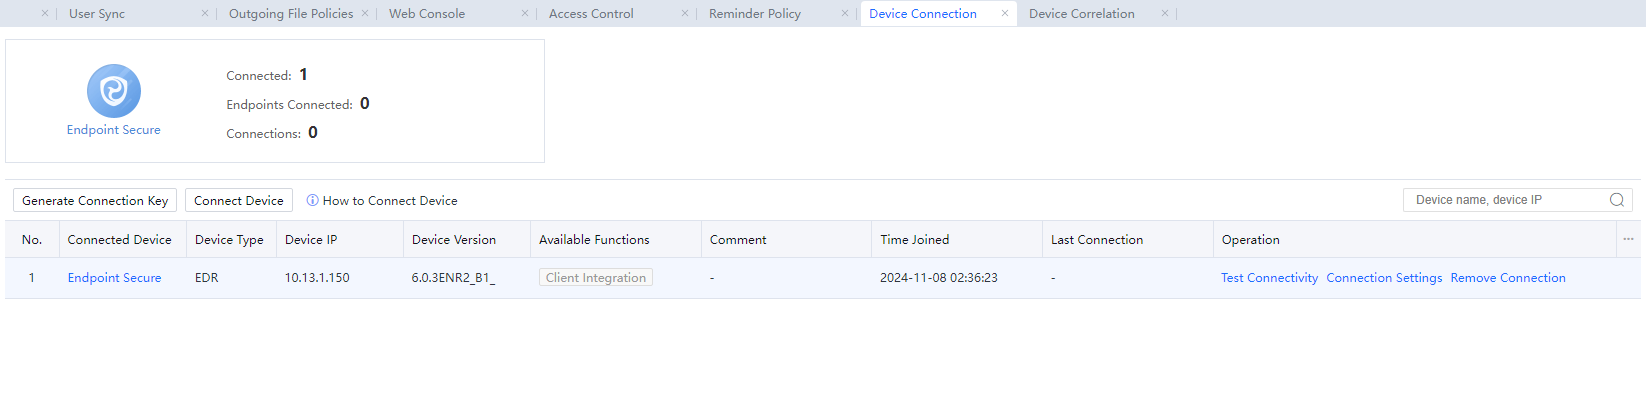
Step 11.Log in to the IAG console, and go to Endpoint Mgt > Device Connection to view that the IAG device is connected to Endpoint Secure.
![]()
Alternatively, the connection key can be generated in the Endpoint Secure Manager, and the IAG device identifies the connection key to connect to Endpoint Secure.
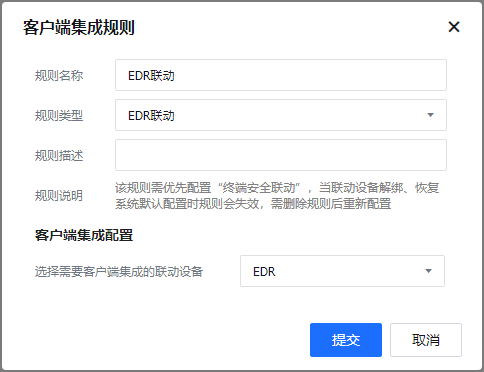
Log in to the IAG console, go to Access Mgt > Endpoint Check > Check Rules > Ingress Client Based, click Add, and select Client Integration Rule. In the dialog box that appears, specify the rule name and type, enter a rule description, and select the device to be connected to. In this example, select Endpoint Secure.
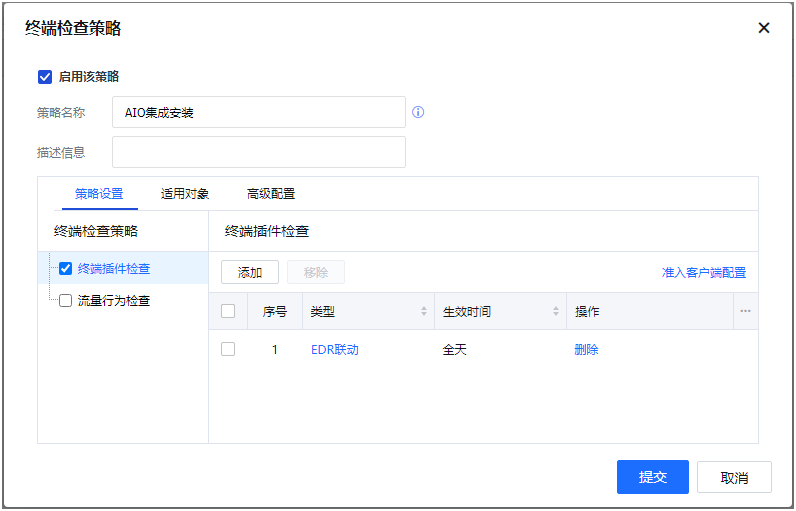
Step 12.Go to Access Mgt > Endpoint Check > Check Policies and click Add. In the dialog box that appears, specify Name and Description as needed. On the Options tab, select Ingress Client Based and click Add to add the check rule created in the foregoing step. Then, click the Object tab and select the applicable users of this policy to associate the check rule with the users who need to install the AIO client.
Step 13.Enable the installation reminder. Specifically, go to Access Mgt > Endpoint Check > Ingress Client Settings. Under Installation Reminder, select Remind users to install Ingress Client.
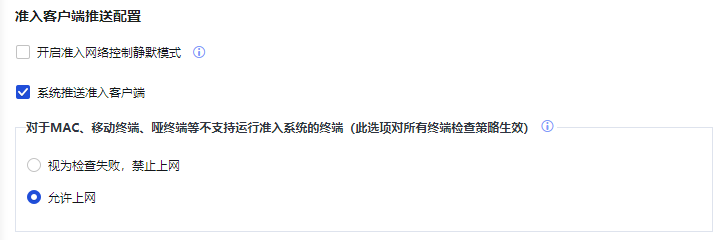
![]()
After the installation reminder is enabled, a page indicating that the installation is ongoing will appear on the target endpoints. During the installation, network connections will be interrupted and can be recovered only after the installation is completed. Therefore, we recommend that you send notifications to endpoint users before the client installation reminder is enabled.
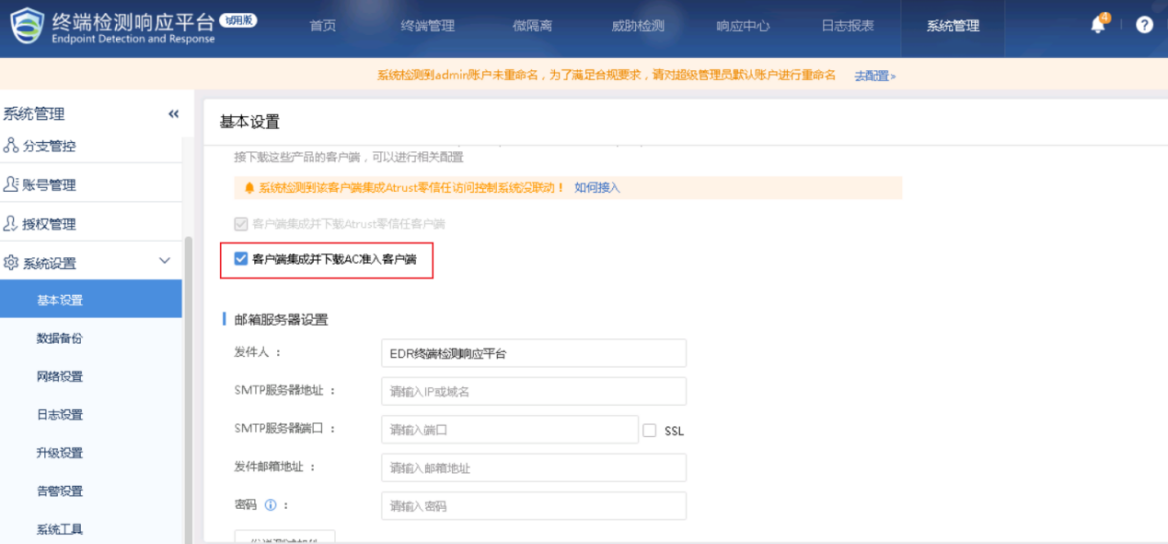
Step 14.(Optional) Log in to the Endpoint Secure Manager, go to System > System > General and select Download Ingress client and integrate it into Agent. Perform this step if you want to first install the Endpoint Secure Agent and then install the IAG client through device connection.
![]()
1.You can deselect Download Ingress client and integrate it into Agent if all users first install the IAG client and then install the Endpoint Secure Agent through device connection.
2.If the Endpoint Secure Agent is first installed, the installation reminder settings for installing the IAG client and aTrust client through device connection apply to all users rather than specific users.
• Client installation
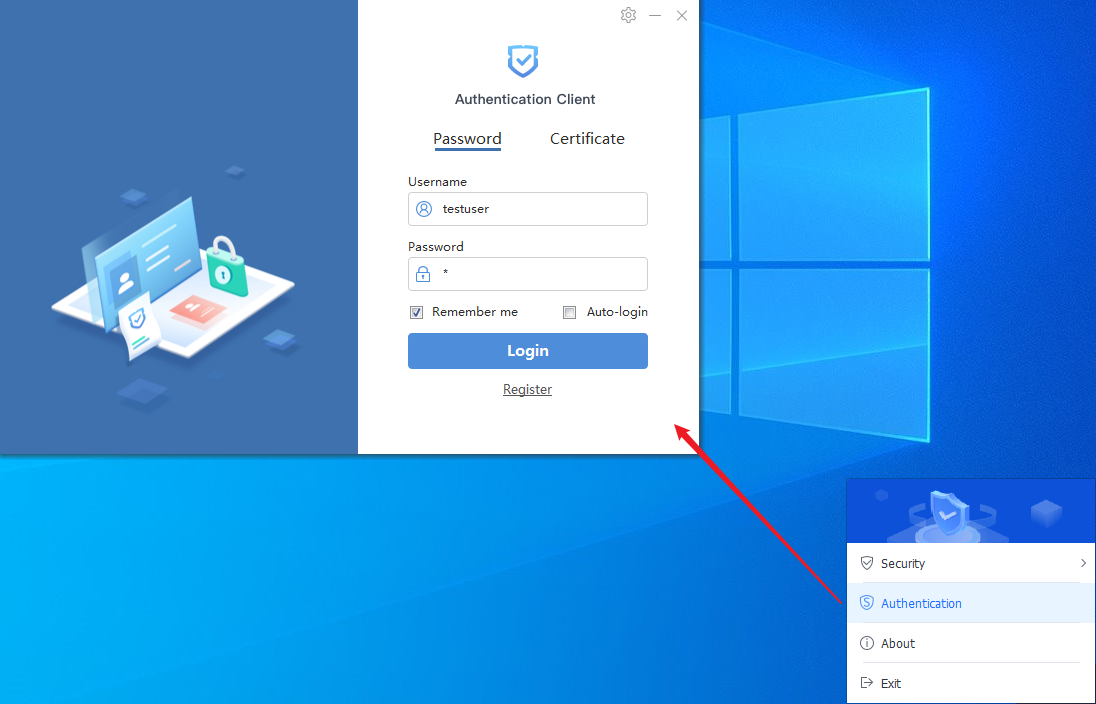
Scenario 1
The user has never installed the IAG Ingress Client and Endpoint Secure Agent before.
Steps
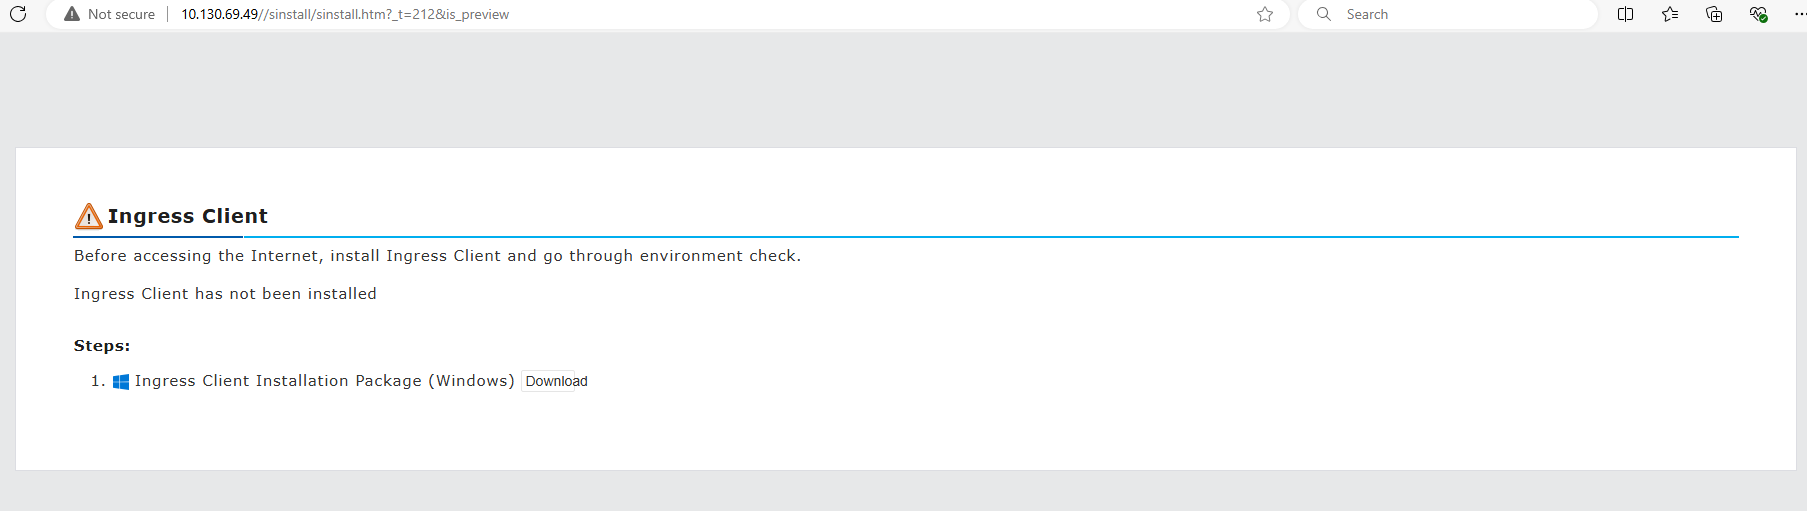
![]()
For the current version, you cannot view the installation progress when the Endpoint Secure Agent is being installed in the backend.
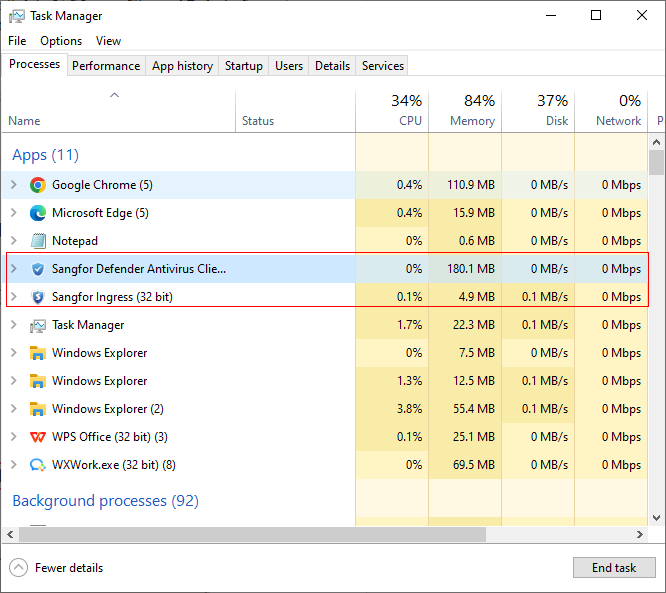
![]()
In the IAG-Endpoint Secure connection scenario, the system tray interface of the AIO client is based on that of the Endpoint Secure Agent.
Scenario 2
The user has installed the IAG Ingress Client and Endpoint Secure Agent of earlier versions that do not support the AIO client.
Steps
![]()
The upgrade package of the Endpoint Secure Agent is large, and the upgrade process takes about 5 to 10 minutes in the intranet. Wait patiently.
Scenario 3
The user has installed the IAG Ingress Client but not the Endpoint Secure Agent.
Steps
Scenario 4
The user has installed the Endpoint Secure Agent but not the IAG Ingress Client.
Steps
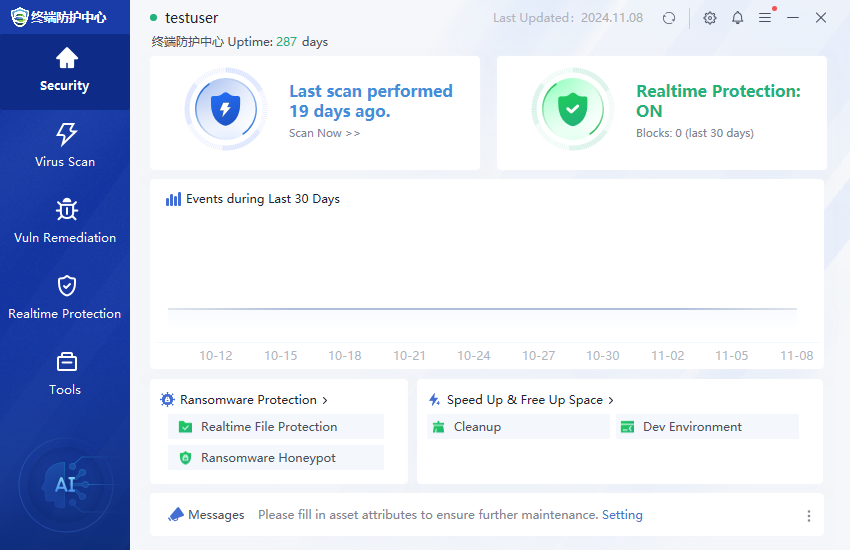
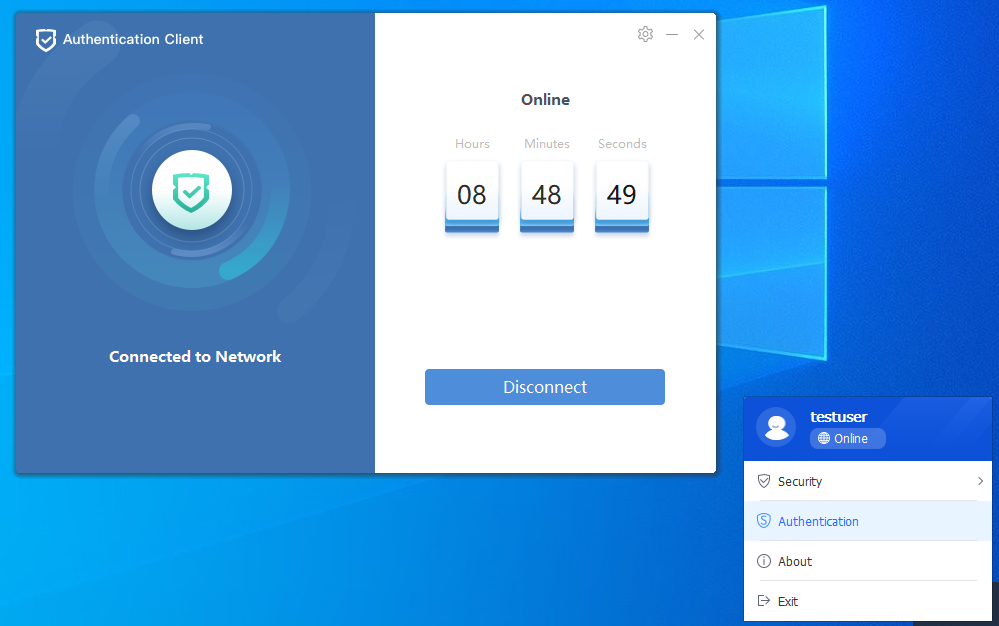
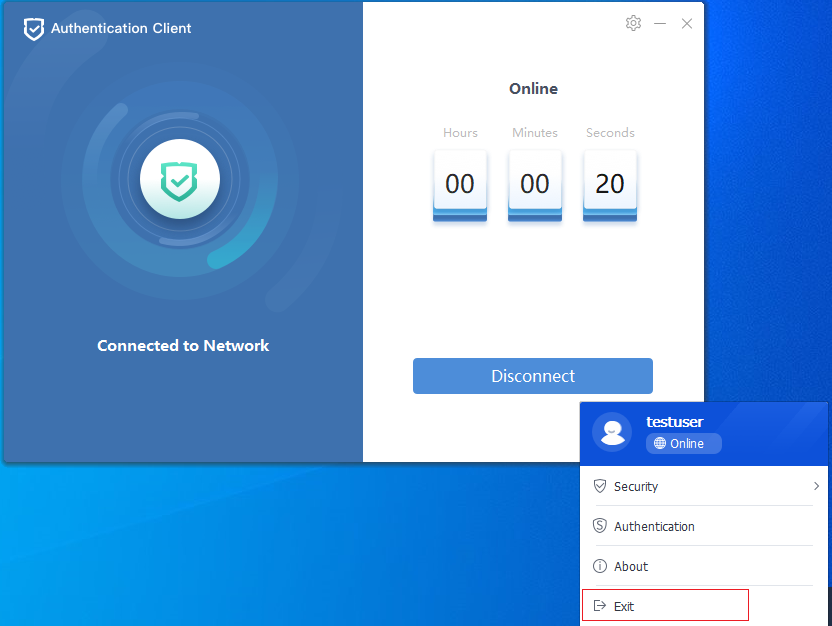
• Client Use
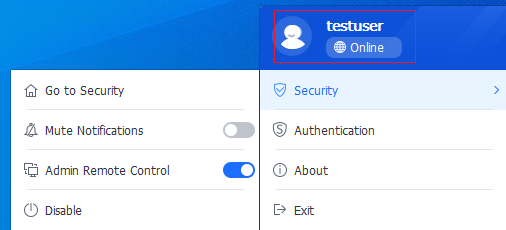
• Client Logout
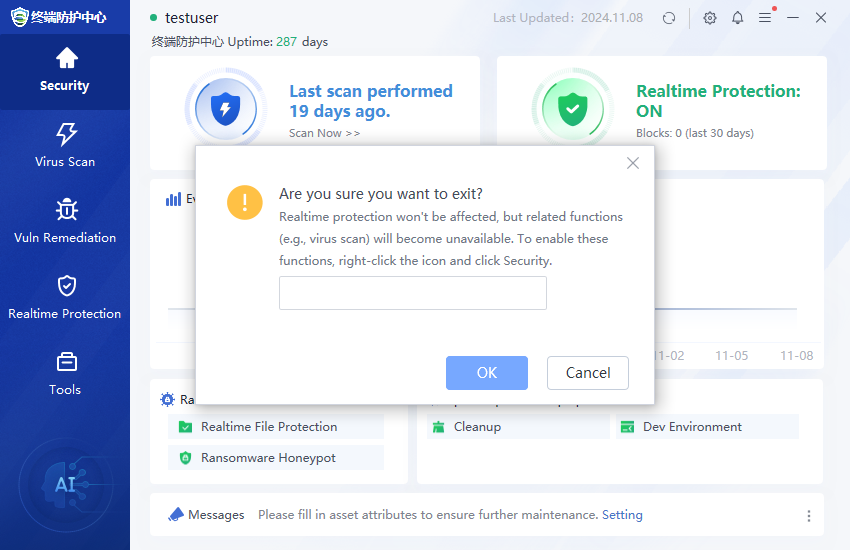
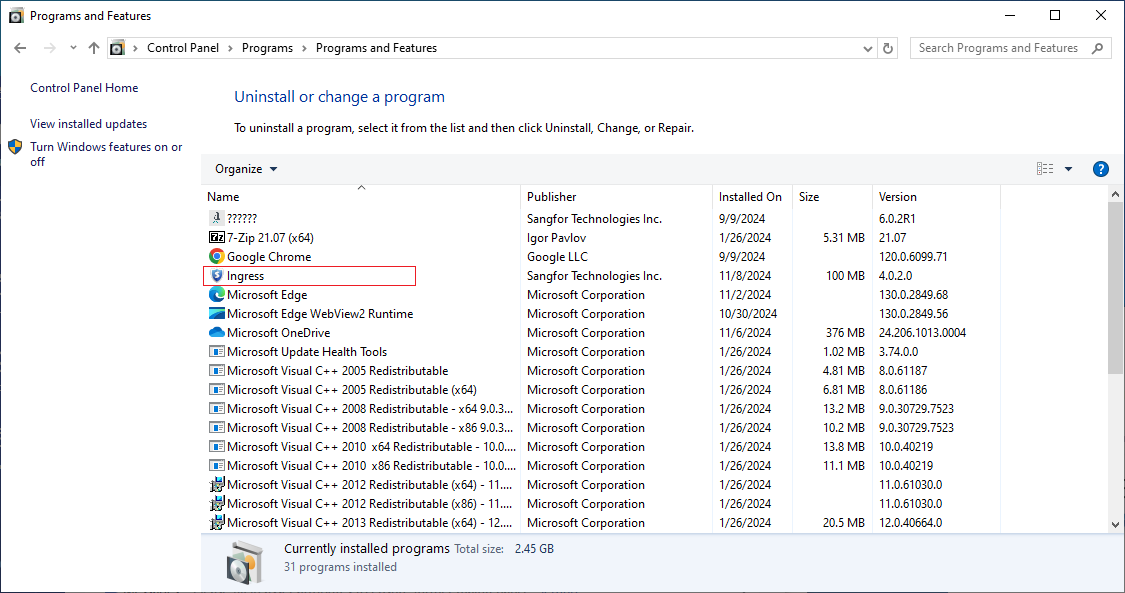
• Client Uninstallation
The Endpoint Secure Agent and the IAG Ingress Client can be uninstalled independently.
The following table describes the operating systems supported by Endpoint Secure and IAG.
| Product |
Windows XP |
Windows 7 |
Windows 8 |
Windows 8.1 |
Windows 10 |
Windows 11 |
| Endpoint Secure |
Yes |
Yes |
Yes |
Yes |
Yes |
Yes |
| IAG |
No |
Yes |
Yes |
Yes |
Yes |
Yes |

 {{ $t('index.defaultHeader.chromeBrowserTip') }}