{{ secondMenu.name }}


Local groups/users can manage and configure IAG local user groups and users and add, delete, batch edit, import, export, and move users to the user group.
3.5.1.2.1.1 Add New Subgroup
By default, there will be a built-in group of the device, which is the root group, this group cannot be deleted, and the group name cannot be modified. The newly added groups are all subgroups of the root group. The root group is the first-level group, the newly added group under the root group is the second-level group, and so on. The local group supports up to 16 levels of organizational structure, including the root group. This design aligns more with the company's organizational structure and facilitates management. For example: Add an engineer group under the root group.
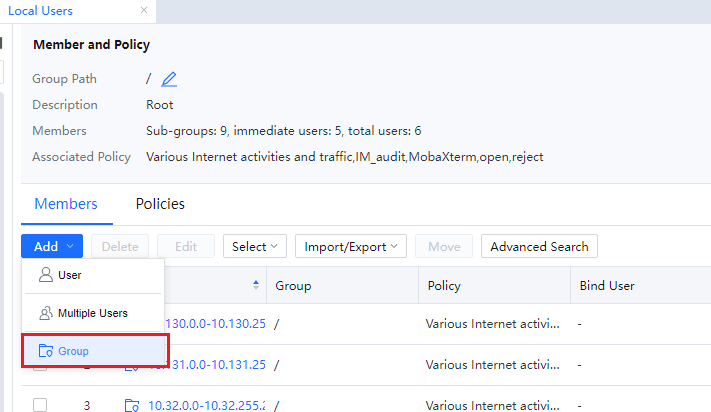
Step 1.Select the user group that needs to add a subgroup in the local users and enter the management interface on the right. Next, click the Add button in the member list and select the new type of Group.
Step 2.Set the name as Engineer and description information of the group name list.
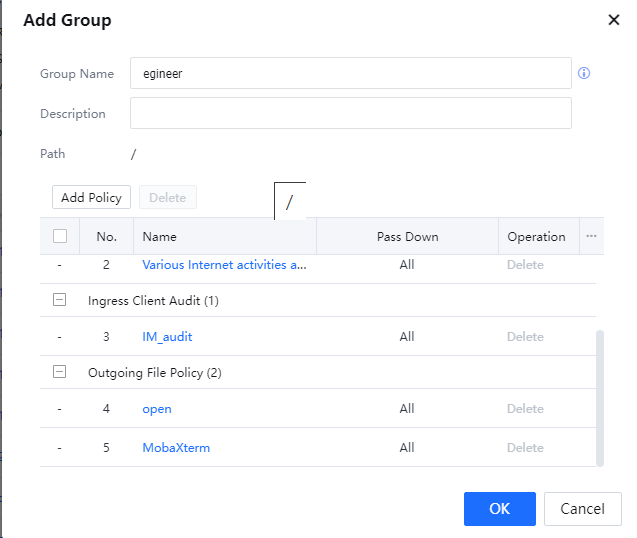
Step 3.After the configuration, click OK[A34], and subgroups can be added to the member list.
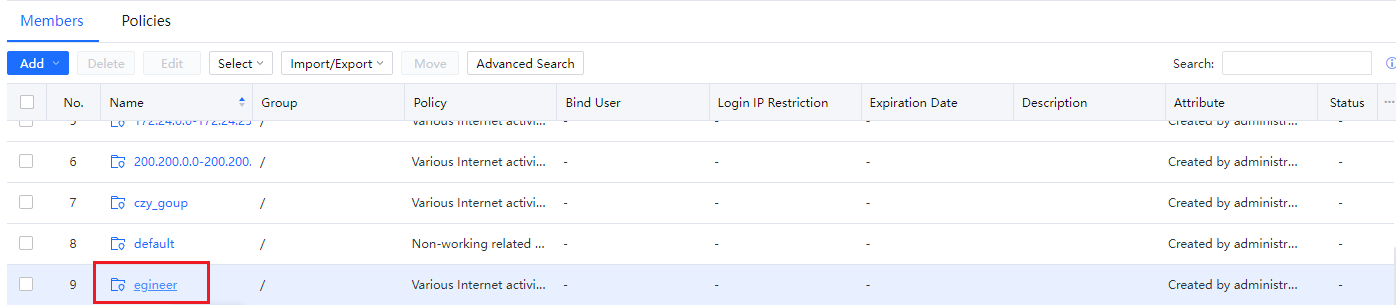
Step 4.After successfully adding a subgroup, you can import user information belonging to the group under the group or add users.
3.5.1.2.1.2 Add New User
New users are divided into two categories: User and Multiple Users. Since the device has a default policy (password authentication), the administrator can directly add user information and access the Internet through password authentication.
Step 1.In Access Mgt > User Management > Local Users, click Add to select a user in the member list.
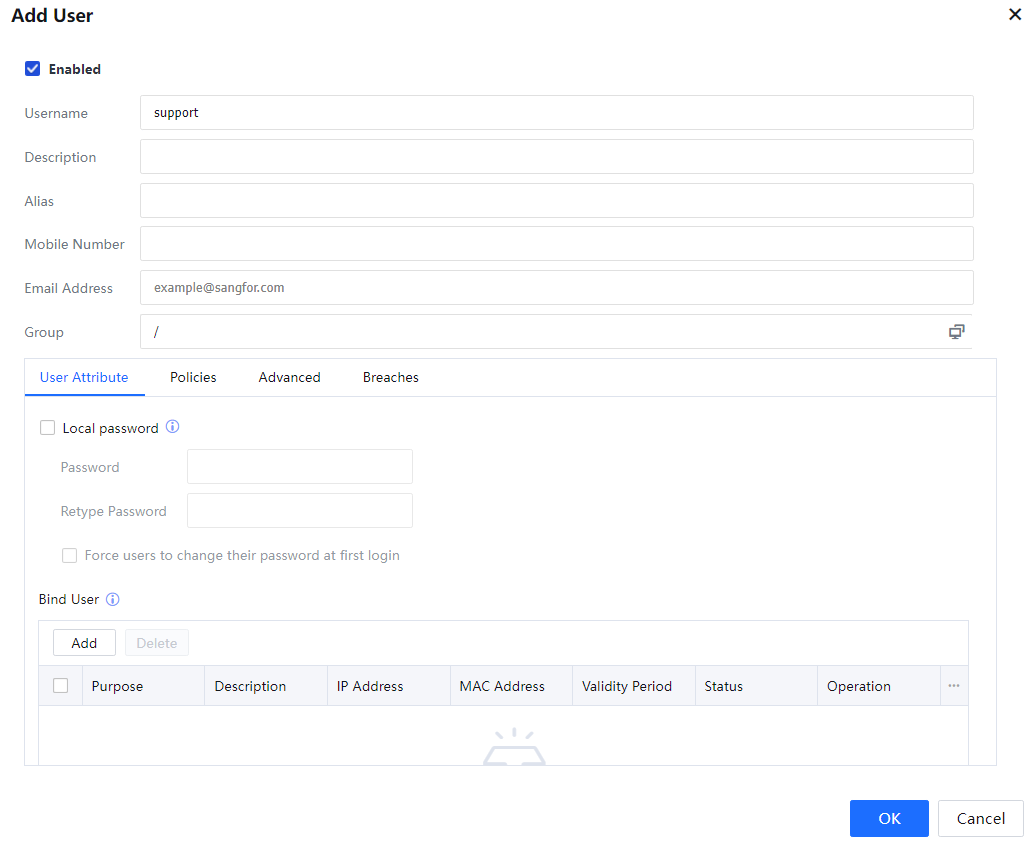
Step 2.When the administrator selects Enable this user, fill in the login name (required), description, display name, mobile phone number, email (not required, fill in according to requirements), and the current group.
Step 3.The administrator sets the user attributes, selects Local password, and sets the login password. If the user uses an external password for authentication, there is no need to tick it.
Step 4.The administrator can display the currently configured policies in the list and create or remove new policies. In the advanced properties, you can set the logout window after the successful password authentication, allow multiple people to log in with the account simultaneously, and modify the local password.
If you want to restrict some IP logins, select Restrict login within the following address range, and then fill in the restrictions required IP address. The breaches list can display the breach information of the user.
Password must be changed upon the first login: The user must change the initial password after passing the initial authentication. When the user is a public account (that is, multiple people are allowed to log in with this account simultaneously), the Password must be changed upon first login option does not take effect.
Step 5.The administrator clicks Add under Bind User to bind information such as IP and MAC.
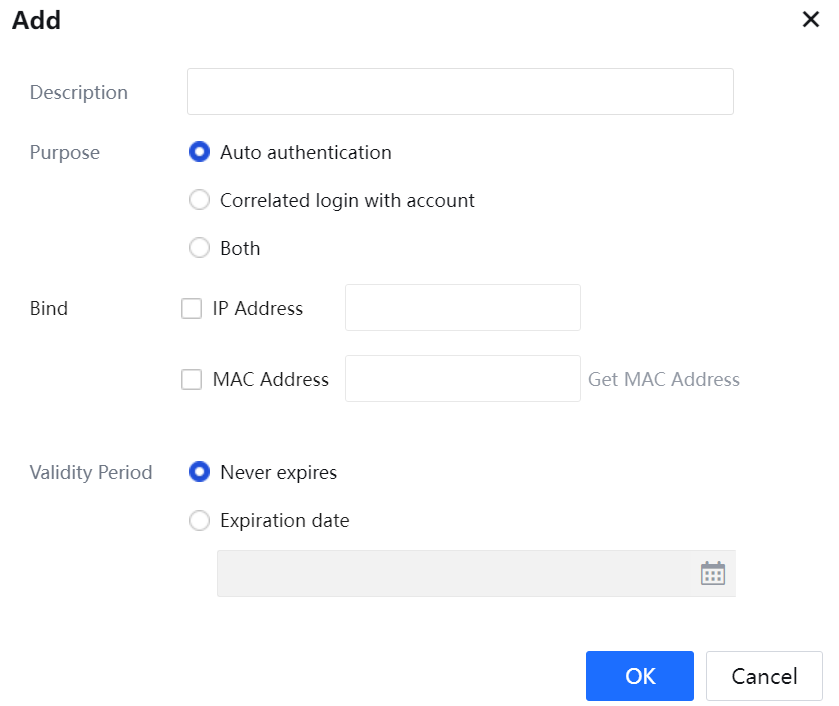
New user binding: To set the binding relationship between user IP and MAC. Fill in the description, binding purpose, binding object, and binding validity period. The binding purpose can select auto authentication, correlated login with an account, and Both. Fill in the bound IP and MAC in the binding object.
Auto authentication: After the user is authenticated after binding the IP or MAC, he can access the network without authentication.
Correlated login with an account: The user can only be authenticated within a specific range.
Auto authentication and correlated login with an account: Users can only authenticate within a specific range and do not need to be authenticated every time after authentication.
Step 6.Click Commit to complete the user addition, and the newly created user will be displayed in the member list.
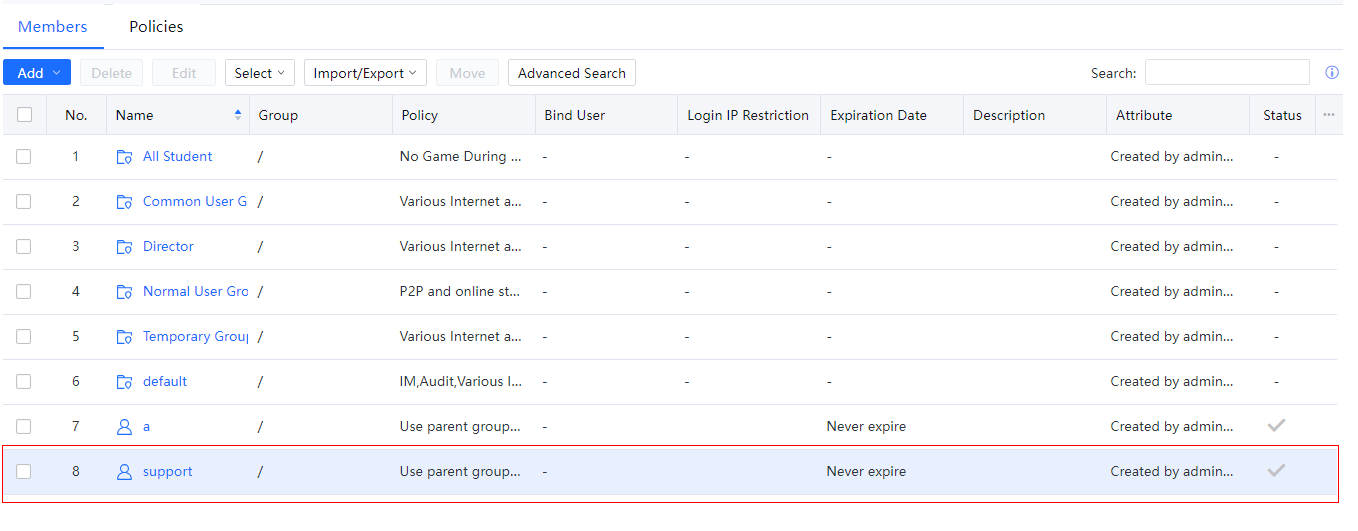
Step 7.After the creation is successful, you can enter the username and password through the local password authentication method to authenticate.
3.5.1.2.1.3 Add Multiple Users
Adding multiple users allows you to add multiple users at the same time. However, unlike the newly added users, the Endpoint Binding in the advanced properties cannot be set when adding multiple users, IP, and MAC binding. Because this setting is unique you cannot set this setting when adding multiple users because it is unique.
The attributes and policies of multiple users set by the newly added users are exactly the same, except for the username. Configure multiple usernames in the username list, separated by commas. When adding multiple users, because the initial passwords of multiple users are the same, you can set the requirement that the user must change the password during the first authentication. Other configurations are the same as Add New User as above.

 {{ $t('index.defaultHeader.chromeBrowserTip') }}