{{ secondMenu.name }}


1. Upgrade aSecurity
Step 1. Go to aSecurity > Settings > aSecurity Upgrade and click Upgrade.

Step 2. Click Next to import the update package. Click Next after a successful import. If the update package passes the verification, click Upgrade and wait
for the upgrade to complete. aSecurity will automatically restart after the upgrade is complete. The upgrade process will take about 30 minutes.

Step 3. After the upgrade, platform authentication, and licenses must be obtained again to use aSecurity capabilities.
2. Upgrade Security Protection Manager(Endpoint Secure)
To upgrade Security Protection Manager(Endpoint Secure), kindly contact Sangfor Technical Engineer for assistance.
1.2.5.2 aNI Upgrade
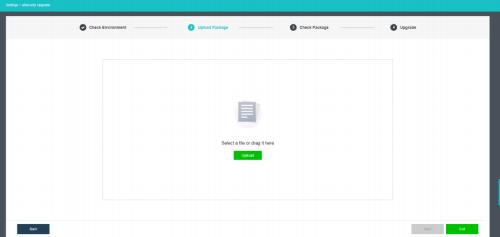
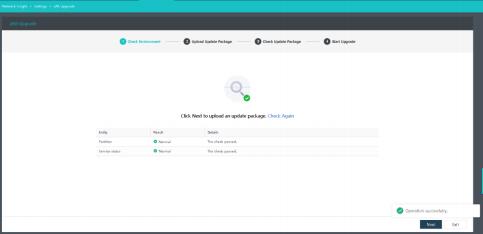
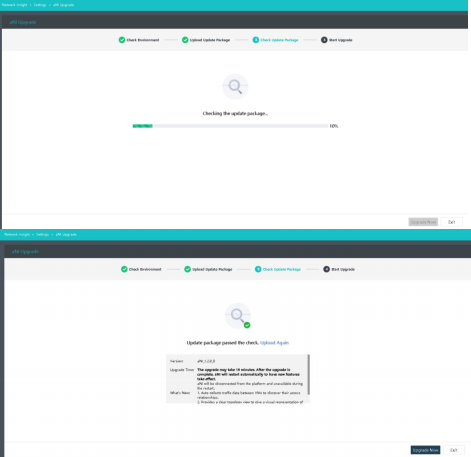
1. Go to Networking > Network Insight > Settings > aNI Upgrade and click Upgrade.

2. Wait for the environment check to complete.
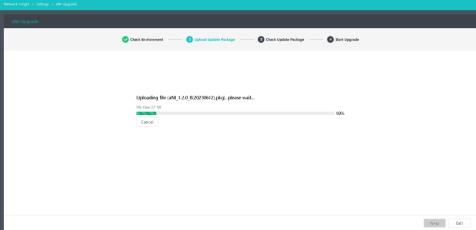
3. Upload the update package.
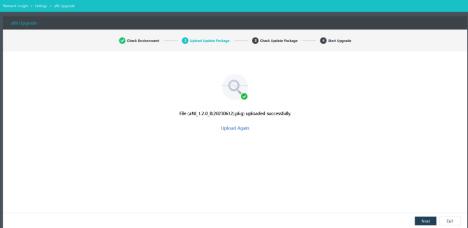
4. Wait for the update package check to complete.
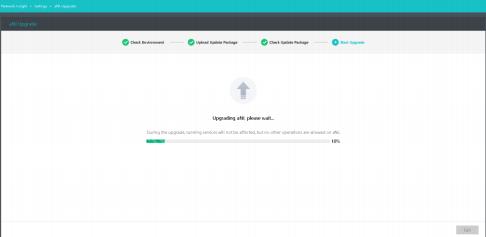
5. Start the upgrade.
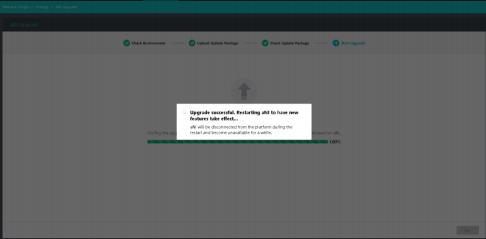
6. Restart aNI.
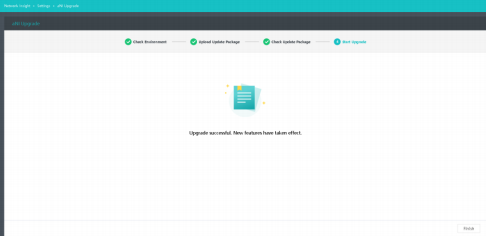
7. The upgrade is complete.
1.2.5.3 NFV Component Upgrade
For the upgrade procedure for NFV components, refer to the upgrade guide for corresponding products.
1.2.5.4 Witness Node Upgrade
Please upgrade the witness node before upgrading the stretched cluster or "2+1" cluster environment (skip the following steps if the HCI cluster is non-stretched).
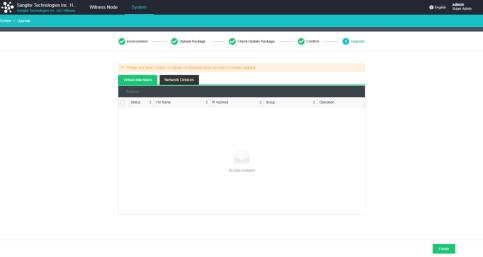
1. Go to the witness node management page and click Upgrade.
2. The witness node will enter cluster upgrade mode during the upgrade, and the cluster environment check will be performed.
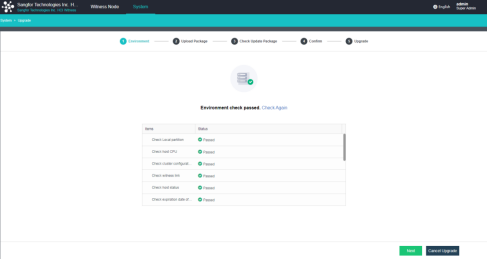
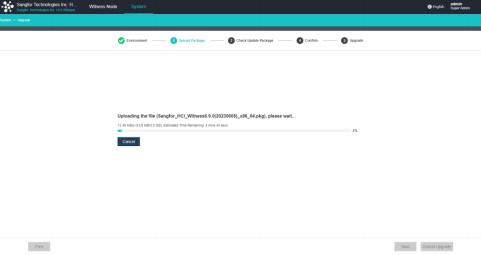
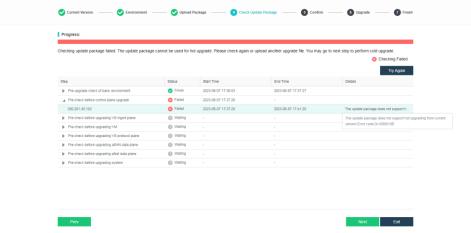
3. Upload the witness node update package.
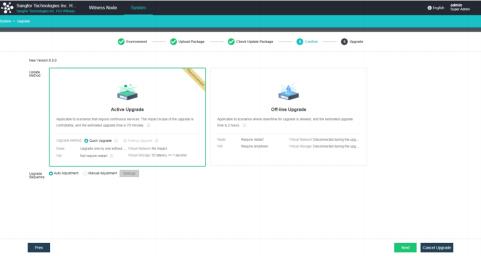
4. Check the update package. (If the current version does not support the active upgrade using the update package, click Next to perform an offline upgrade. If the active upgrade is supported, please wait until all checking steps are finished before the upgrade. If any step fails, fix the issues first.)
1.2.5.4.1 Active Upgrade
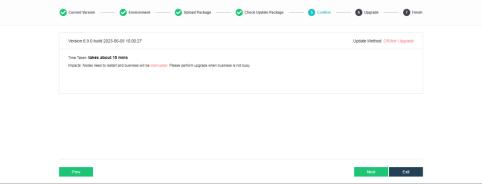
1. After confirming that the update package is correct, click Next.
2. During the control plane upgrade, you will be logged out. Please wait about 1 minute and then reload the page to log in again.
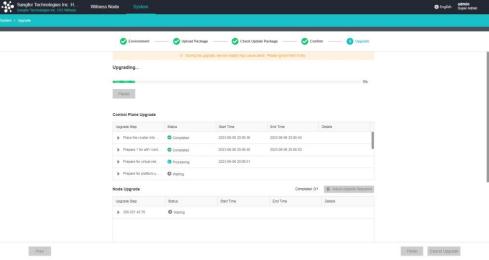
3. The upgrade is complete.
4. Check that the current version is the latest version.
After the upgrade, please wait for the background of the witness node to take effect before upgrading other nodes in the cluster.
1.2.5.4.2 Offline Upgrade
1. After confirming that the update package is correct, click Next.
2. The offline upgrade requires all nodes to be restarted, which will cause business service interruption.

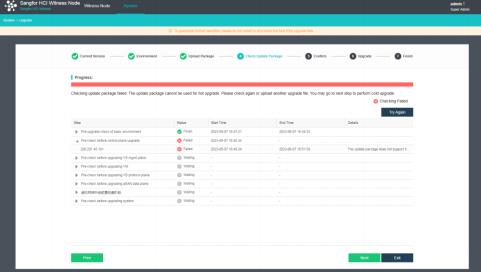
3. Click Next to start the upgrade.

4. The upgrade progress is shown in the figure below.

5. The upgrade is complete.

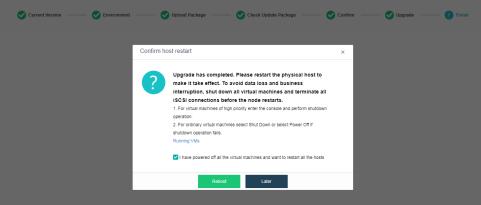
6. Restart the nodes.
![]()
| |
![]() After the offline upgrade of the witness node is complete, and the witness node is restarted, its status will still be displayed as offline. It is because the version of the witness node is inconsistent with other nodes in the cluster. To solve this problem, please upgrade other nodes.
After the offline upgrade of the witness node is complete, and the witness node is restarted, its status will still be displayed as offline. It is because the version of the witness node is inconsistent with other nodes in the cluster. To solve this problem, please upgrade other nodes.
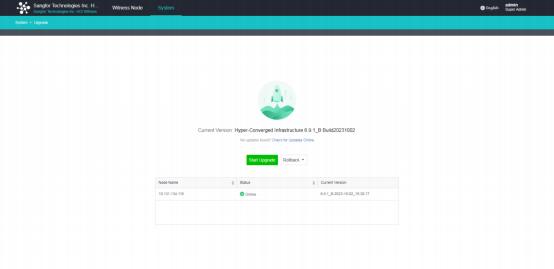
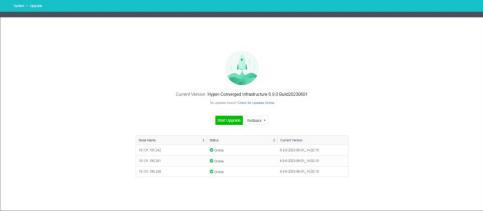
1.2.5.5 HCI Upgrade
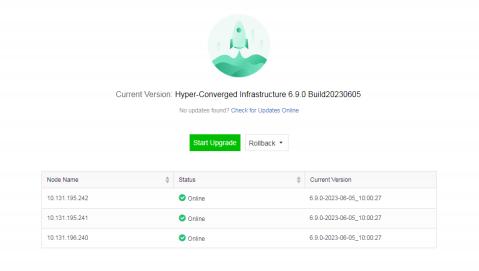
1. Use aDeploy to perform the pre-upgrade check and install the pre-upgrade check package (see Chapter 2.4.3 HCI Pre-Upgrade Check), then go to
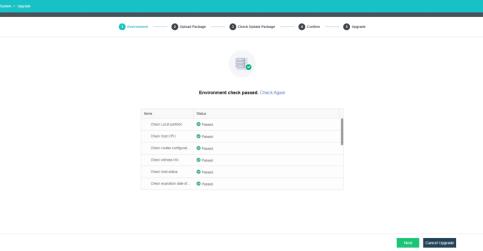
System > Upgrade and click Start Upgrade. The cluster will enter Maintenance Mode and run the environment check.
![]()
| |
![]() After the pre-upgrade check package is installed, a suffix will be displayed in Current Version, as shown in the figure above.
After the pre-upgrade check package is installed, a suffix will be displayed in Current Version, as shown in the figure above.
2. Click Start Upgrade. The environment check starts.
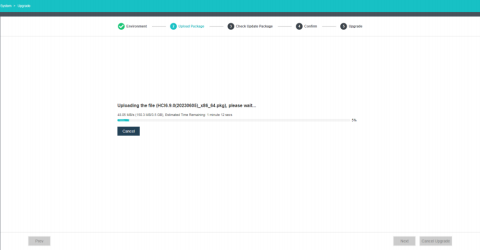
3. After the environment passes the check, upload the HCI update package.

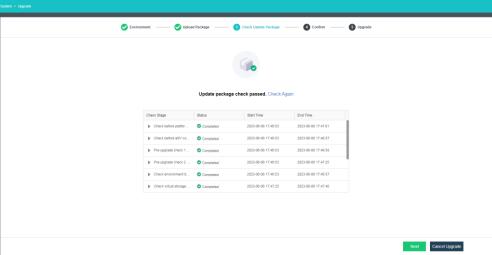
4. The update package passes the check.
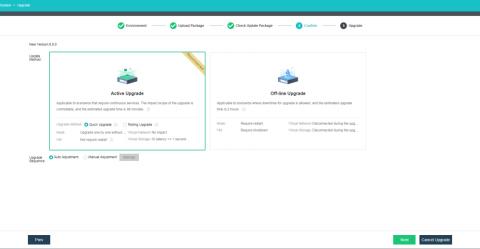
1.2.5.5.1 Quick Upgrade
1. Select Quick Upgrade for Upgrade Method and click Next.
2. The quick upgrade starts.
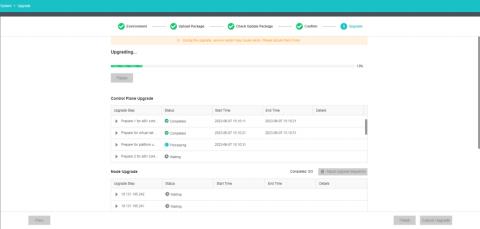
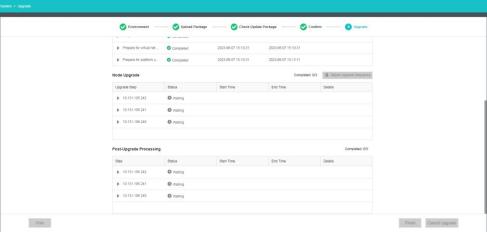
3. The upgrade tasks at each stage are shown during the upgrade process.
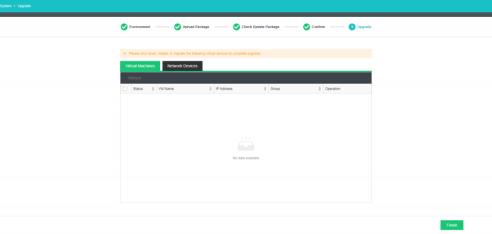
4. After the upgrade, the system will ask whether to perform live migration for VMs and NFV devices. VMs not installed with vmTools need to be
migrated to complete the upgrade.
5. The upgrade is complete.
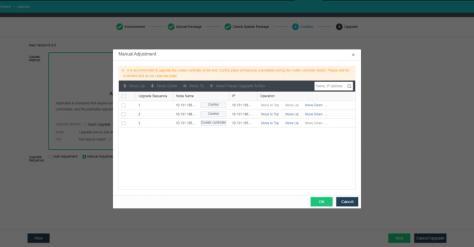
1.2.5.5.2 Rolling Upgrade
1. Select Rolling Upgrade for Upgrade Method and click Next.

2. Select Manual Adjustment for Upgrade Sequence to adjust the
sequence of nodes for the upgrade, or select Auto Adjustment. After the upgrade sequence adjustment is complete, click Next.
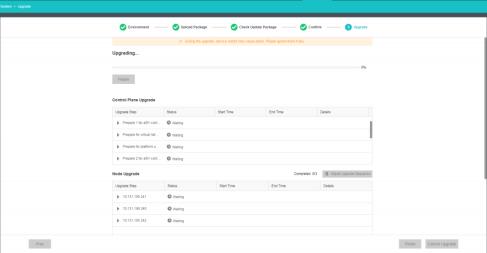
3. During the Rolling upgrade, all the nodes' control planes will upgrade first, followed by the data plane upgrade (one node each time). Before the data plane upgrade starts, the running VMs will be migrated to a node that is
not in the upgrading state. During the control plane upgrade, you will be logged out. Please wait about 1 minute and then reload the page to log in again.
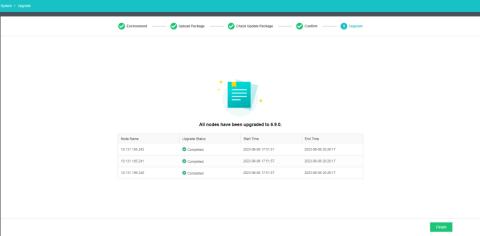
4. The upgrade is complete.
1.2.5.5.3 Offline Upgrade
1. Shut down all VMs.
Select all VMs and shut them down. If the operation fails, goto their consoles to shut them (including suspended VMs) down separately.
2. Shut down all NFV devices.
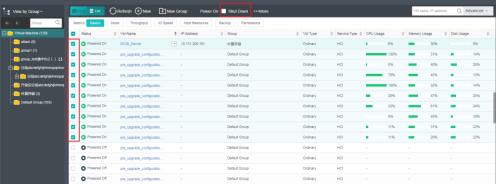
Go to Networking > Topology, click Running to view all NFV devices (excluding routers and switches), and shut them down.

3. Run the pre-check, and the system advises to perform an offline upgrade. Click Next to proceed.
4. You can start the offline upgrade after all NFV devices are shut down and require all nodes to be restarted, which will cause business service interruption.
5. Click Next to start the upgrade.
6. The upgrade progress is shown in the figure below.
7. The upgrade is complete.
8. Restart the nodes.
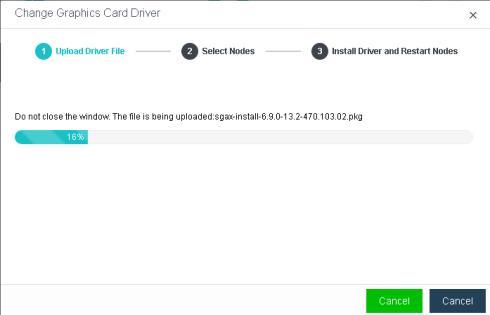
1.2.5.6 Graphics Card Driver Upgrade
The GRID driver update requires restarting nodes. Importing the vGPU driver file after the upgrade and restarting the corresponding nodes is recommended.
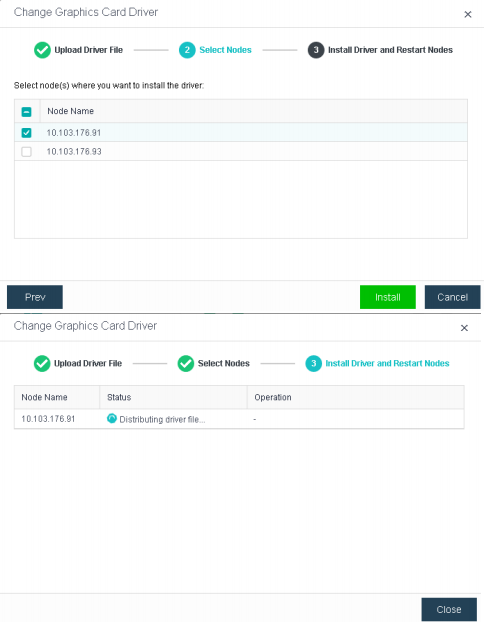
1. Go to Nodes > Graphics Cards and click Change Graphics Card Driver to import the GRID driver.
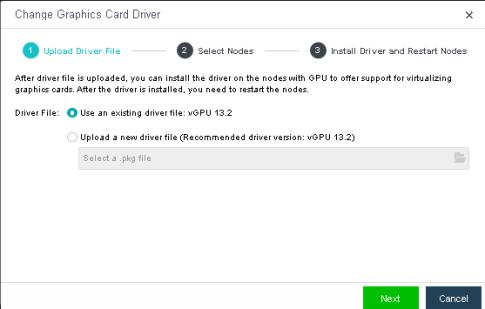
2. Wait until the driver file is uploaded.
3. Select nodes where you want to install the driver and wait for the driver file to be distributed.
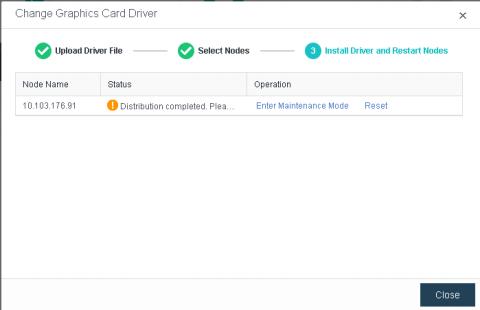
4. Click Enter Maintenance Mode and then click Reset to make the driver take effect.

 {{ $t('index.defaultHeader.chromeBrowserTip') }}