


{{ secondMenu.name }}






The VPN Users page shows details about VPN users, including usernames, passwords, configuration templates, and whether client certificate authentication, tunnel NAT, and multi-link policy are enabled.
To add a group, click the
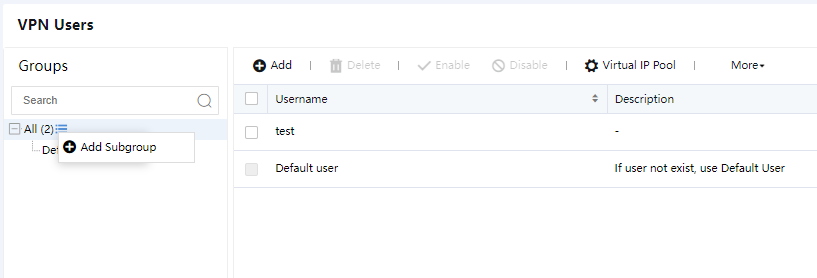
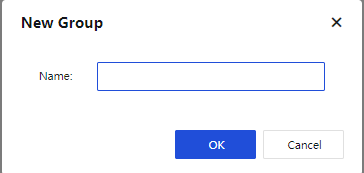
 icon next to All and click the Add Subgroup button. In the New Group dialog box, set the group name and click OK, as shown in the following figure.
To add a VPN user, click Add above the VPN user list. In the Add VPN User dialog box, set Username, Description, Group, and other parameters, as shown in the following figure.
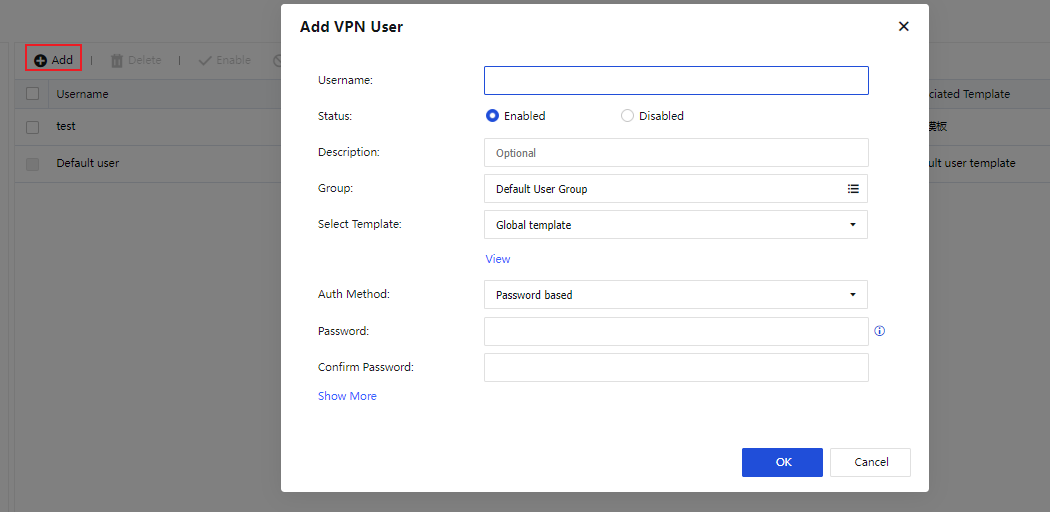
The parameters are described as follows:
Select Template: You can click View to view the template settings or add a template to modify its content. When you add a template, set the following parameters for the template on the Add Template page: Name, Encryption Algorithm, Concurrent Login, Intranet Services, Multicast Service, and Sangfor VPN Tunnel Timeout.
Auth Method: Select an authentication method for the user. Options include Password based, Certificate based, LDAP, and RADIUS.
Advanced options include Expiration Time, Client Certificate Verification, Tunnel NAT, and Multi-link Policy.
Multi-link Policy: When the path selection policy is unavailable, you can adopt the multi-link policy to select the number of links to connect the two ends of a VPN tunnel and select primary and secondary links, as shown in the following figure.

Click OK.
In the VPN user list, you can Delete, Enable, or Disable a VPN user, or select More > Move To to move a VPN user to another group, as shown in the following figure.

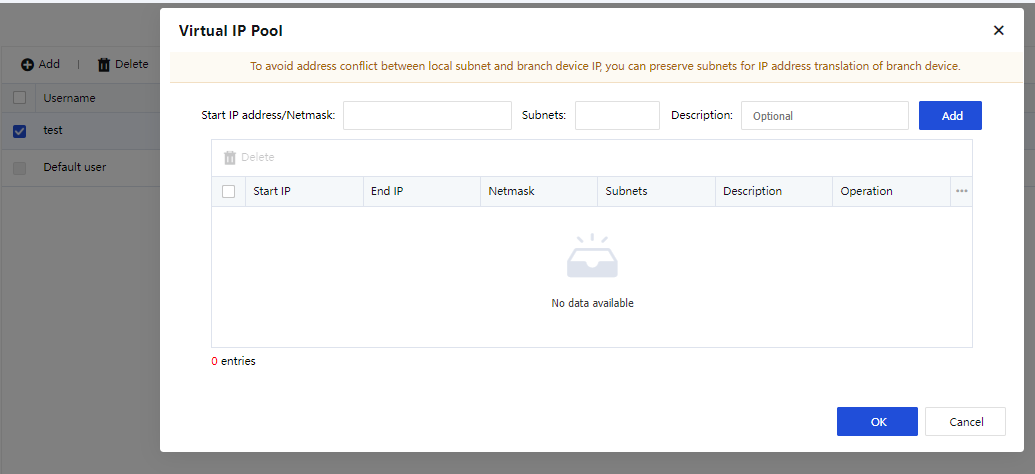
You can click Virtual IP Pool to create a branch virtual IP pool. When a branch device accesses the HQ device, the original IP range of the branch device will be replaced with a virtual IP range in the branch virtual IP pool to avoid conflict when two branch devices with the same IP range access the HQ device. In the Virtual IP Pool dialog box, set Start IP address/Netmask, Subnets, and Description for the virtual IP pool, as shown in the following figure.
Click OK.
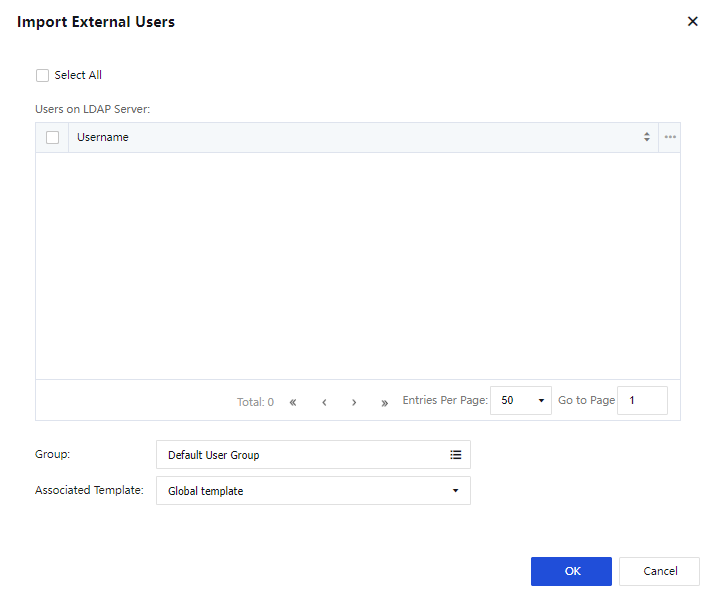
You can click More and choose Import to import users from a local CSV or TXT file or users authenticated by a third-party server. After users are imported, the system will display a corresponding prompt.


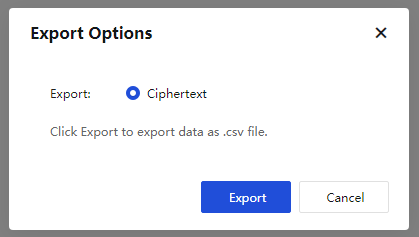
You can click More and choose Export > Export VPN Users to export users to your local computer. The passwords of the exported users are displayed in Ciphertext, as shown in the following figure.
You can click More and choose Templates to manage the configuration templates for VPN users, as shown in the following figure.

You can add a template. In the Templates dialog box, click Add and set Encryption Algorithm, Intranet Services, Multicast Service, and other parameters for the template.
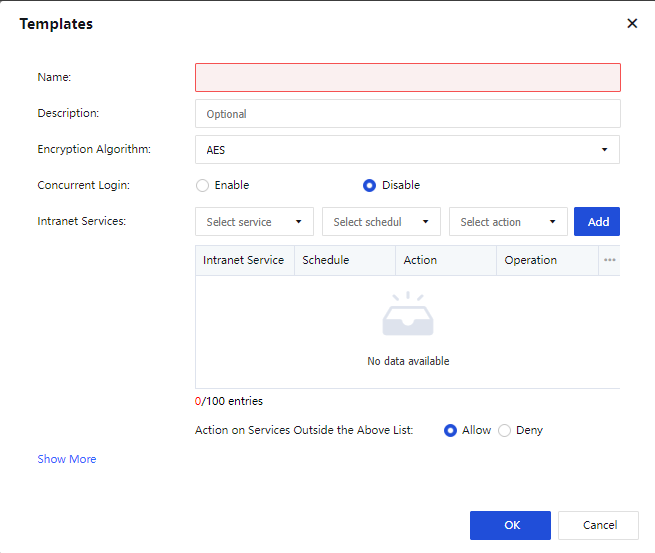
Click OK. The template appears in the template list.
8.10.4.2.1.1Tunnel NAT
Tunnel NAT is intended to avoid conflict between subnets of branch devices. To enable tunnel NAT on the HQ device, click Virtual IP Pool on the VPN Users page, as shown in the following figure.

In the Add VPN User dialog box, you can specify whether to enable Tunnel NAT, as shown in the following figure.
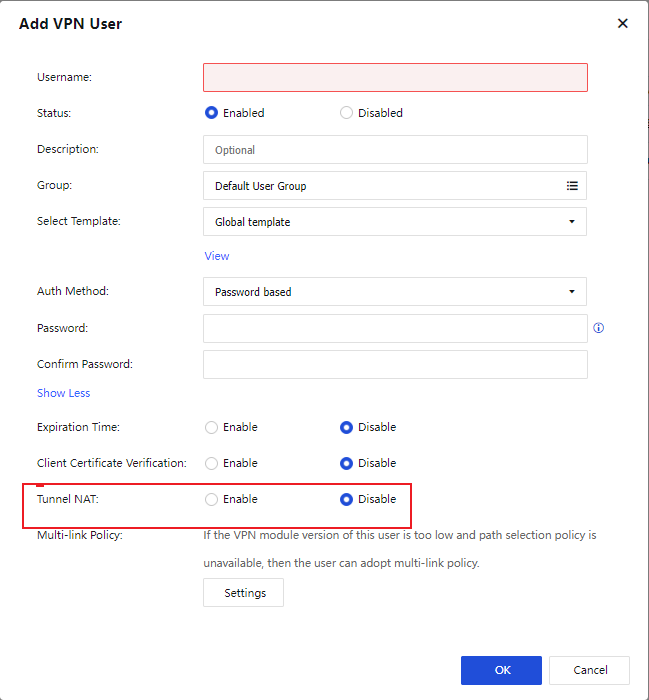
If you select Enable for Tunnel NAT, you must set a source subnet. You can specify whether to enable Auto Assign. If you select OK, the system automatically assigns virtual IP addresses. If you select Cancel, you must manually add virtual IP addresses. If no IP address is available in the virtual IP pool, click Virtual IP Pool on the VPN Users page to create a pool.

Click OK.


 {{ $t('index.defaultHeader.chromeBrowserTip') }}