{{ secondMenu.name }}


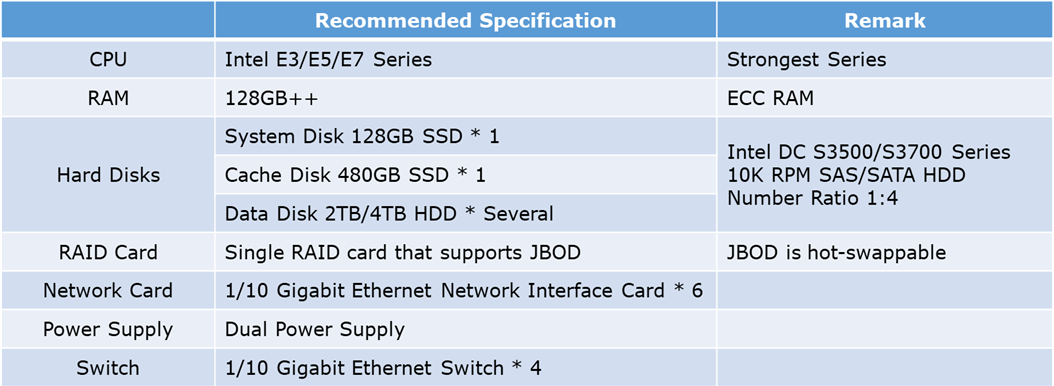
Recommend hardware specification
Sangfor aServer comes with recommend hardware specification; following hardware checklist is targeted for third party server.
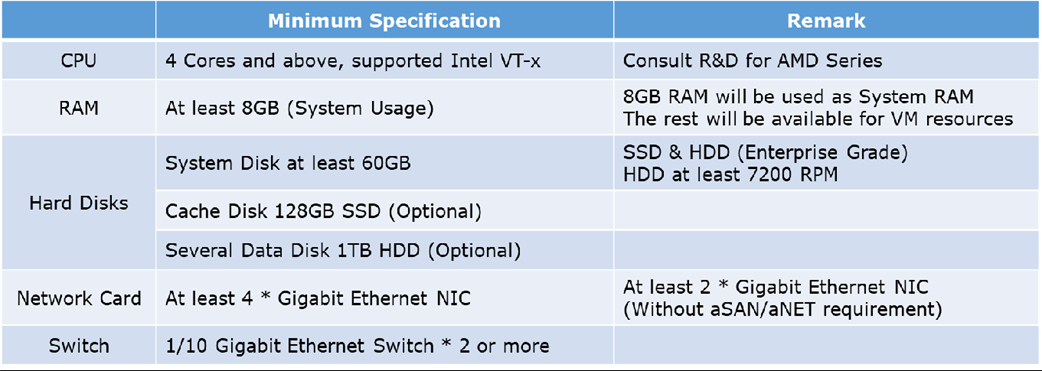
Minimal hardware specification:
Enable CPU Hardware to support Virtualization Technology
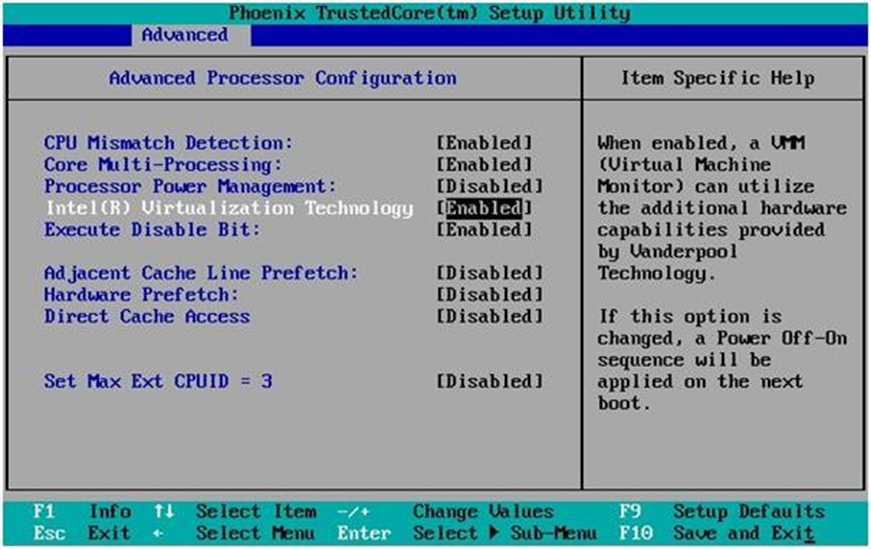
Intel VT-x setting must be enabled before proceed to install Sangfor aCloud
Fully utilized all the CPU performance to improve VM performance
Invalid BIOS time may cause the license expiration
Boot up automatically after a power outage
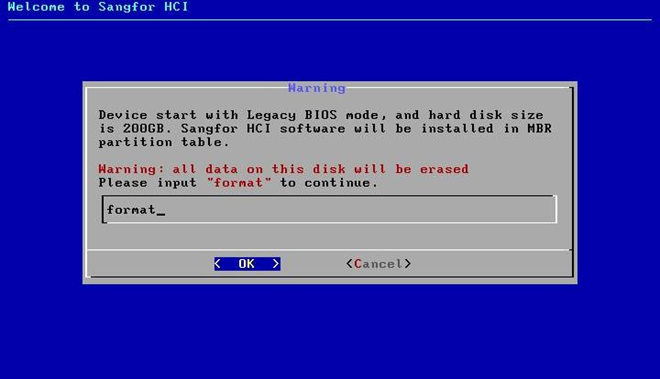
Select Legacy Boot for normal use because it has better compatibility Select UEFI Boot when the system storage is more than 2 TB
Download Sangfor aCloud bootable firmware from following website. http://community.sangfor.com/plugin.php?id=service:download&action=view&fid=47#/12/all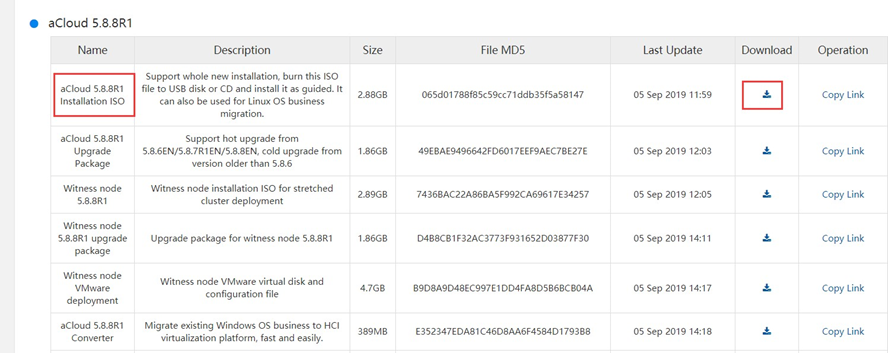
Tools needed:
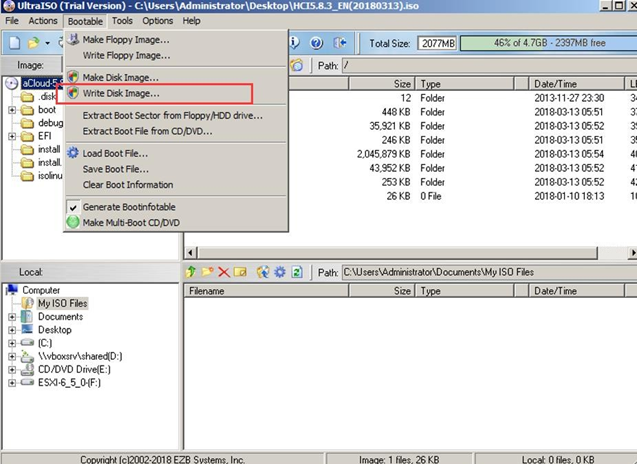
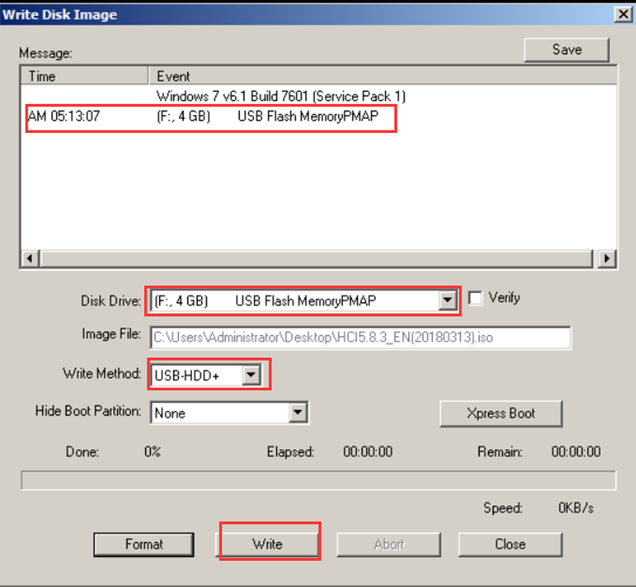
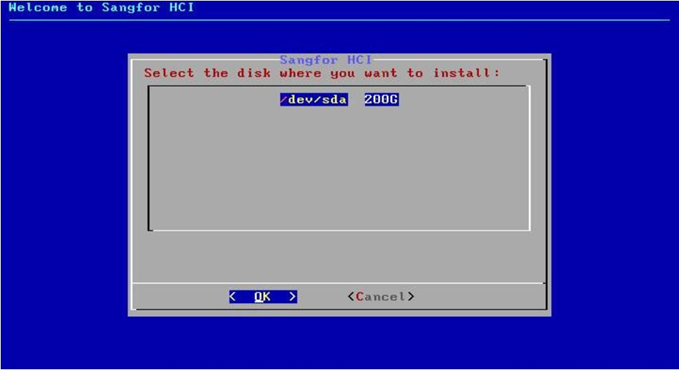
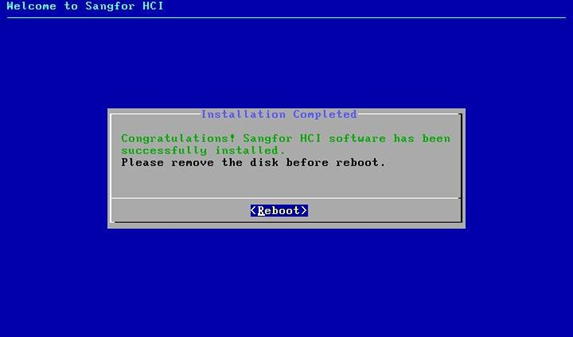
Note: Write process will overwrite and erase content of selected drive, kindly make sure correct Disk Drive is selected.

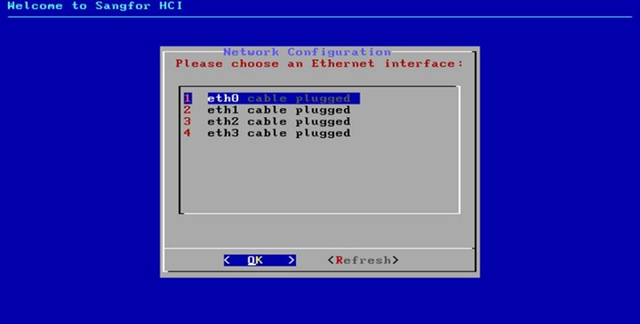
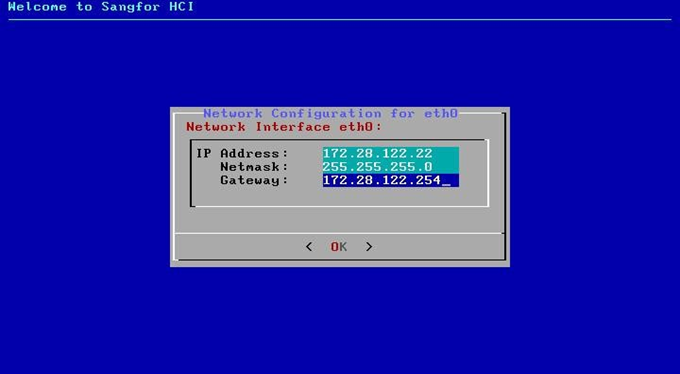

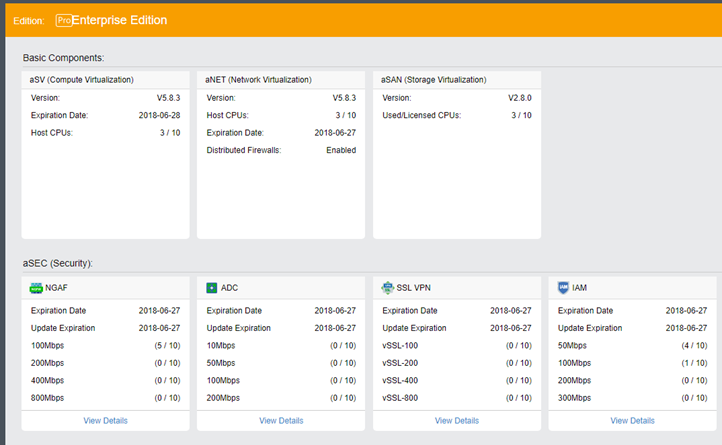
Now can access to Sangfor aCloud management web console with ETH0 (Management interface) with IP shown in console.
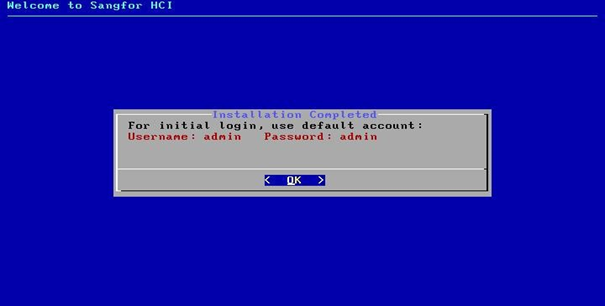
Default login Username: admin Password:admin

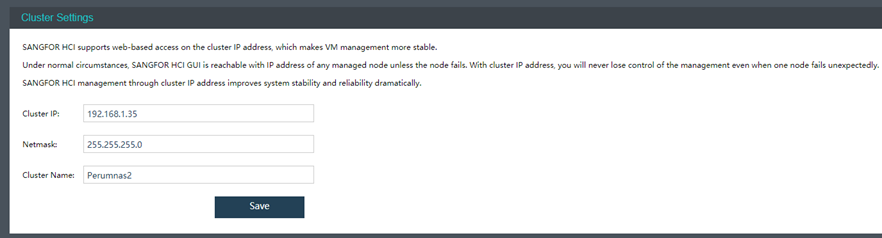
Cluster IP is used to manage virtual machine resource even after master node is disconnected. “System – Cluster Settings – Cluster IP”
Note:
Cluster IP and Nodes NIC IP cannot configured as same IP, else it will cause IP conflict.
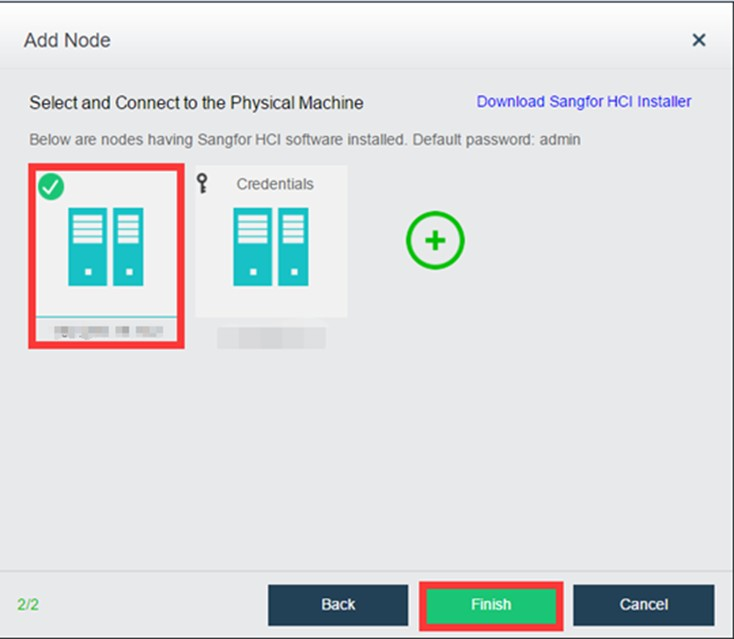
“Nodes – Add New Node”, then select node that need to join cluster. Enter respective node password and wait until green mark status. Press “complete” to execute node adding task.
Refer on following document for Sangfor aCloud 5.8.8R1 deployment guides. http://community.sangfor.com/plugin.php?id=sangfor_databases:index&mod=viewdatabase&tid=2202
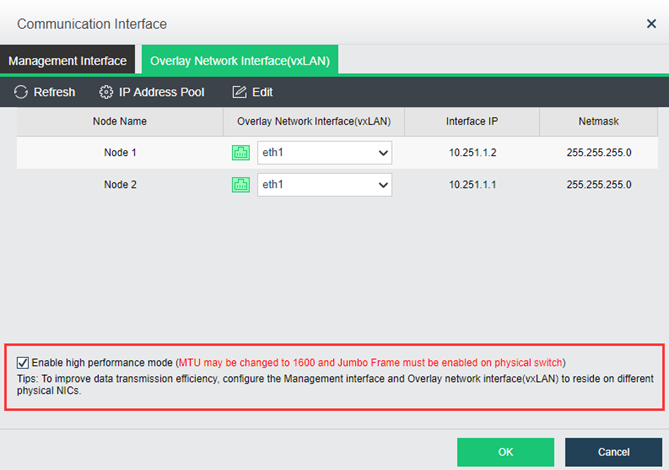
After aCloud is deployed, you need to configure VXLAN interface of aCloud nodes.
If the aCloud contain only 2 nodes, can direct join both interface with single Ethernet cable.
Note: VXLAN interface can be configured as link aggregation.
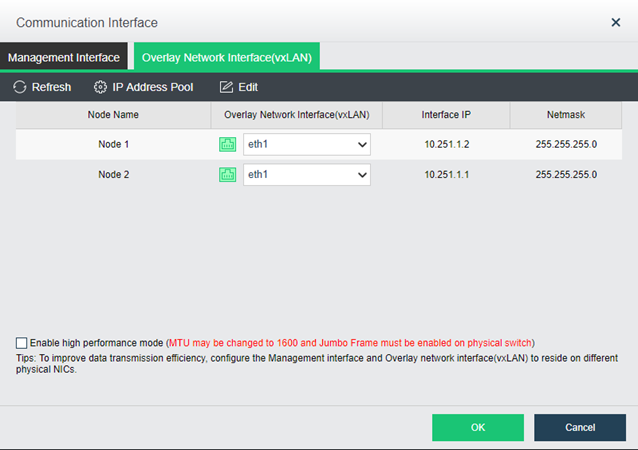
Setup both IP in the same segment and subnet mask to make sure the connection is success.
Enable Jumbo frame only if the switch support this mode (It will increase the MTU value to 1600 and reduce fragmentation)
Drag and drop new Edge interface and configure its associated interface as connected in physical port.
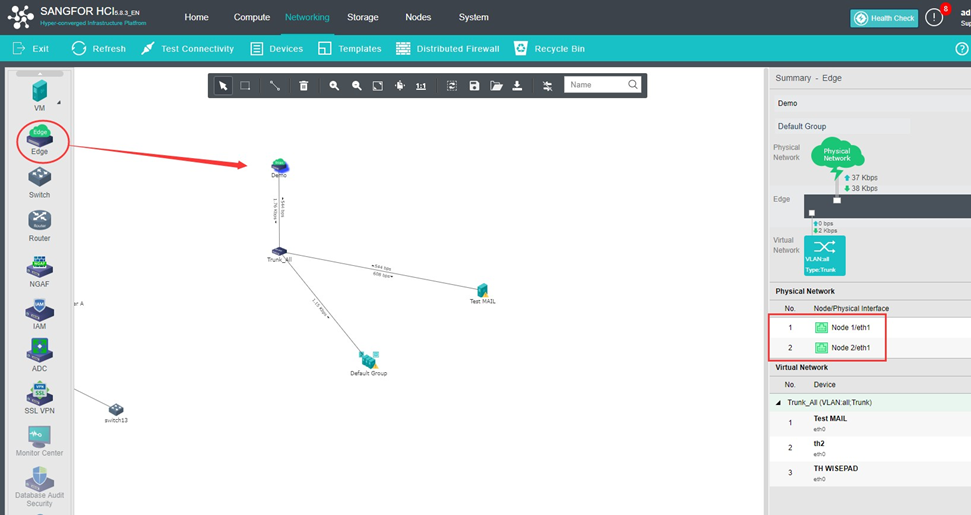
From diagram it show new edge port with configured outbound interface of eth1.
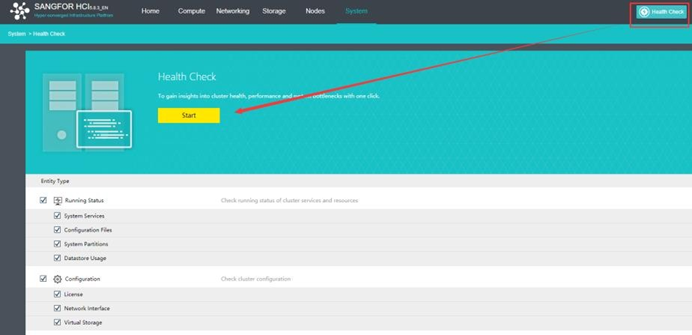
We always recommend performing the health check after initialize the Sangfor aCloud. It will reduce risk and impact before the Sangfor aCloud put in the production.

 {{ $t('index.defaultHeader.chromeBrowserTip') }}